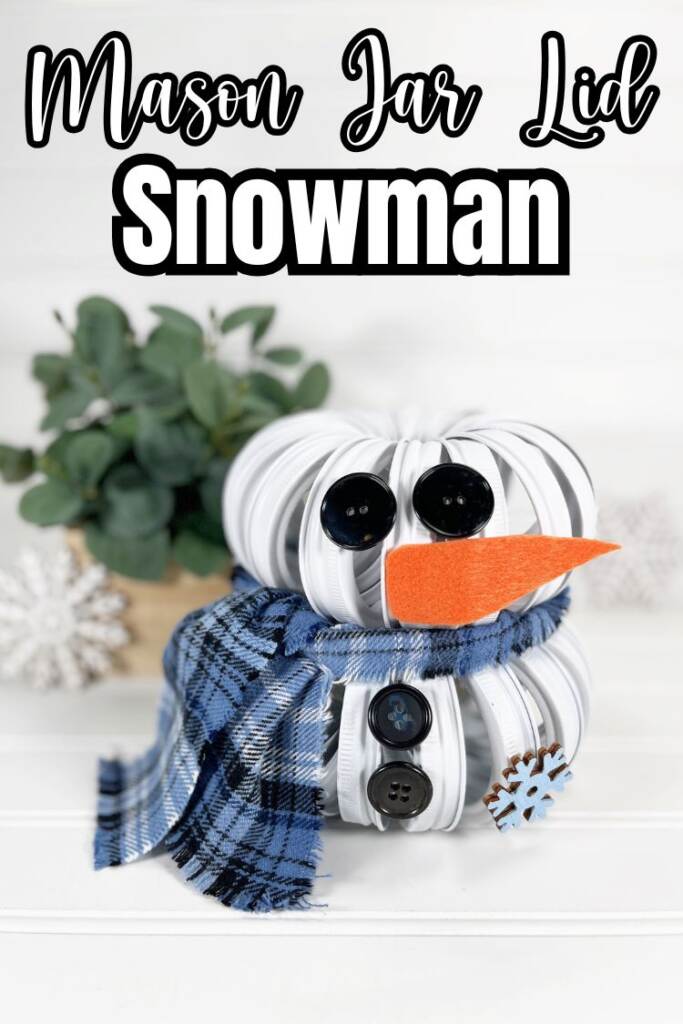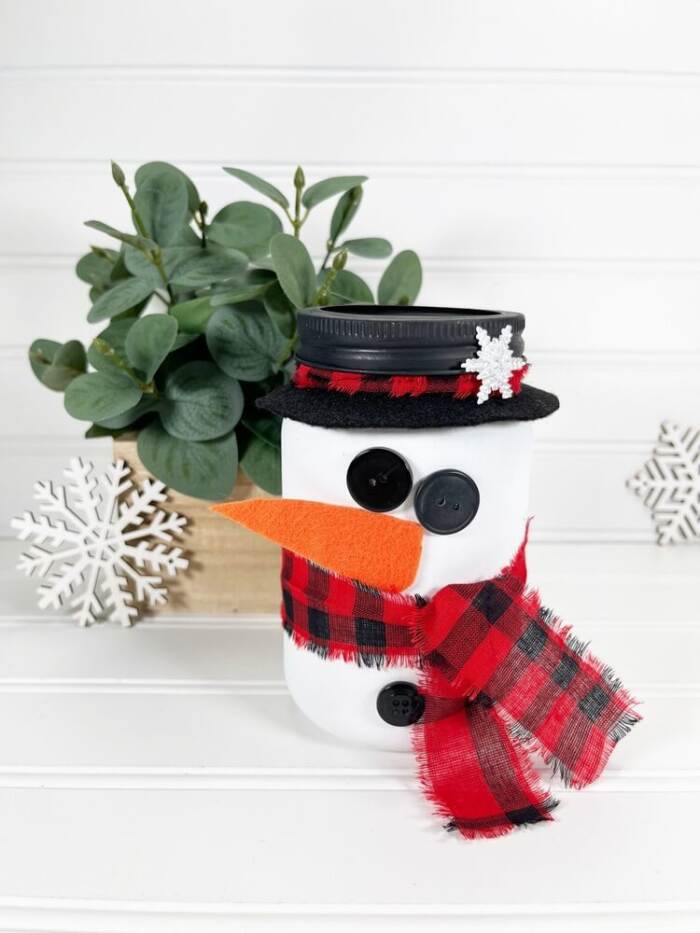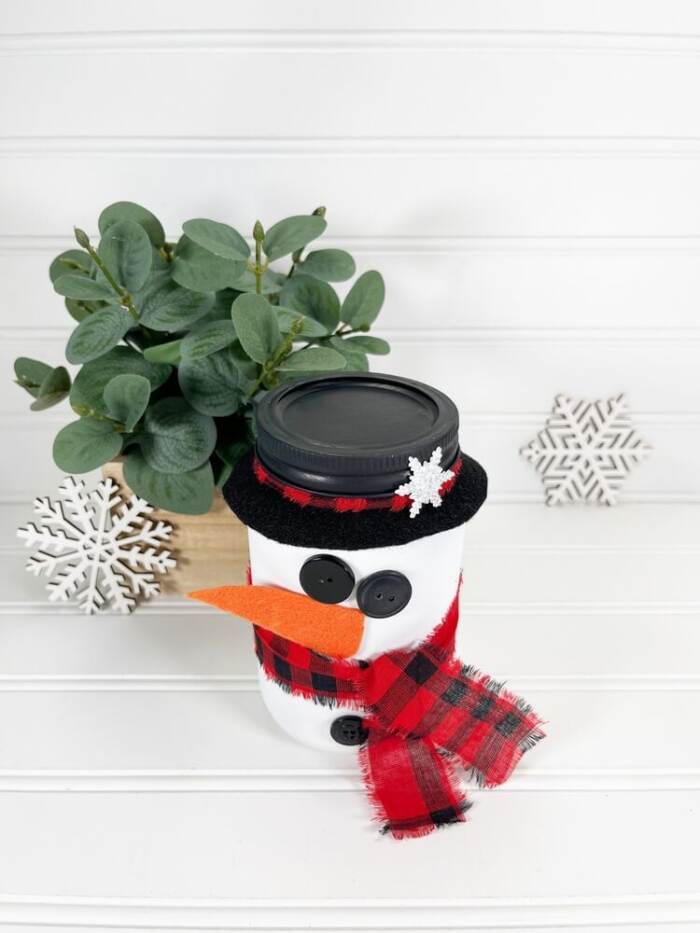
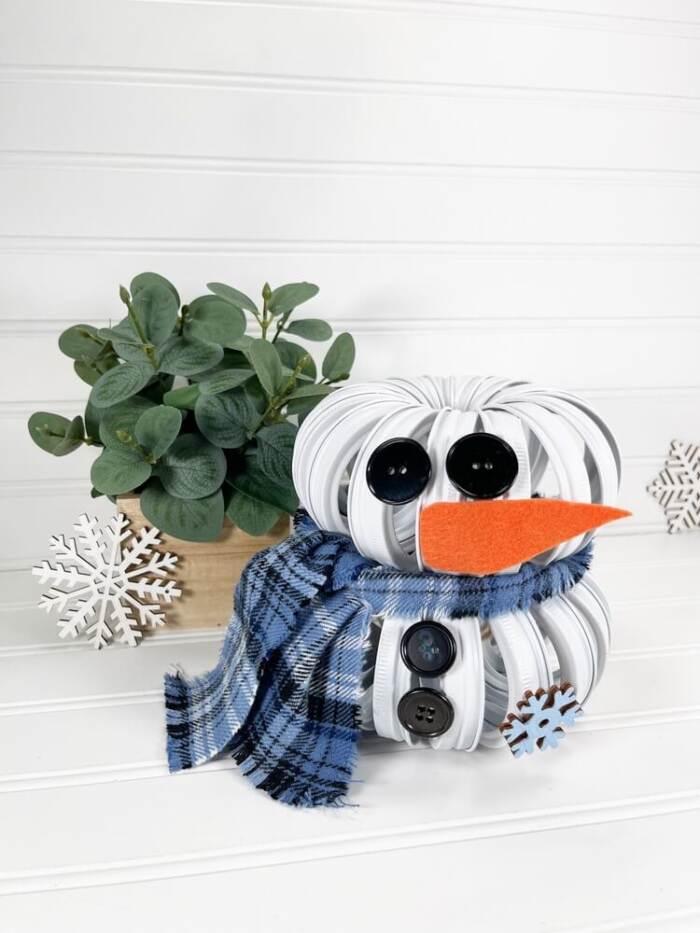
This mason jar lid snowman is a cute and easy craft you can make in just a few minutes. It’s a fun winter project for kids and adults, and it adds a sweet handmade touch to your holiday decor.
You can personalize each snowman to match your style, making them great for gifting or decorating around the house. This craft comes together fast and is perfect when you want a simple, cozy project for the season.

This little snowman comes together fast and is fun to customize in your own style. You can get most of the supplies from the dollar store, or have them delivered right to you from Amazon.
Most people finish it in about 10–20 minutes, depending on how detailed they make it.
Yes, it’s a fun project for kids with a little help on the tricky parts.
Absolutely. You can change the colors, the face, or the look to match your theme.
Yes! They’re cute, small, and easy to personalize, which makes them perfect for thoughtful handmade gifts.
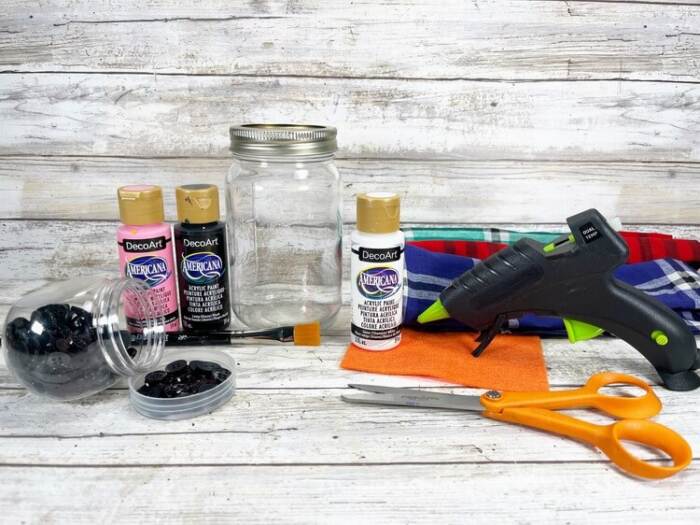
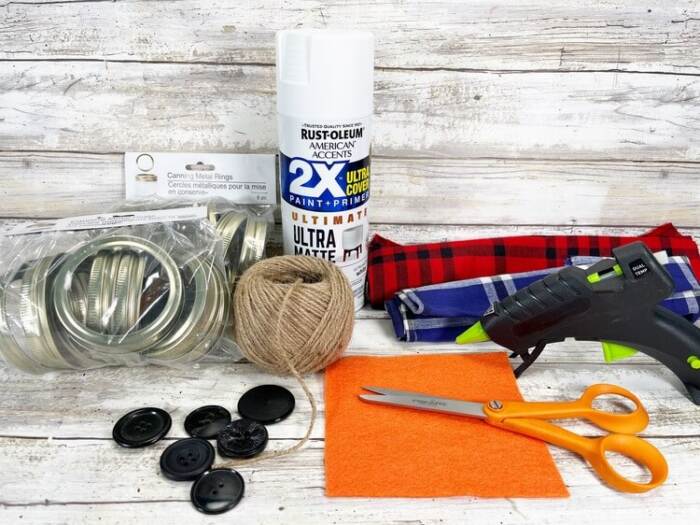
Supplies needed
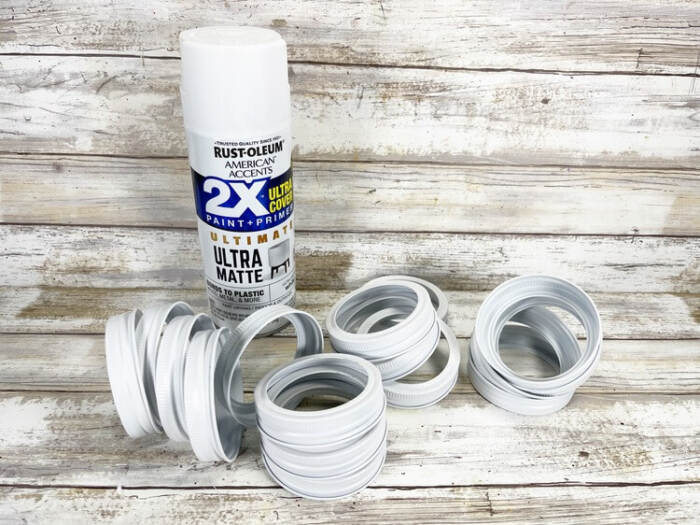
- Metal Canning Jar Rings
- Spray Paint – White
- Acrylic Craft Paint – Light Blue
- Wooden Snowflake
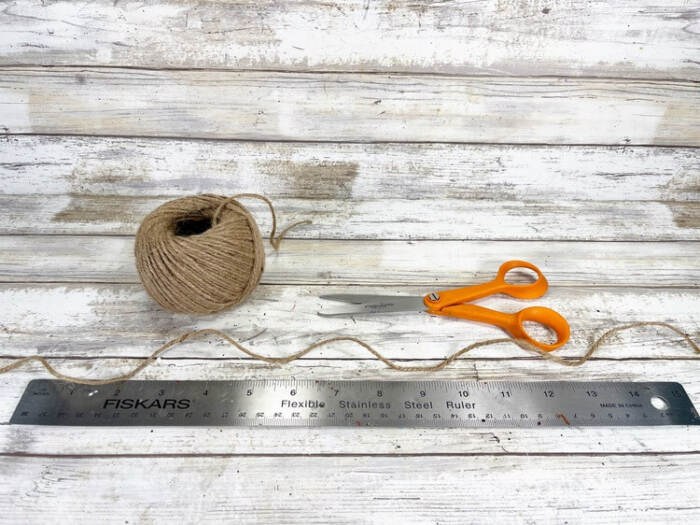
- Natural Jute Twine
- Glue Gun and Glue Sticks
- Buttons, Black
- Fabric, Plaid
- Craft Felt – Orange
- Scissors
- Ruler
Once you’re ready to start, the steps are simple and easy to follow. Let’s walk through how to make your own mason jar lid snowman from start to finish.
How to Make Mason jar Lid Snowman DIY
Step One
Gather all your supplies. In a well-ventilated area (or outdoors), spray paint the metal canning jar rings white. Apply several light coats rather than one heavy coat for even coverage. Let them dry completely. You’ll need 16 rings for the snowman’s head and 16 for the body.
Step Two
Once dry, cut a 24-inch piece of natural jute twine.
Step Three
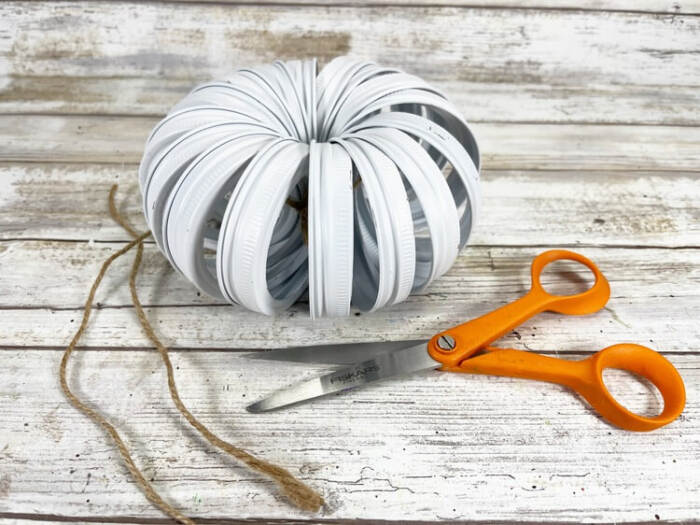
Thread 16 rings onto the twine, making sure they all face the same direction.

Step Four
Bring both ends of the twine together and tie them tightly around the center of the rings to form a circle. Secure with a double knot, then trim the excess twine.
Step Five
Adjust the rings until you’re happy with the circular shape. Repeat the process for the second set of 16 rings to make the body.

Step Six
Stack the head and body together, then secure with hot glue. If using liquid craft glue, allow extra drying time.

Step Seven
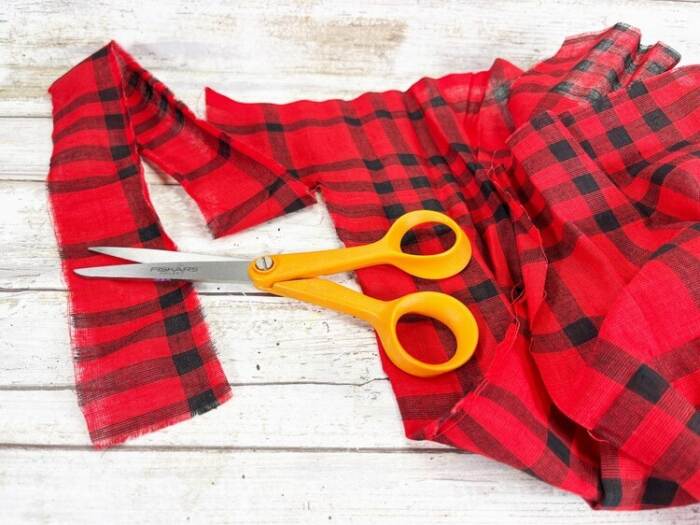
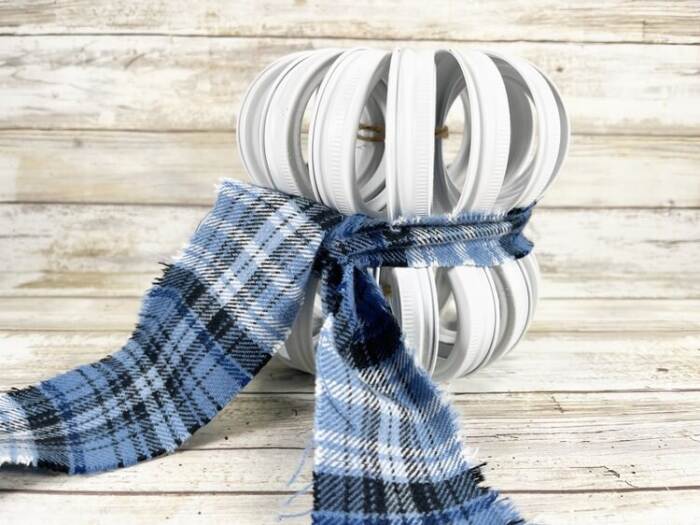
Cut or tear a strip of plaid fabric about 3 inches wide and 24 inches long. To create frayed edges, make a small cut and tear the rest of the way.

Step Eight
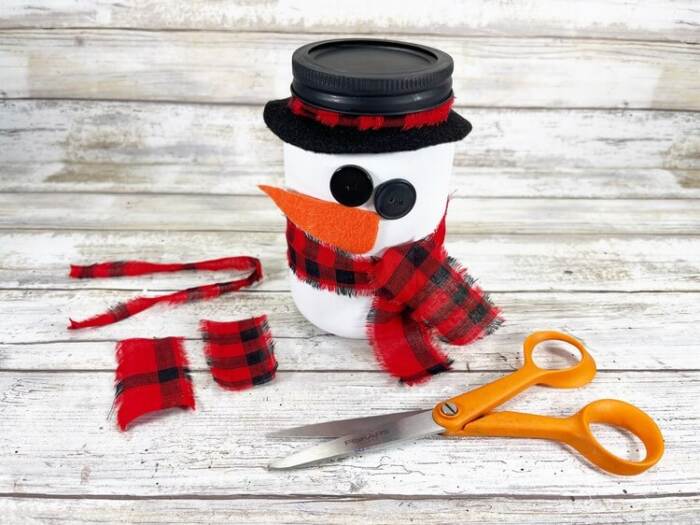
Tie the fabric strip around the snowman’s “neck” as a scarf, trimming any long ends as needed.
Step Nine
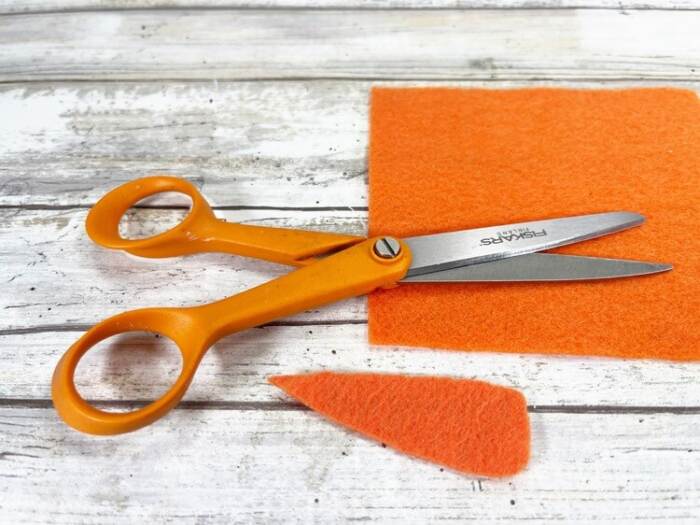
Cut a small carrot shape from orange craft felt. You can also use cardstock, thick fabric, or craft foam.
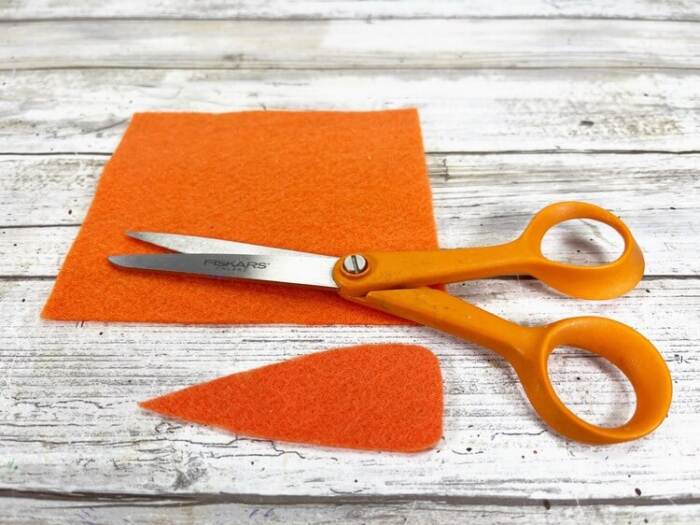
Step Ten
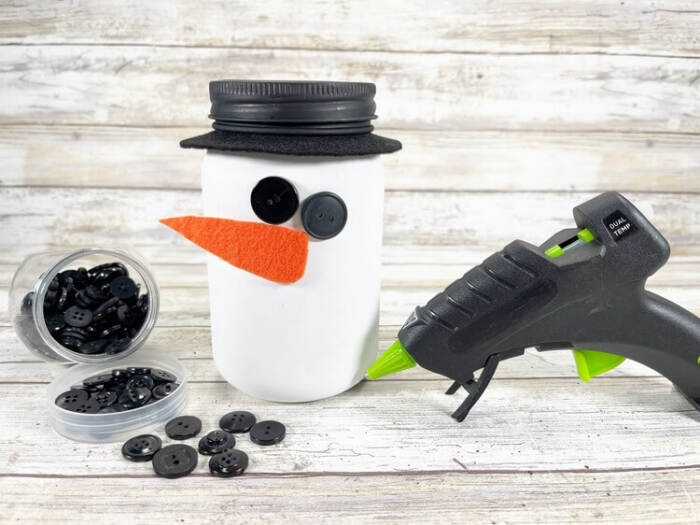
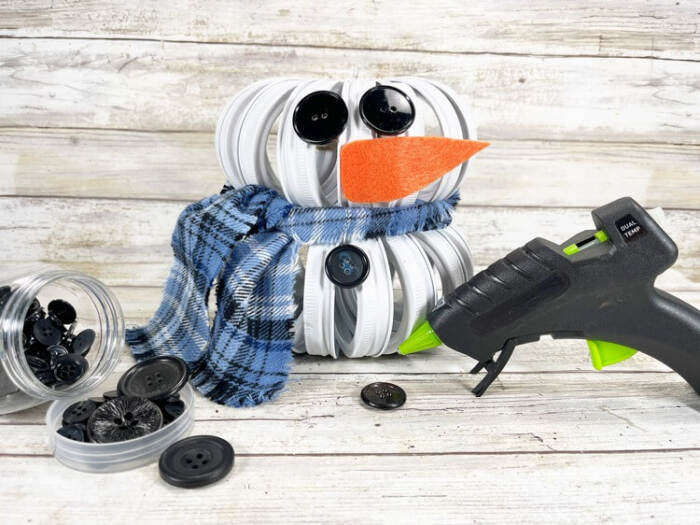
Choose four large black buttons for the eyes and body buttons. Glue the buttons and carrot nose in place.
Step Eleven
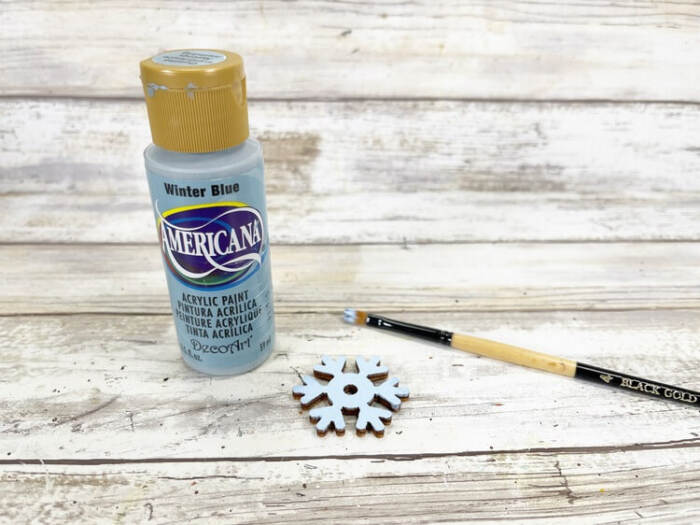
Paint a small wooden snowflake with light blue acrylic paint. Let it dry, and apply a second coat if needed.
Step Twelve
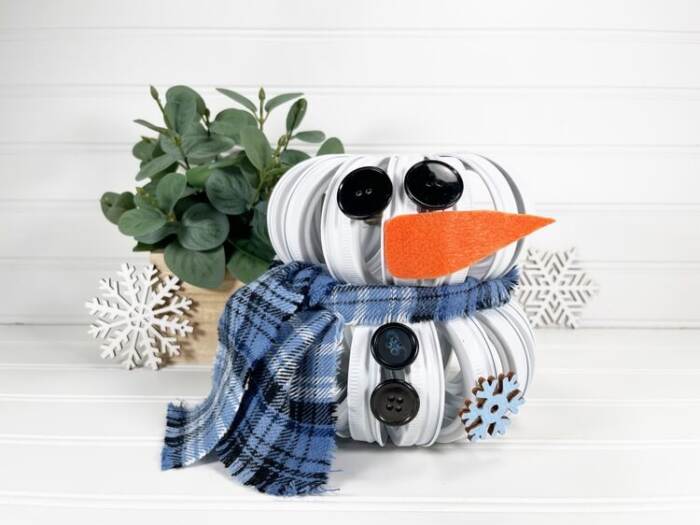
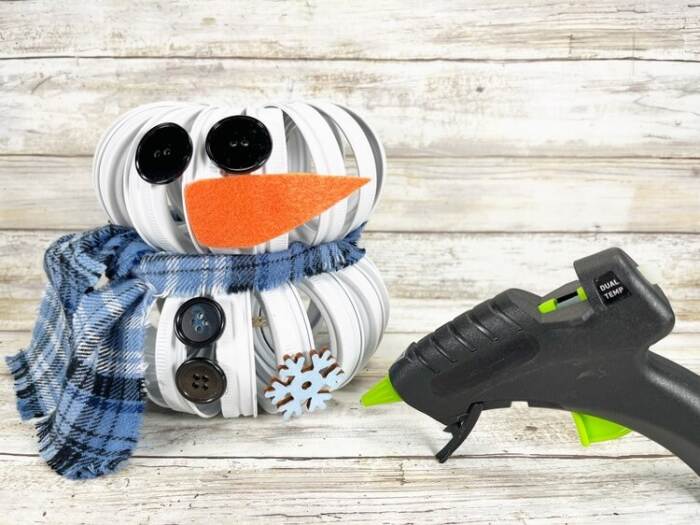
Attach the snowflake to the bottom right of the snowman using hot glue.
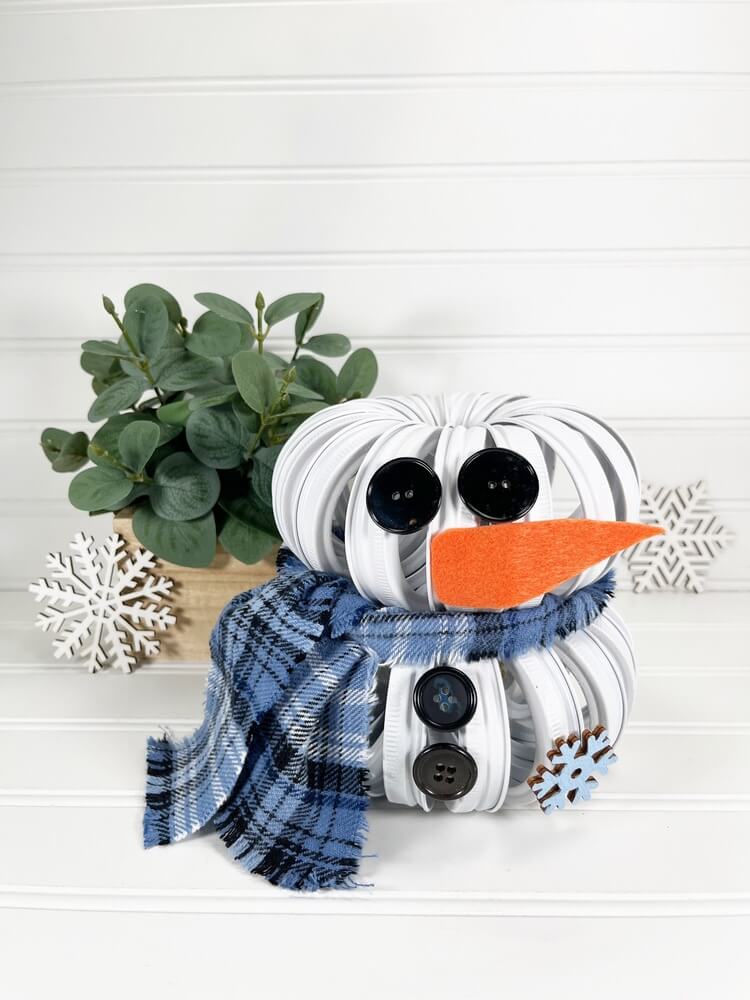
This mason jar lid snowman is a quick and fun craft that brings a little winter charm to any space. It’s easy to personalize and perfect for the holiday season.
Make one today and see how cute it turns out. If you enjoyed this project, check out my other simple winter crafts for more ideas you can make anytime.
Other winter Craft Projects
Mason Jar Lid Snowman DIY
Materials
- Metal Canning Jar Rings – Dollar Store
- Spray Paint – White
- Acrylic Craft Paint – Light Blue
- Wooden Snowflake – Dollar Store
- Natural Jute Twine – Dollar Store
- Glue Gun and Glue Sticks – Dollar Store
- Buttons Black – Dollar Store
- Fabric Plaid – Dollar Store
- Craft Felt – Orange
- Scissors
- Ruler
Instructions
STEP ONE
- Gather all supplies. In a well-ventilated are (or outside) coat the metal canning jar rings with white spray paint. Use several light layers instead of one heavy layer of paint. Set aside to dry. You will need 16 rings to complete the snowman head, and 16 rings to complete the snowman body.
STEP TWO
- Once dry, measure and cut a 24” length of natural jute twine.
STEP THREE
- String on 16 of the canning jar rings, making sure they are all facing in the same direction.
STEP FOUR
- Gather both ends of the twine and tie tightly, around the center of the rings, creating a circle. Secure the twine with a double knot. Trim the long ends of the twine with scissors.
STEP FIVE
- Position the rings until you are pleased with their circular shape. Repeat with the second set of 16 canning jar rings.
STEP SIX
- Stack the snowman head and body on top of each other and secure with a glue gun and glue sticks. If using liquid craft glue, please allow additional time for drying.
STEP SEVEN
- Snip and rip plaid fabric into a strip that is approximately 3” wide by 24” long. Cut into the fabric ½” with scissors, the tear the fabric into strips. This will produce a frayed edge.
STEP EIGHT
- Tie the plaid fabric around the snowman’s neck to create the scarf. Trim any long ends of the fabric with scissors.
STEP NINE
- Using scissors, cut out a carrot shape from orange craft felt. Colored cardstock, heavy fabric, or craft foam would work for this project as well.
STEP TEN
- Select 4 large black buttons for the snowman eyes and buttons. Attach the buttons and carrot nose with a glue gun and glue stick.
STEP ELEVEN
- Basecoat a small wooden snowflake with light blue acrylic craft paint. Let dry, and apply a second coat, if necessary.
STEP TWELVE
- To finish, attach the wooden snowflake to the bottom right side of the snowman with a glue gun and glue sticks.