Winter is such a fun season, and since the temperatures are so frigid in many parts of the country, it is a perfect season for indoor activities. Crafting happens to be one of my favorite hobbies to do indoors when it’s cold outside, and today I’m sharing a super easy project for DIY glitter snowflake ornaments. This is such a cure craft that can be used to decorate the house, classroom, and even the Christmas tree. This project is also simple enough for kids to do too, so it makes for a great family activity. As an Amazon Associate, I earn from qualifying purchases.
It is very likely that you already have the supplies to make these DIY glitter snowflake ornaments lying around the house, so check your craft supply stash before you head out to purchase supplies.
DIY Glitter Snowflake Ornaments
Grab your supplies, and your favorite little crafter, then get started on this fun winter project. Homemade ornaments make great gifts for family and friends, and you can even experiment with different colors of glitter if you’d like!
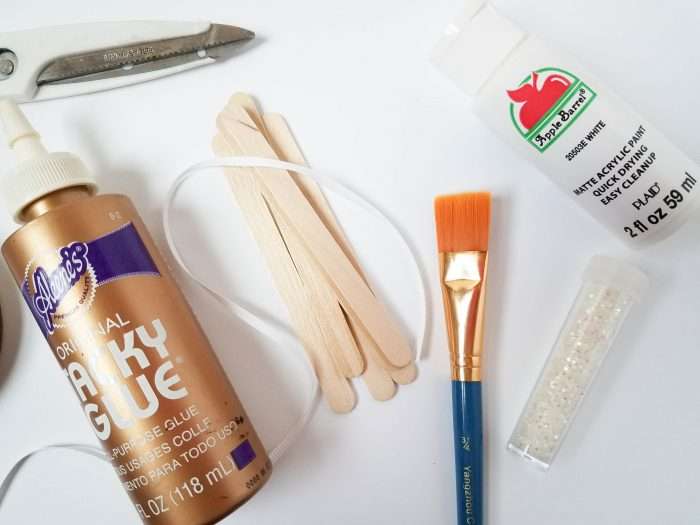
Supplies:
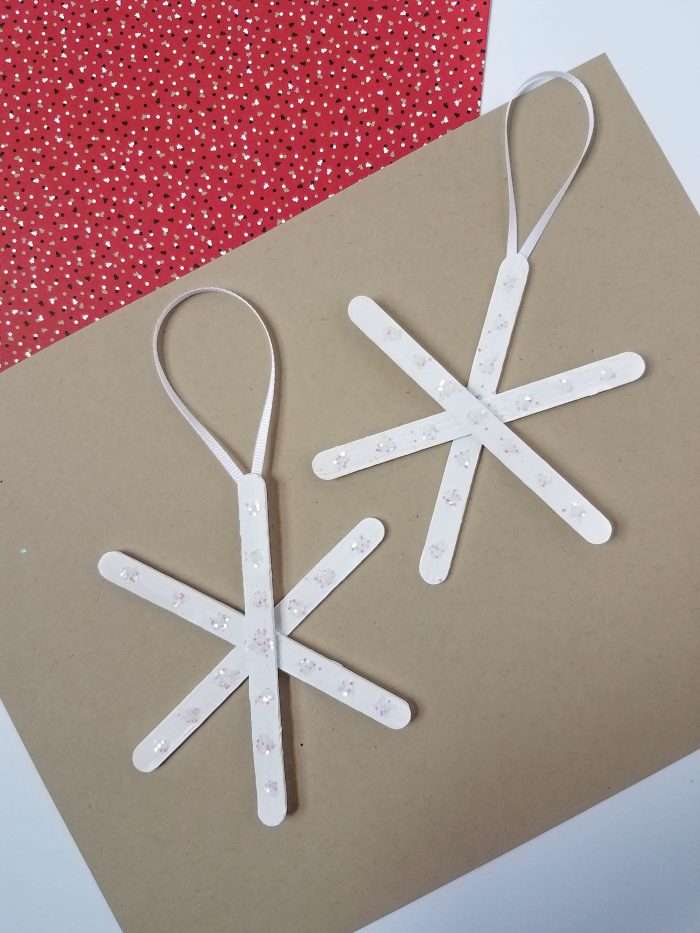
- 3 Craft sticks
 (per ornament)
 - White paint
- Paintbrush
- Tacky glueÂ
- White glitter
- 6 inch piece of thin white ribbon
- Scissors
- Paper or mat
 (per ornament)

 Â


Directions:
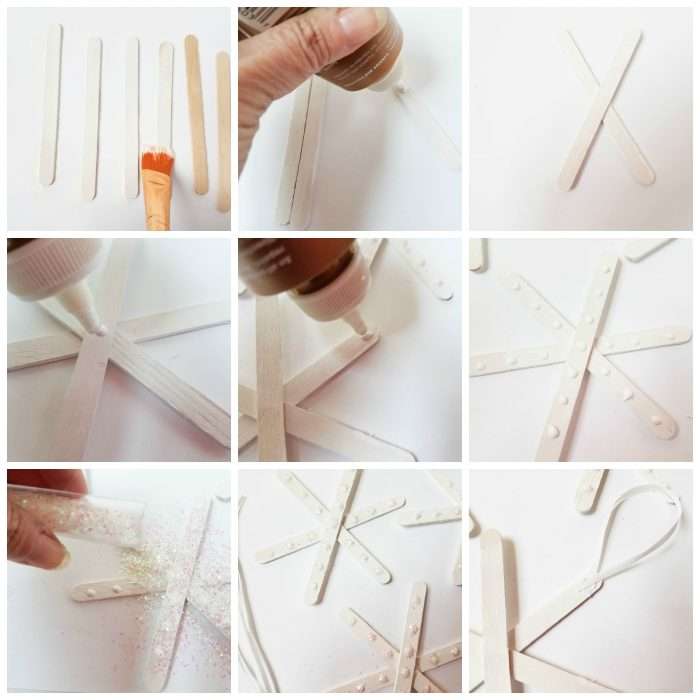
- Lay your paper or mat down to catch all of your messes. Paint each side of the craft sticks and let dry.
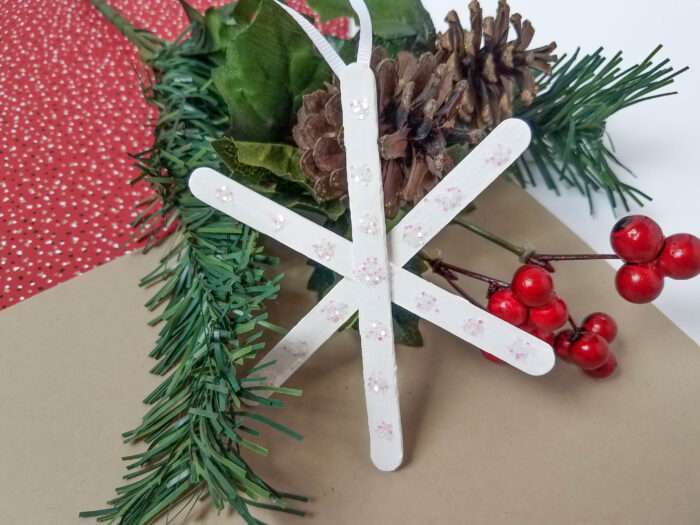
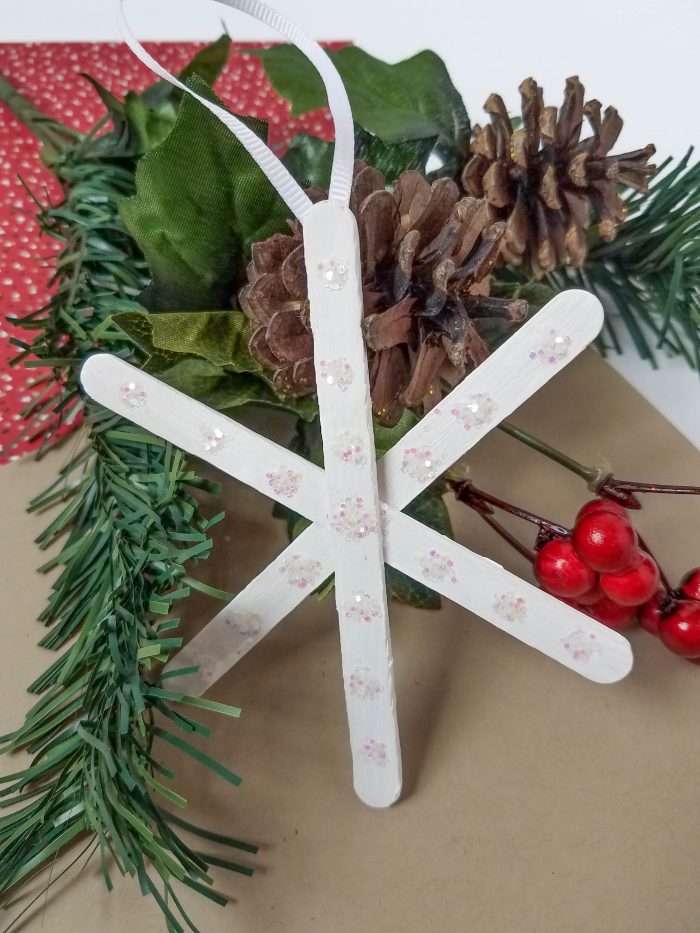
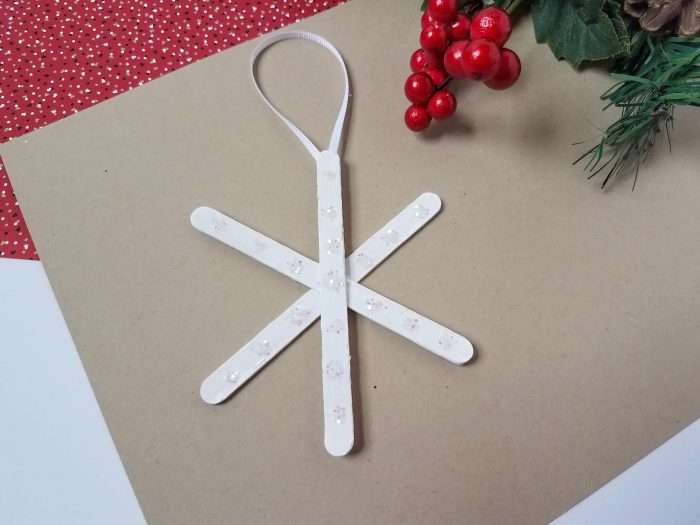
- Put some tacky glue in the center of one of the craft sticks. Assemble the snowflake by layering another craft stick on top of that to make a narrow “xâ€. Put a dot of glue in the middle of the top craft stick, and situate the third craft stick on top to take the shape of a snowflake.
- Put one drop of glue in the center of the top craft stick, and 3 dots of glue each below and above that. Place 3 dots of glue across each of the other craft sticks.
- Sprinkle glitter generously on top of the craft sticks that are dotted with glue.Â
- Once glue and glitter is dry, attach the ribbon to the back of the snowflake.