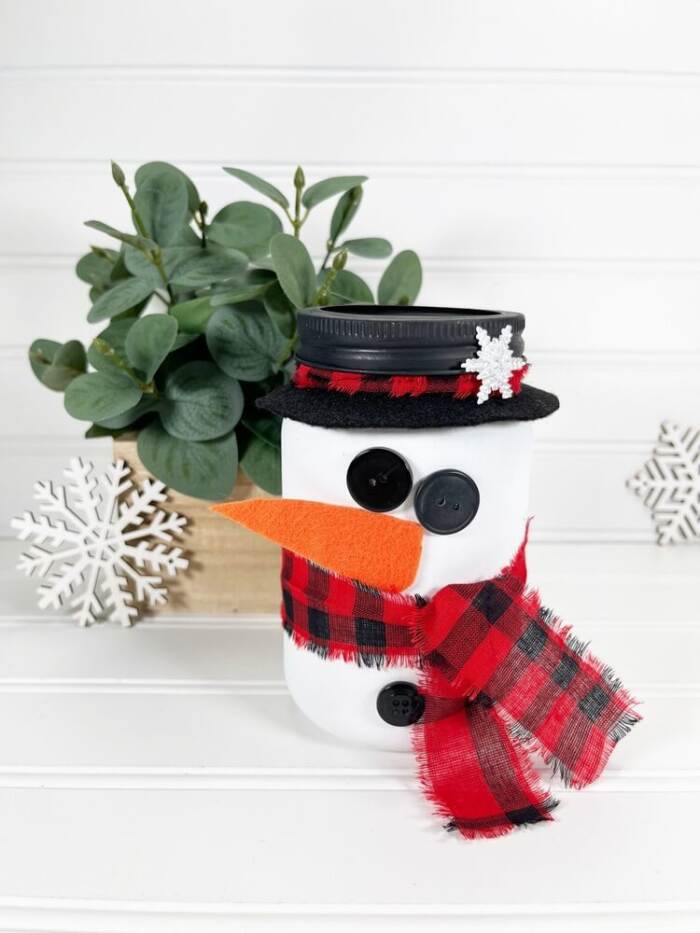
This mason jar snowman craft is a fun and easy project you can make with just a few basic supplies. It’s great for kids, adults, or anyone who loves simple winter crafts.
The cute snowman design makes it perfect for decorating your home, giving as a gift, or adding to your holiday table.
This craft comes together fast, and you can change the colors or details to match your style. You can use paint, ribbon, fabric, buttons, or anything you have on hand.
Most people finish it in about 20–30 minutes.
Yes, it’s kid-friendly with a little help for the glue and paint.
Yes, any size works. Smaller jars make cute gifts.
Set it on a shelf, use it as a centerpiece, or give it as a holiday gift.

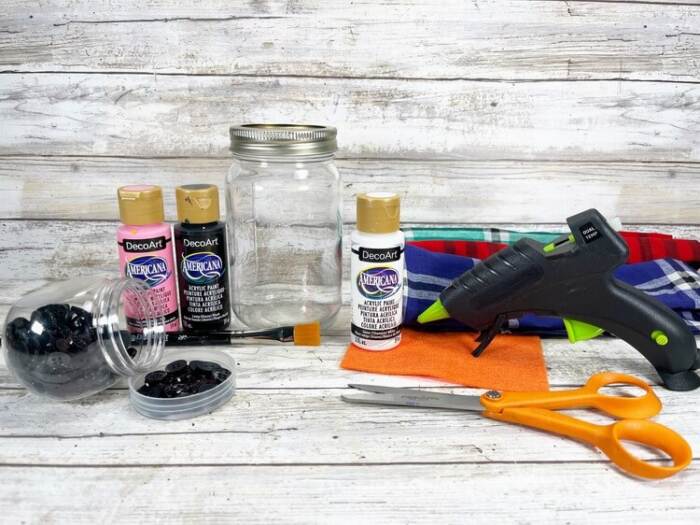
Supplies
- Mason Jar with Lid
- Craft Felt – Orange, Black
- Fabric, Plaid
- Black Buttons
- Snowflake Charm – Dollar Store or in bulk on Amazon
- Glue Gun and Glue Sticks – Dollar Store
- Scissors
- Chalk Pencil, White
- Ruler
- MASON JAR SNOWMAN PATTERNS
Once your supplies are ready, the steps are super simple. Let’s walk through how to make your own mason jar snowman.
How to Make a Mason Jar Snowman Craft
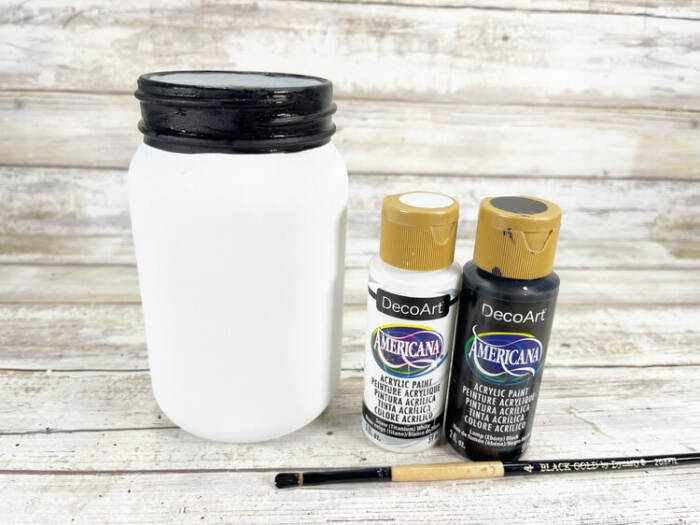
Step 1
Gather all supplies. Paint the jar portion of the mason jar white and the neck black using acrylic craft paint. Let dry and apply a second coat if needed.
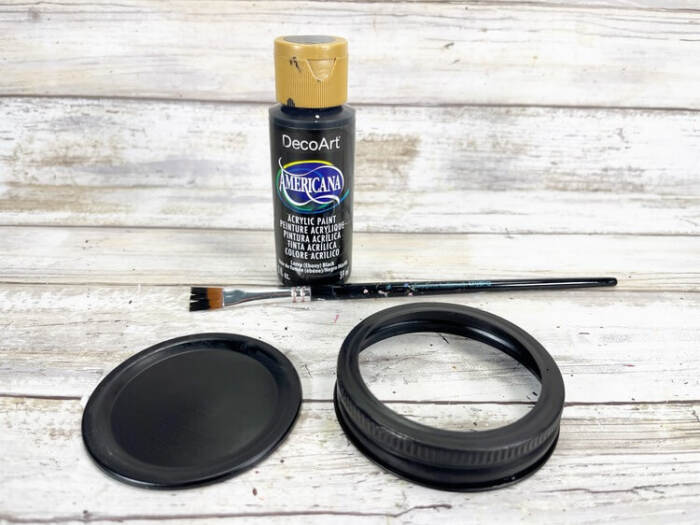
Step 2
Paint the lid and ring black. Allow to dry completely before adding another coat if necessary.
Step 3
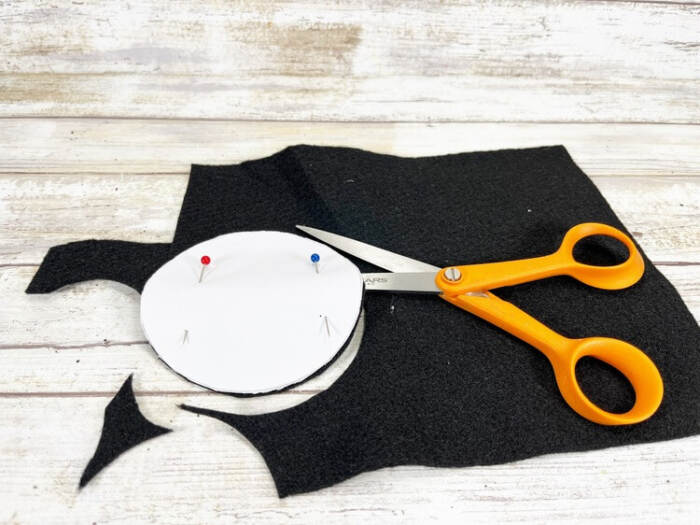
Print and cut out the Mason Jar Snowman Patterns. Use the larger circle as a guide to cut the hat brim from black craft felt.
Step 4
Place the mason jar upside down in the center of the black felt circle and trace around the mouth with a white chalk pencil.
Step 5
Cut out the traced circle from the felt to create a hole for the jar’s neck.
Step 6
Slide the felt hat brim over the neck of the jar. Then, place the painted lid on top and screw on the ring.
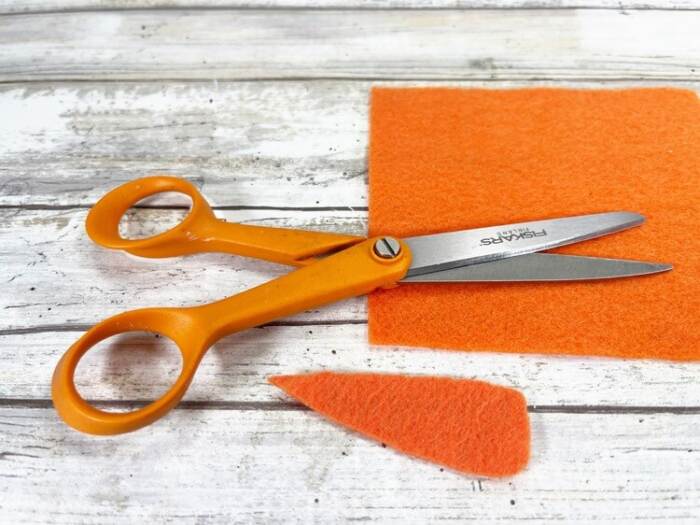
Step 7
Cut a small carrot nose from orange craft felt. You can also use cardstock, heavy fabric, or foam if preferred.
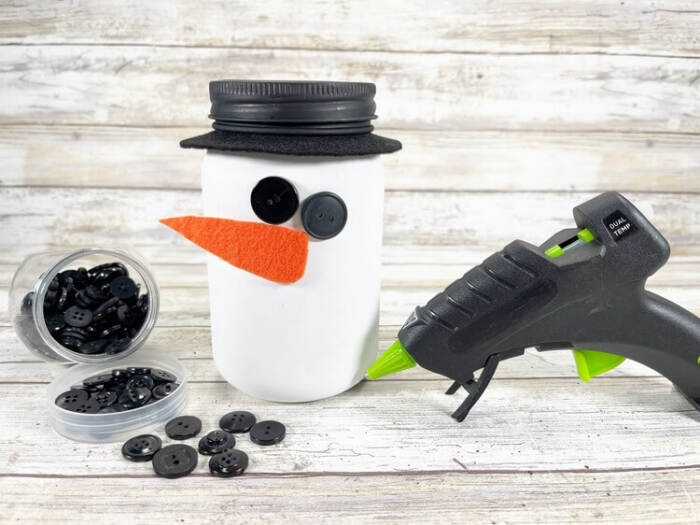
Step 8
Choose two large black buttons for eyes. Glue the buttons and carrot nose in place. If using craft glue instead of hot glue, allow extra drying time.
Step 9
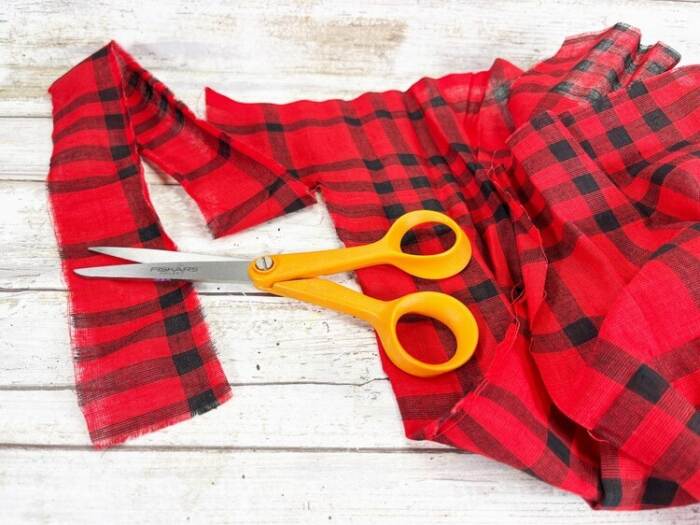
Tear plaid fabric into two strips — one about 1 inch wide by 18 inches long and another ½ inch by 10 inches. Tear rather than cut to create frayed edges.
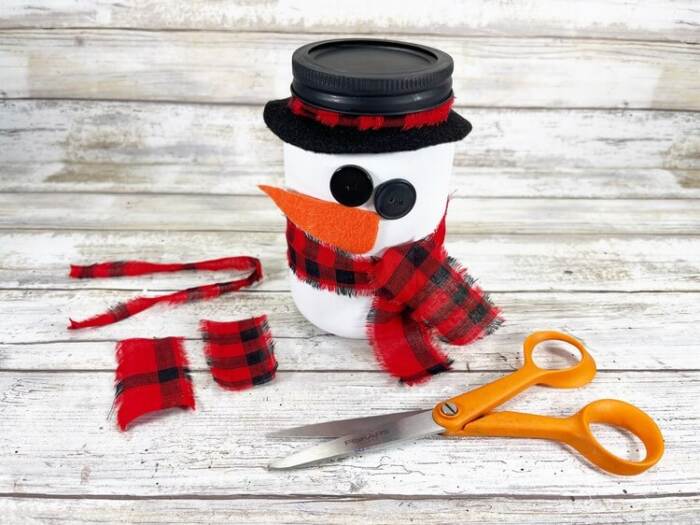
Step 10
Tie the longer strip around the snowman’s “neck” beneath the nose as a scarf. Use the smaller strip to wrap around the hat brim, securing it with glue.
Step 11
Glue a large black button to the front of the jar for decoration.
Step 12
Finish by gluing a glittery snowflake charm to the snowman’s hat band.
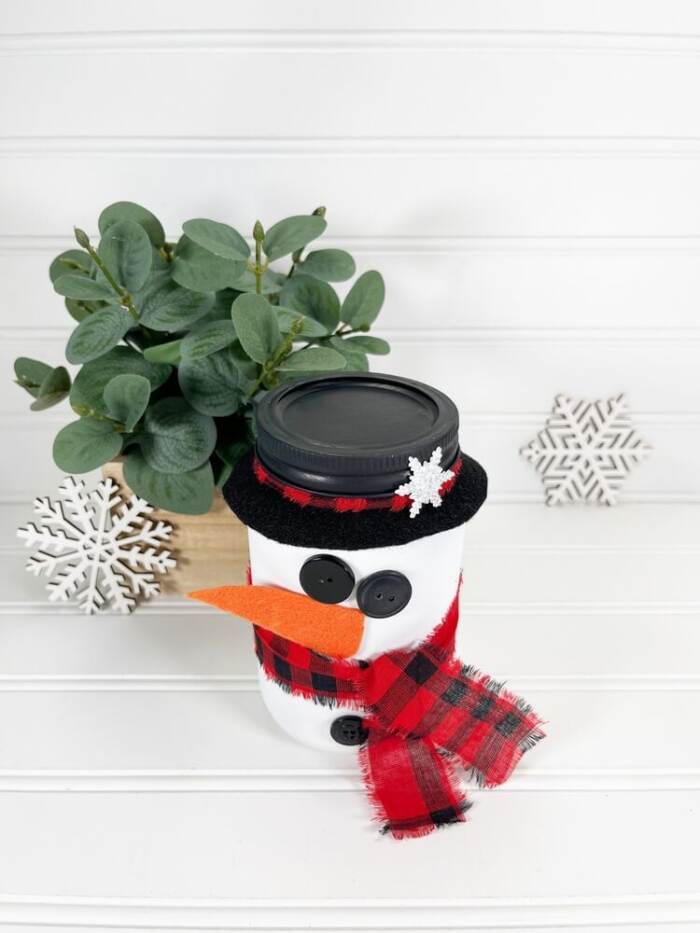
A mason jar snowman craft is an easy way to add a little winter charm to your home. It’s fast to make, fun to customize, and great for gifting during the holidays.
Give this craft a try and see how cute your snowman turns out. If you liked this project, check out my other easy DIY crafts for more ideas you can make anytime.
Other winter Craft Projects

Mason Jar Snowman Craft
Materials
- Mason Jar with Lid – Dollar Store
- Craft Felt – Orange Black
- Fabric Plaid – Dollar Store
- Buttons Black – Dollar Store
- Snowflake Charm – Dollar Store
- Glue Gun and Glue Sticks – Dollar Store
- Scissors
- Chalk Pencil White
- Ruler
- MASON JAR SNOWMAN PATTERNS
Instructions
STEP ONE
- Gather all supplies. Basecoat the jar portion of the mason jar with white acrylic craft paint. Basecoat the neck portion of the mason jar with black acrylic craft paint. Let dry and apply a second coat, if necessary.
STEP TWO
- Basecoat the lid and ring portion of the mason jar with black acrylic craft paint. Let dry and apply a second coat, if necessary.
STEP THREE
- Download and print the MASON JAR SNOWMAN PATTERNS, layer the larger circle hat brim onto black craft felt and cut out with scissors.
STEP FOUR
- Place the mason jar upside down in the center of the black felt circle and trace around the opening with a white chalk pencil.
STEP FIVE
- Cut out the center of the black craft felt circle with scissors.
STEP SIX
- Place the hat brim around the neck of the mason jar, place the lid on top and then screw on the ring.
STEP SEVEN
- Using scissors, cut out a carrot shape from orange craft felt. Colored cardstock, heavy fabric, or craft foam would work for this project as well.
STEP EIGHT
- Select 2 large black buttons for the snowman eyes. Attach the buttons and carrot nose with a glue gun and glue stick. If using liquid craft glue, please allow additional time for drying.
STEP NINE
- Snip and rip plaid fabric into one strip that is approximately 1” wide by 18” long and a second strip that is ½” by 10” long. Cut into the edge of the fabric ½” with scissors, then tear the fabric into strips. This will produce a frayed edge.
STEP TEN
- Tie the larger piece of plaid fabric around the mason jar, securing just under the snowman’s carrot nose. Attach the smaller piece of plaid fabric around the snowman’s hat, securing with a glue gun and glue sticks.
STEP ELEVEN
- Attach a large black button to the front of the snowman with a glue gun and glue sticks.
STEP TWELVE
- To finish, secure a glittery snowflake charm to the snowman’s hat band with a glue gun and glue sticks.