
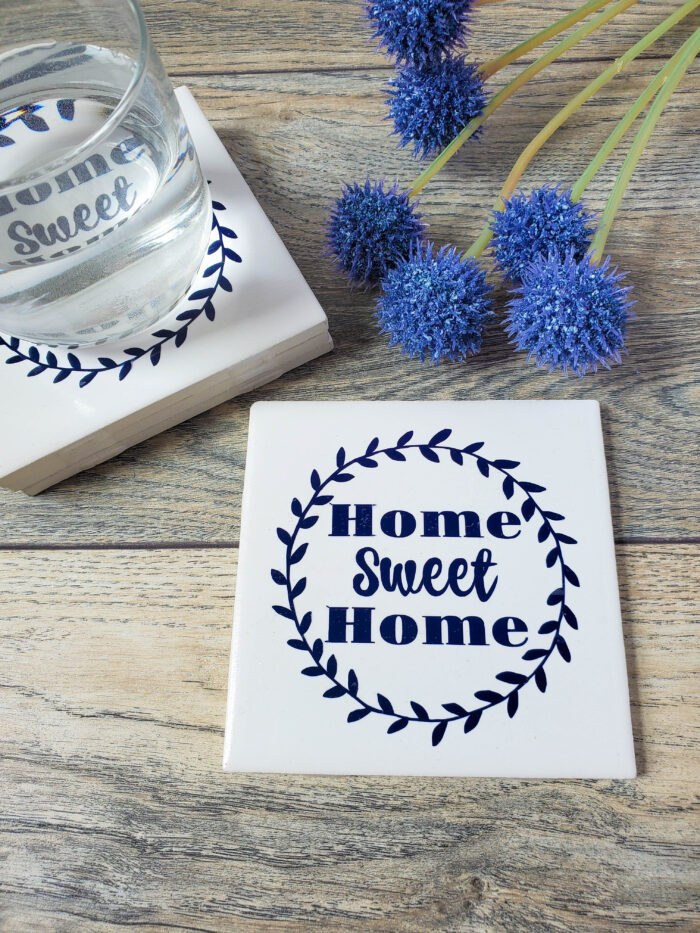
These Cricut ceramic coasters are a perfect diy gift idea for the upcoming holiday season. They are super easy to make, and even inexpensive on the budget. You can pick up 4 inch ceramic tiles at your local home improvement store for less than 20 cents a piece! Of course, you can order them right through Amazon below too!

These Cricut ceramic coasters really are quite lovely, and you can download the SVG file for FREE, as it was made by me! These homemade ceramic coasters are such a wonderful gift idea for the holidays. I gifted this set to my mom, and she was just thrilled to receive them. With the holidays coming up, simply
How do you seal vinyl on ceramic coasters?
I use Mod Podge to seal these Cricut ceramic cpasters. I also like to use Krylon Clear Glaze to seal my vinyl because it gives a completely smooth finish. However, it does give off a bit more of a glossier look.

How do you make tile coasters waterproof?
The ModPodge overlay is what makes these coasters waterproof. You will not have to worry about the vinyl peeling up due to condensation from drinkware, because the PodPodge creates a seal over the vinyl.
Can you polyurethane over Cricut vinyl?
Technically, that answer is yes. However, I prefer not to use polyurethane because of a few reasons. It is messier to work with than the alternatives I have listed. You will need to discard your brush because it is really sticky. Because it is really sticky, you will feel that stickiness on the finished tile too. I suggest using ModPodge or the Krylon Clear Glaze.
You shoudl check out these other crafts too.
- DIY Fabric Coasters
- Mason Jar DIY Centerpiece
- You Are My Anchor Sign – Cricut Craft with FREE SVG file
What supplies do I need to make these Cricut ceramic coasters
- 4†ceramic tile
- Cricut machine
- Cricut vinyl
- Cricut Standar Grip Mat
- Cricut Transfer Tape
- Cricut Weeder tool
- Cricut Spatula, or thick card
- Mod Podge
- Foam brush
Cricut Ceramic Coasters

Materials
Instructions
