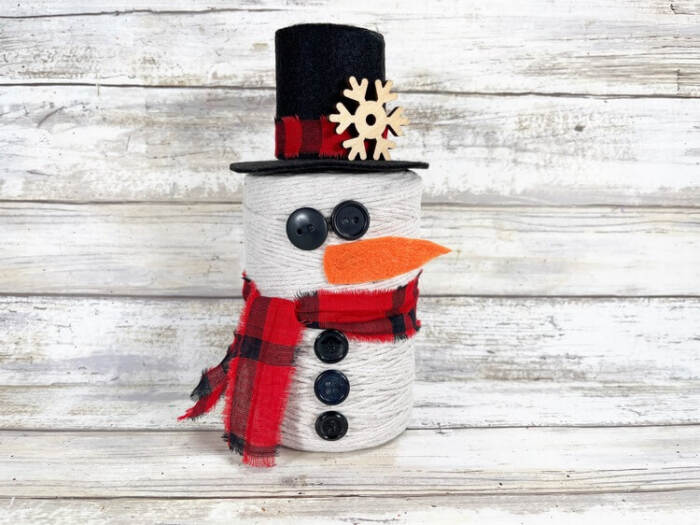
Looking for an easy snowman craft anyone can make? This Easy Snowman String Ball Craft is simple, fun, and perfect for winter or Christmas decorating.
It uses basic supplies and works great for kids, teens, and adults who want a cute handmade snowman without a lot of steps.
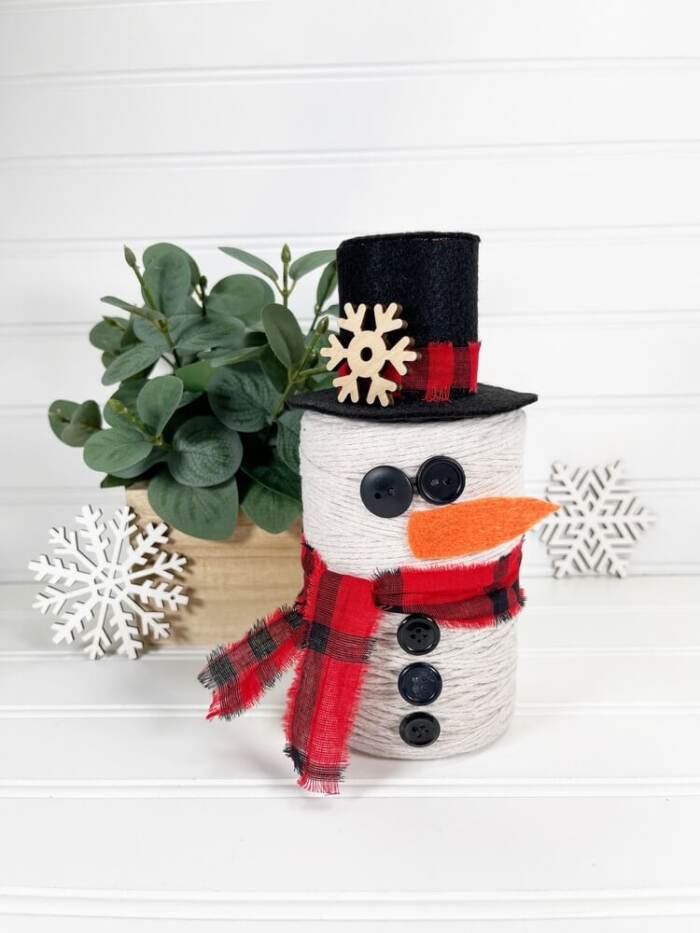
This string ball snowman is great for classrooms, holiday parties, or cozy craft days at home. You can change the size, colors, and decorations to match your space. Follow along to make a snowman that looks festive, lightweight, and easy to display anywhere.
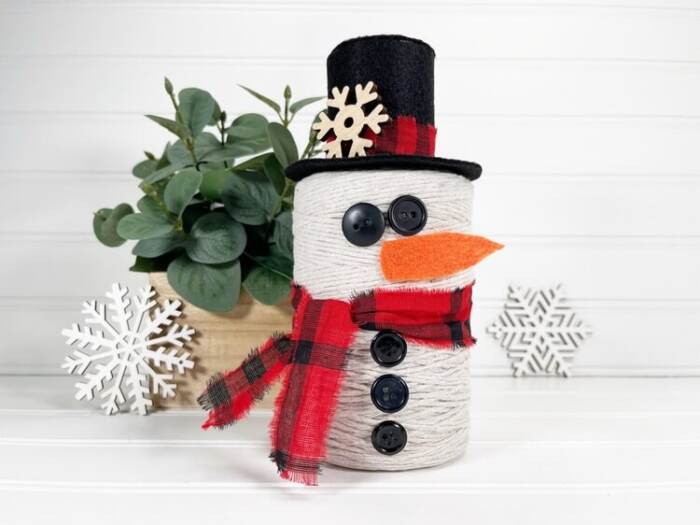
Yes! String ball snowmen are perfect for Christmas decorating. They look great on tables, shelves, or mantels and can be reused year after year if stored carefully.
This easy snowman craft takes about 15-20 minutes to make, but if you plan to make more, batch work some of the steps like cutting felt etc to save time.
They are a great choice for groups because they are low cost and simple to explain. Teachers and group leaders like them because kids can work at their own pace.
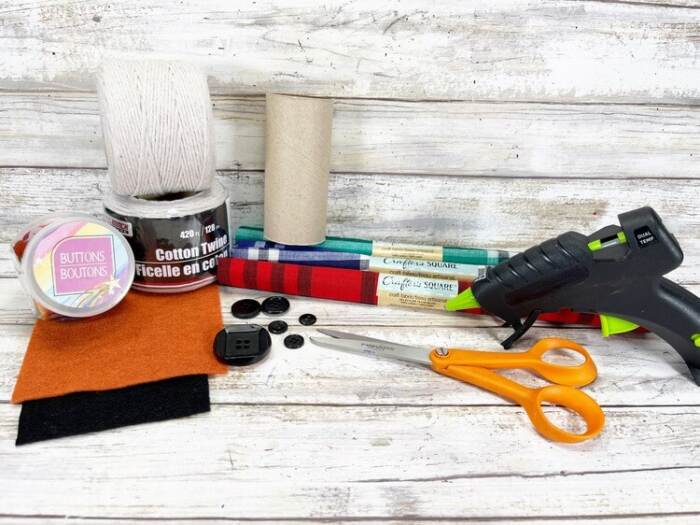
Supplies
- Cotton String, 2 Balls – Dollar Store
- Craft Felt – Black, Orange
- Toilet Paper Tube – Recycled
- Fabric, Plaid – Dollar Store
- Buttons, Black – Dollar Store
- Wooden Snowflakes – Dollar Store
- Glue Gun and Glue Sticks – Dollar Store
- Straight Pins
- Scissors
- Pencil
- Chalk Pencil, White
- Ruler
- COTTON STRING BALL SNOWMAN PATTERNS
How to Make a Snowman String Ball Craft
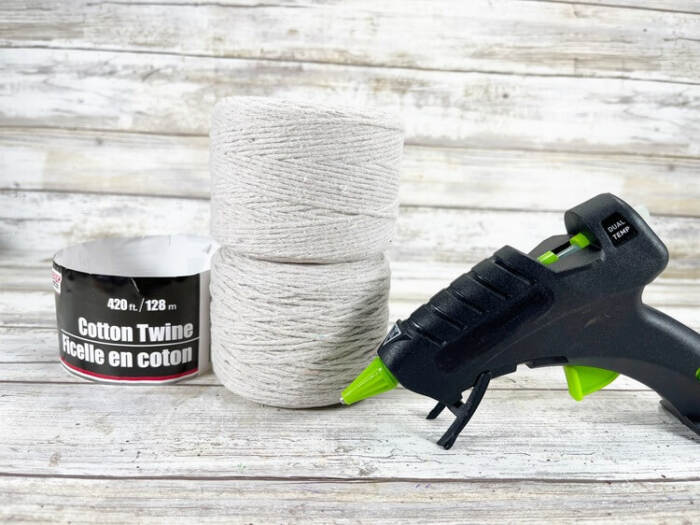
STEP ONE
Gather all materials. Remove the paper labels from the string balls. Stack the balls and glue them together using a hot glue gun.
STEP TWO
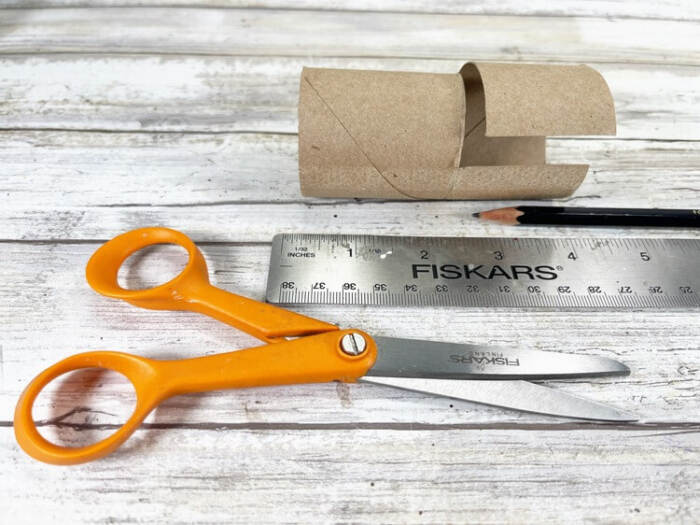
Measure and cut a 2-inch section from a cardboard toilet paper tube.
STEP THREE

Mark a rectangle on black craft felt that is 2 inches wide and 9 inches long. Cut it out with scissors.
STEP FOUR
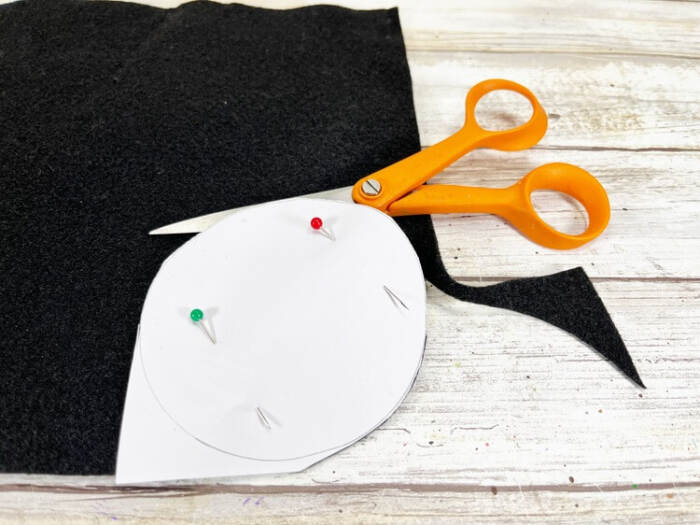
Download and print the snowman patterns. Place the larger circle hat brim on black craft felt and cut it out.
STEP FIVE
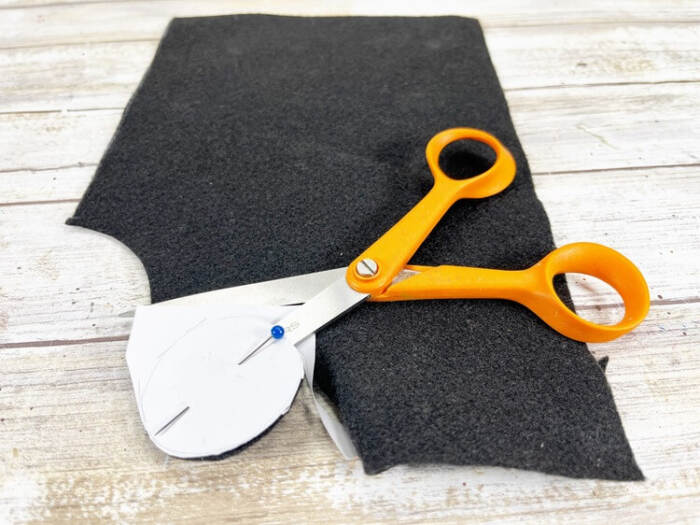
Place the smaller circle hat top on black craft felt and cut it out. Pin the pattern in place or trace it with a white chalk pencil.
STEP SIX
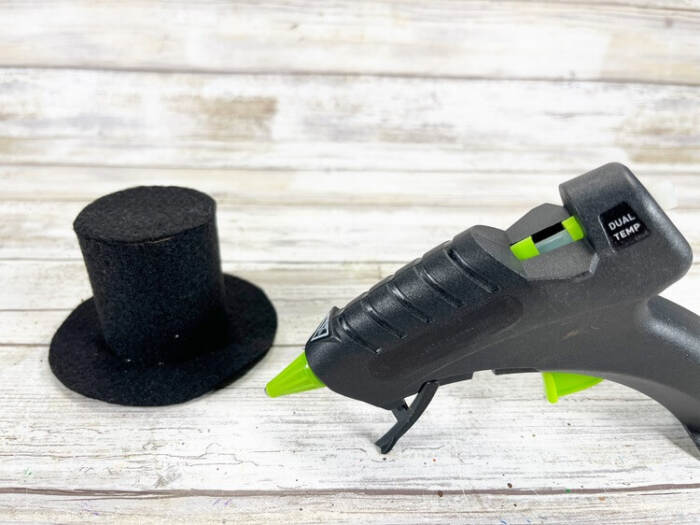
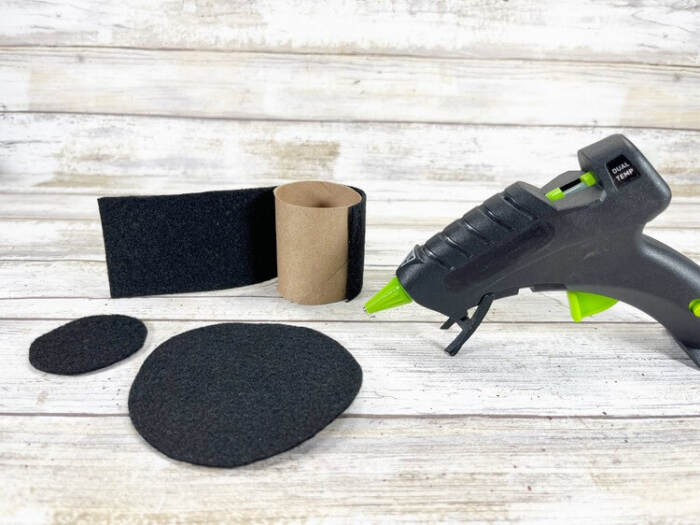
Glue the black felt pieces to the sides, bottom, and top of the cardboard tube using a hot glue gun.
STEP SEVEN
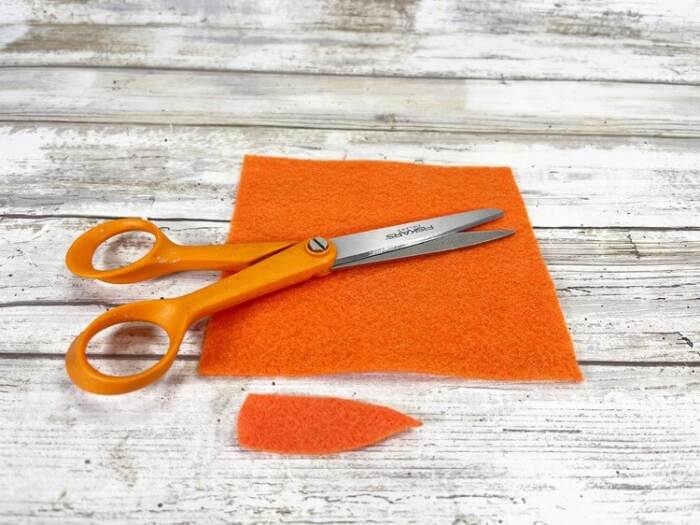
Cut a carrot shape from orange craft felt. Cardstock, heavy fabric, or craft foam also works.
STEP EIGHT

Choose two medium black buttons for the eyes and three small black buttons for the front. Glue the buttons and carrot nose in place. Allow extra drying time if using liquid glue.
STEP NINE
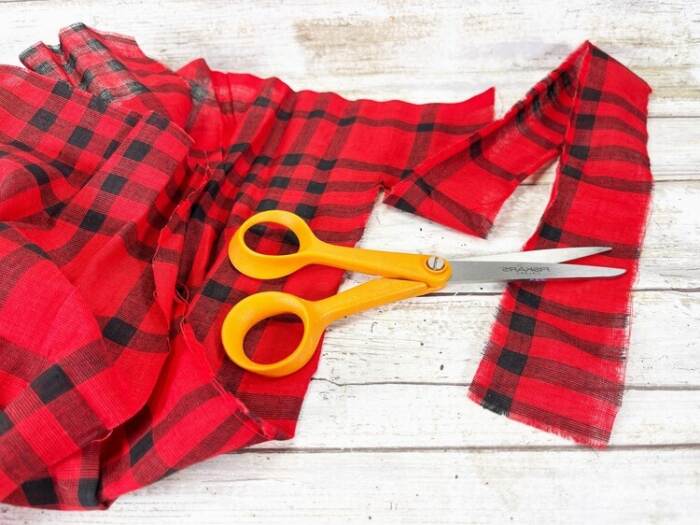
Cut two strips of plaid fabric. Make one about 1 inch by 12 inches and the other about ½ inch by 8 inches. Snip the fabric ½ inch in, then tear to create frayed edges.
STEP TEN
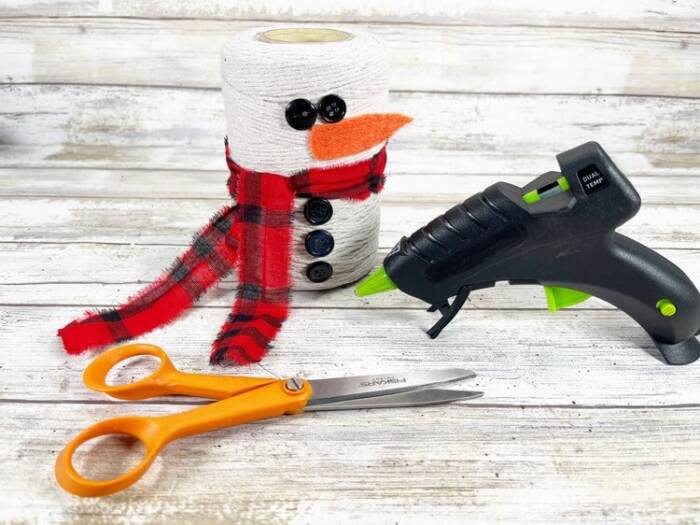
Tie the larger fabric strip around the snowman’s neck to make a scarf. Trim any excess.
STEP ELEVEN
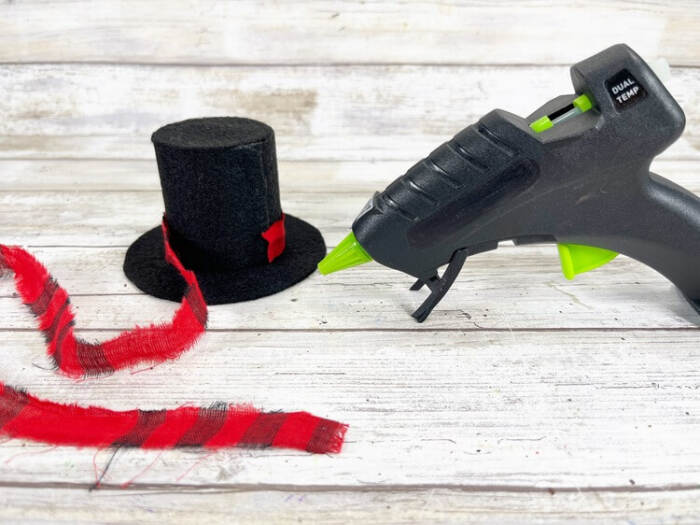
Glue the smaller fabric strip around the base of the hat as the band.

STEP TWELVE
Finish by gluing a small wooden snowflake onto the hat.
Ready to make your own easy snowman craft? Grab your supplies and start crafting today. This snowman string ball project is fun, budget-friendly, and perfect for kids or adults. Make one for your home, classroom, or as a handmade gift. Try it now and turn a simple afternoon into a cozy winter craft moment.

Try these other fun winter crafts!

Easy Snowman String Ball Craft
Materials
- Cotton String 2 Balls – Dollar Store
- Craft Felt Black, Orange
- Toilet Paper Tube Recycled
- Fabric Plaid Dollar Store
- Black Buttons Dollar Store
- Wooden Snowflakes Dollar Store
- Glue Gun and Glue Sticks Dollar Store
- Straight Pins
- Scissors
- Pencil
- White Chalk Pencil
- Ruler
- COTTON STRING BALL SNOWMAN PATTERNS
Instructions
STEP ONE
- Gather all supplies. Unwrap the balls of string and remove the paper labels. Stack the balls on top of each other and secure with a glue gun and glue sticks.
STEP TWO
- Measure a 2” long section from the cardboard toilet paper tube, then cut it out using scissors.
STEP THREE
- Measure a 2” wide by 9” long rectangle on black craft felt with a white chalk pencil. Cut out with scissors.
STEP FOUR
- Download and print the SNOWMAN PATTERNS, layer the larger circle hat brim onto black craft felt and cut out with scissors.
STEP FIVE
- Layer the smaller circle hat top onto black craft felt and cut out with scissors. Secure the patterns with straight pins or trace the patterns with a while chalk pencil.
STEP SIX
- Attach the black craft felt pieces to the sides, bottom and top of the cardboard toilet paper tube with a glue gun and glue sticks.
STEP SEVEN
- Using scissors, cut out a carrot shape from orange craft felt. Colored cardstock, heavy fabric, or craft foam would work for this project as well.
STEP EIGHT
- Select 2 medium black buttons for the snowman eyes and 3 small black buttons for the front buttons. Attach the buttons and carrot nose with a glue gun and glue sticks. If using liquid craft glue, please allow additional time for drying.
STEP NINE
- Snip and rip plaid fabric into two strips. The first approximately 1” wide by 12” long, and the second ½” wide by 8” long. Cut into the fabric ½” with scissors, the tear the fabric to create strips. This will produce a frayed edge.
STEP TEN
- Tie the larger strip of fabric around the snowman’s neck as the scarf, then trim any long ends with scissors.
STEP ELEVEN
- Secure the smaller strip of fabric around the base of the hat as the band, using a glue gun and glue sticks.
STEP TWELVE
- To finish, glue a small wooden snowflake to the snowman’s hat.
