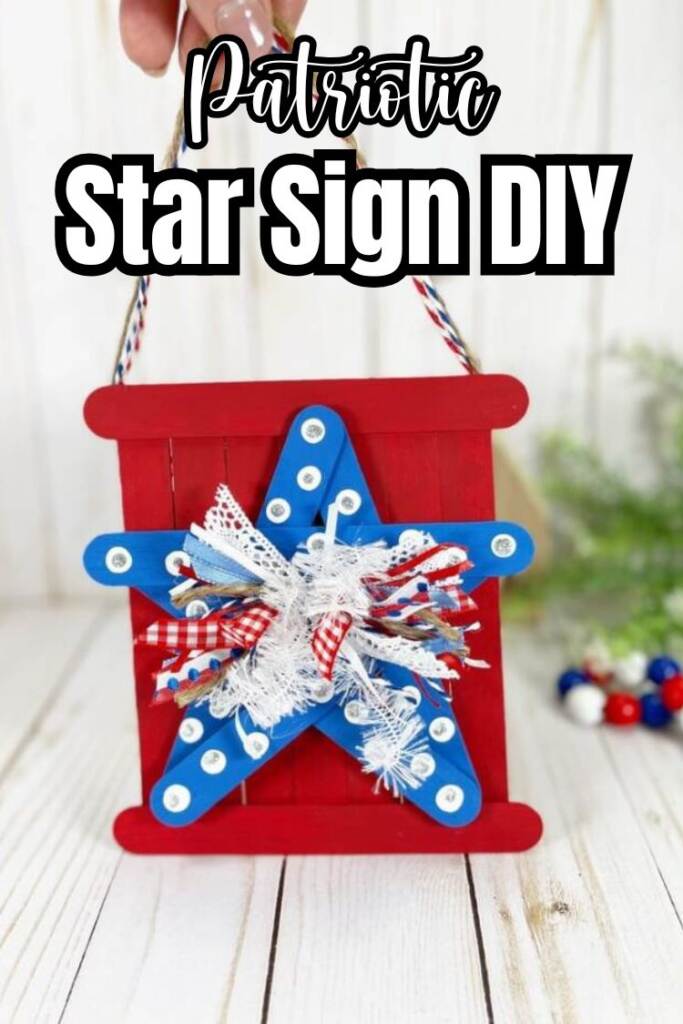
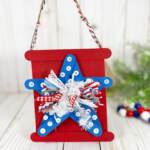
A patriotic star craft is a fun and festive way to celebrate the red, white, and blue. Whether you’re decorating for the Fourth of July, Memorial Day, or Labor Day, this easy craft is a great activity for kids and adults alike.
Using simple supplies, you can create colorful stars that show off your American pride. Hang them around the house, string them into garlands, or use them as table decor to add a handmade touch to your celebration.

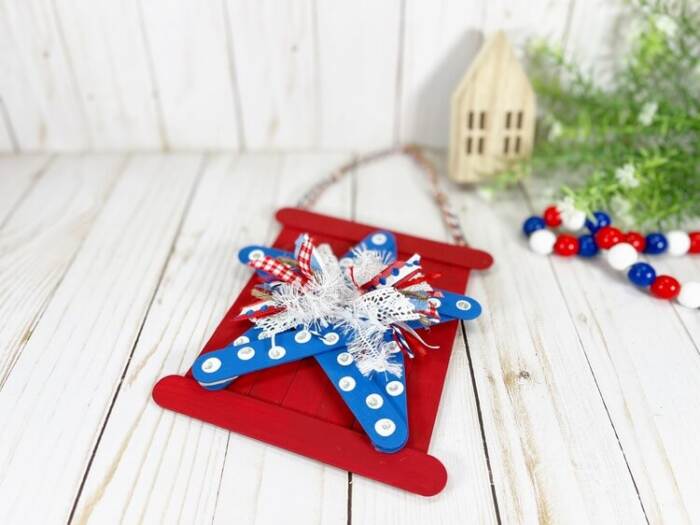
This patriotic star craft is also a great way to get creative as a family. It’s quick to make, easy to customize, and adds a fun personal touch to your holiday decor.
Jumbo craft sticks work best because they’re sturdy and make a good-sized star that’s easy to decorate.
Yes! Most of the supplies—like paint, twine, and glitter glue—can be found at the dollar store or in your craft stash.
It’s great for kids with some adult help—especially with the hot glue. Let them paint and decorate, while you handle the assembly.
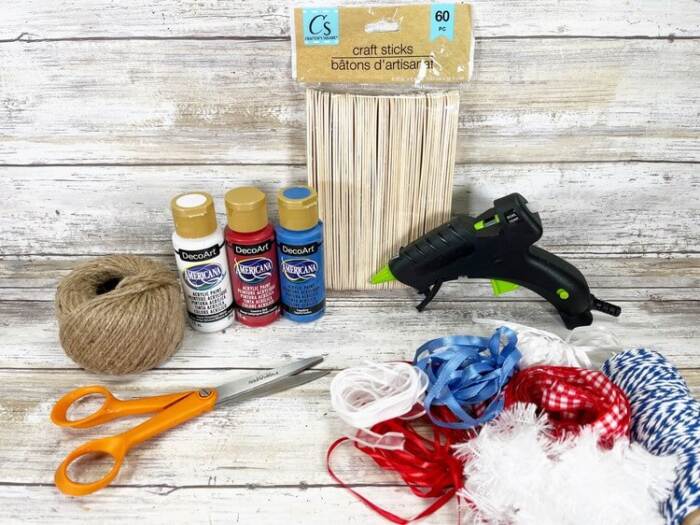
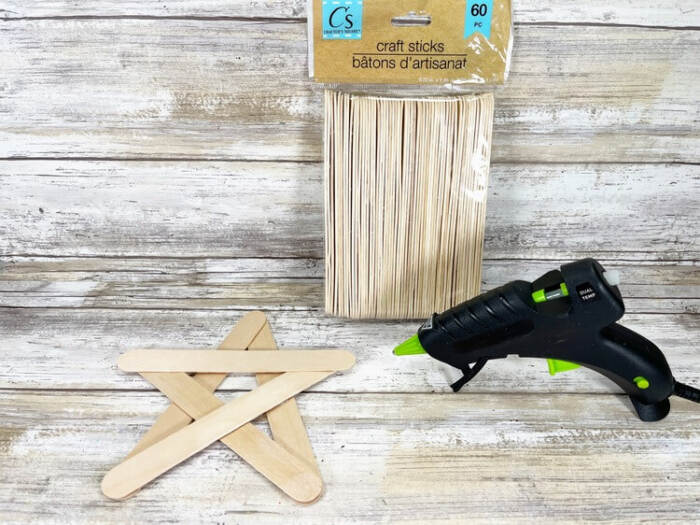
Supplies
- Craft Sticks, Jumbo – Dollar Store
- Natural Jute Twine – Dollar Store
- Silver Glitter Glue – Dollar Store
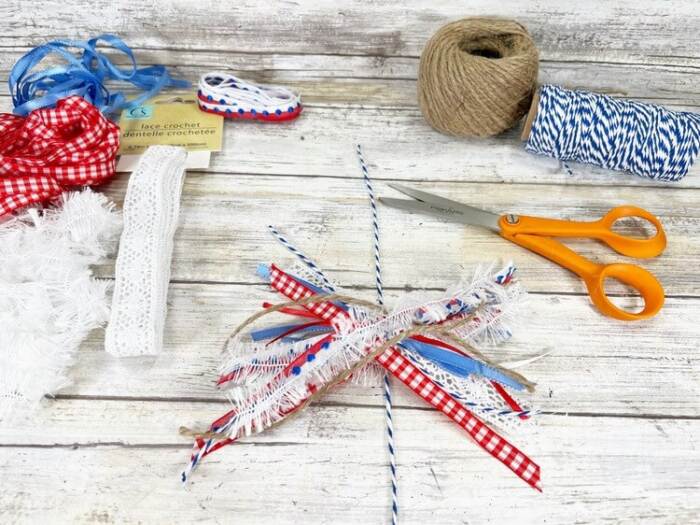
- Ribbons, Lace, Trim, Baker’s Twine – Assorted Scraps in Red, White, Blue
- Glue Gun and Glue Sticks
- Acrylic Craft Paint – Red, White, Blue
- Paintbrush
- Pencil with New Eraser
- Scissors
How to Make
STEP ONE
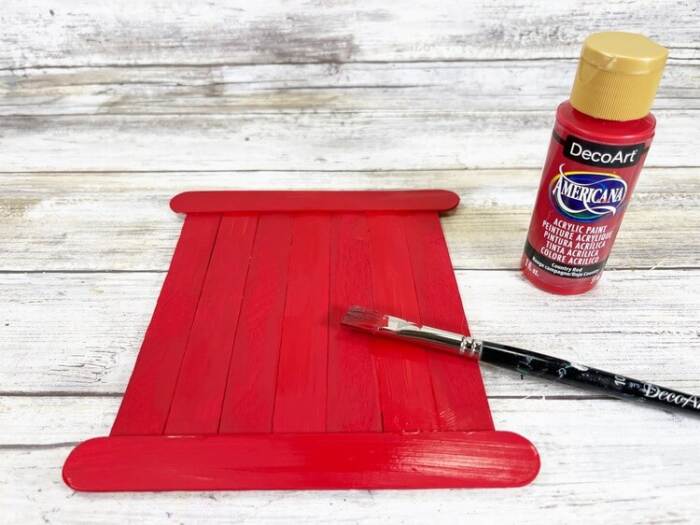
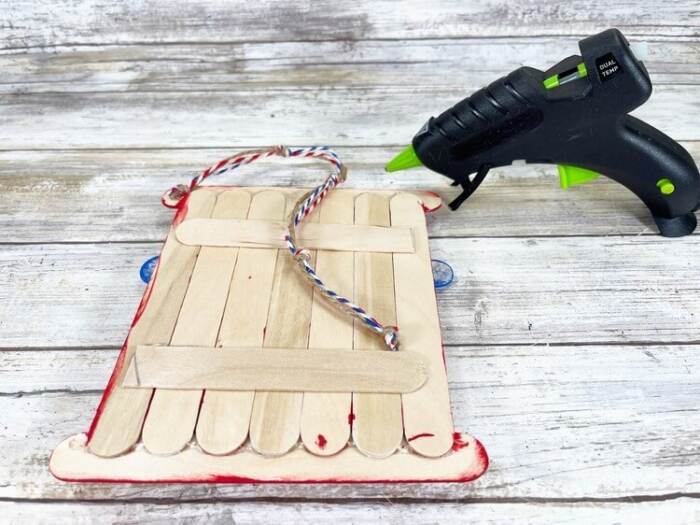
Get all your materials together. Lay out seven jumbo craft sticks side by side on your work table. Use a hot glue gun to attach another jumbo stick across the top and one across the bottom to help hold them in place. Flip the whole piece over. Cut extra craft sticks to fit the width and glue them to the back for extra support.
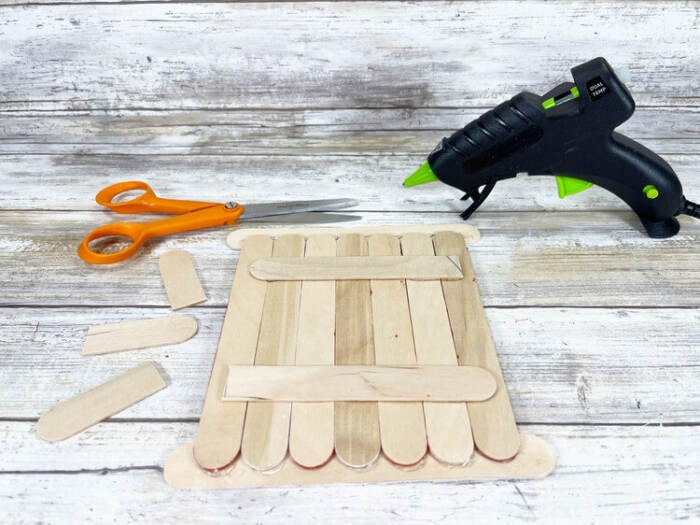
TIP: You can use regular craft glue if you prefer, but it will need more time to dry.
STEP TWO
For the star, line up five jumbo craft sticks. Take two and glue them together into an upside-down “V.” Next, add a stick diagonally from the bottom right of the “V” and another from the bottom left. You should see an “X” forming. Finish by gluing the last stick across the top points of the “X,” laying it flat from side to side.
STEP THREE
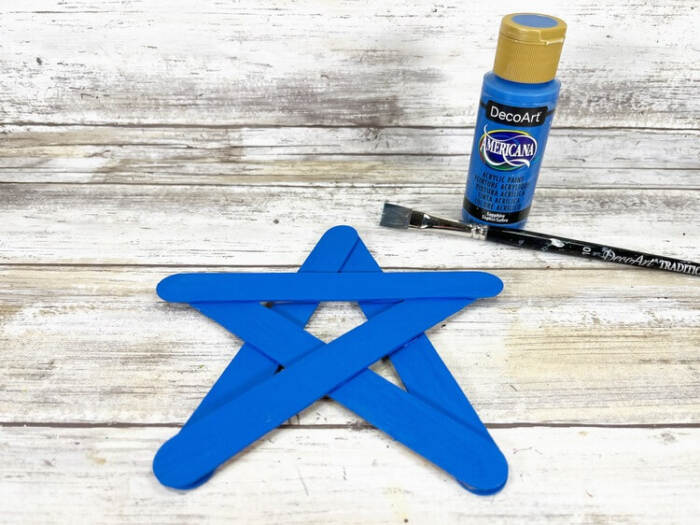
Paint the star with blue acrylic paint and the sign with red acrylic paint. Let both dry completely. If you need better coverage, add another coat after the first dries. If you’re working with young kids, you can swap out paint for washable markers, crayons, or colored pencils.
STEP FOUR
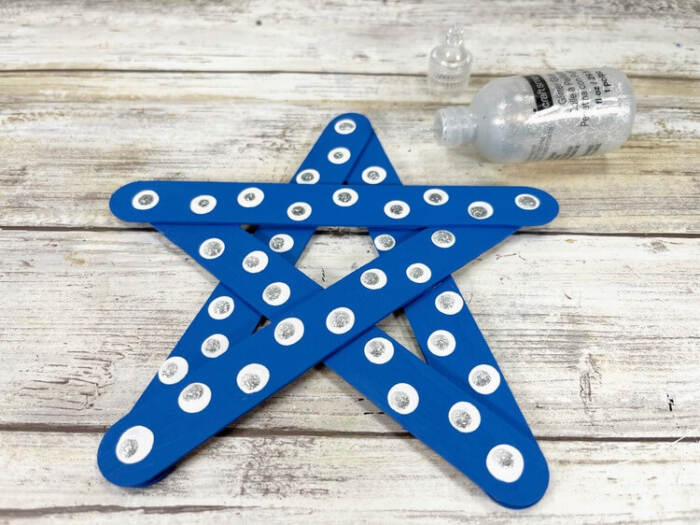
Make polka dots on the star by dipping a clean pencil eraser into white paint and pressing it onto the blue star. Add dots in a random pattern all over. When the white dots are dry, go back and dab smaller dots of silver glitter glue on top for some sparkle. This is a fun step for kids, so let them pick their favorite colors and patterns.
STEP FIVE
Cut a 10-inch piece of sturdy twine and lay it straight on your table. Gather scraps of ribbon, lace, baker’s twine, yarn, or jute, each about 6 inches long. Keep it simple with red, white, and blue for a patriotic feel. Stack the scraps in an “X” shape on the twine. Use about 20 to 24 pieces. Tie the twine tightly around the middle and knot it to hold everything in place.
STEP SIX
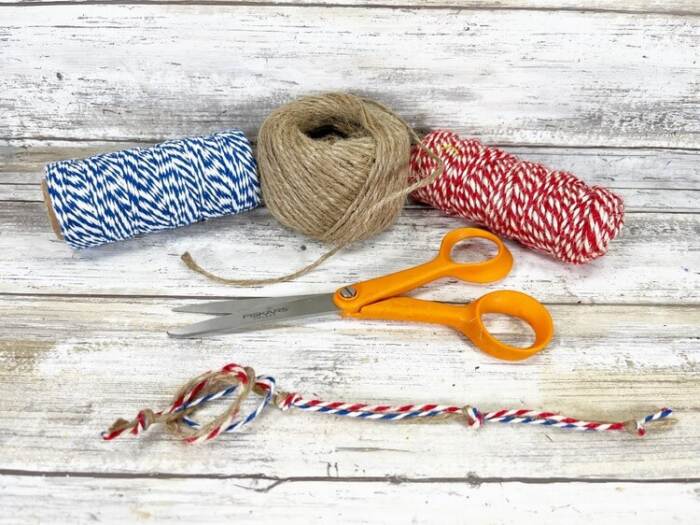
For the hanger, cut three pieces of twine or ribbon, each 12 inches long. Tie knots at both ends and in the center of each piece for a neat finish.
STEP SEVEN
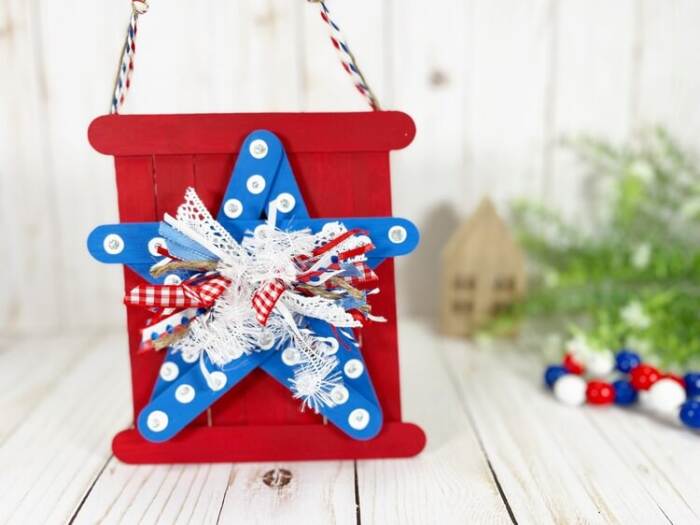
Glue the star to the front of the sign. Attach the scrappy bow to the center of the star. If any ribbon ends look too long, trim them with scissors.


STEP EIGHT
Turn the sign over. Glue each end of the hanger to the back corners at the top. Your sign is ready to display.
Ready to get crafty? Grab your supplies and make this patriotic star craft with the kids for a fun and festive way to celebrate red, white, and blue!
what other patriotic crafts might i like?
DOLLAR STORE CRAFT STICK STAR SIGN
Materials
- Craft Sticks Jumbo – Dollar Store
- Natural Jute Twine – Dollar Store
- Silver Glitter Glue – Dollar Store
- Ribbons Lace, Trim, Baker’s Twine – Assorted Scraps in Red, White, Blue
- Glue Gun and Glue Sticks – Dollar Store
- Acrylic Craft Paint White, Blue
- Paintbrush – Red
- Pencil with New Eraser
- Scissors
Instructions
- STEP ONE: Gather all supplies. To create the sign, line up seven jumbo craft sticks on your work surface. Attach a jumbo craft stick to the front top and bottom with a glue gun and glue sticks. Cut additional craft sticks to the width of the sign and glue in place on the back.
- TIP: You can use liquid craft glue for this project, but you will have to wait for it to dry.
- STEP TWO: To create the star, line up five jumbo craft sticks on your work surface. Attach two craft sticks in an upside down “V” shape with a glue gun and glue sticks. Glue a craft stick at a diagonal from the bottom right-hand side of the “V” shape. Glue a craft stick at a diagonal from the bottom left-hand side of the “V” shape. This creates an “X” shape. Attach the final craft stick horizontally from the top right and left-hand side of the “X” shape.
- STEP THREE: Basecoat the star with blue acrylic craft paint and the sign with red acrylic craft paint. Let dry and apply a second coat, if necessary. If working with little kids, you can use washable markers, crayon, or even colored pencil to color the jumbo craft sticks.
- STEP FOUR: Create a polka dot pattern on the star by dipping a new pencil eraser into white acrylic craft paint. Dot the pattern randomly all over the star. Once dry, embellish the painted polka dots with smaller dots of silver glitter glue. This is where you can get creative with the kiddos and have them make their own patterns and color combinations!
- STEP FIVE: Measure and cut a 10” length of strong twine and place vertically on your work surface. Layout 6” long scraps of red, white, and blue ribbons, lace, string, baker’s twine, yarn, and natural jute twin in an “X” pattern on top of the vertical length. Use approximately 20-24 scraps. Tie the vertical twine tightly around the center of the bundle and secure with a knot.
- STEP SIX: To create a hanger, measure and cut three 12” lengths of twine and/or ribbon. Tie the ends and the center into knots for a clean finished project.
- STEP SEVEN: Attach the star to the sign with a glue gun and glue sticks, and then glue the scrappy bow to the center of the star. Trim any long ends of the scrappy bow with scissors.
- STEP EIGHT: To finish, flip the sign over and attach the ends of the hanger to top right and left-hand sides with a glue gun and glue sticks.