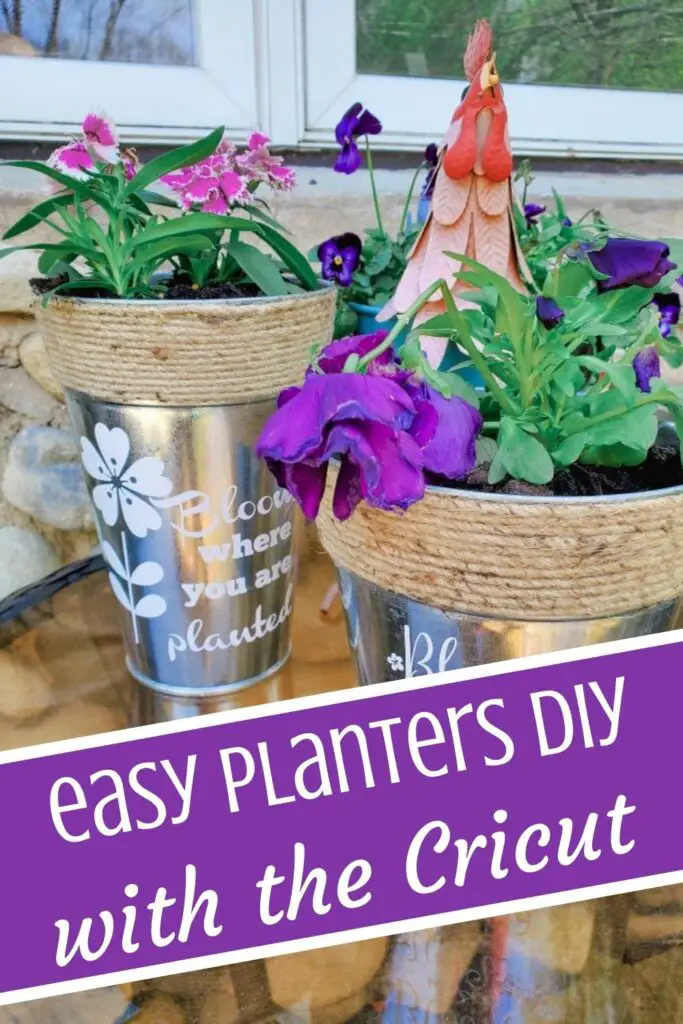
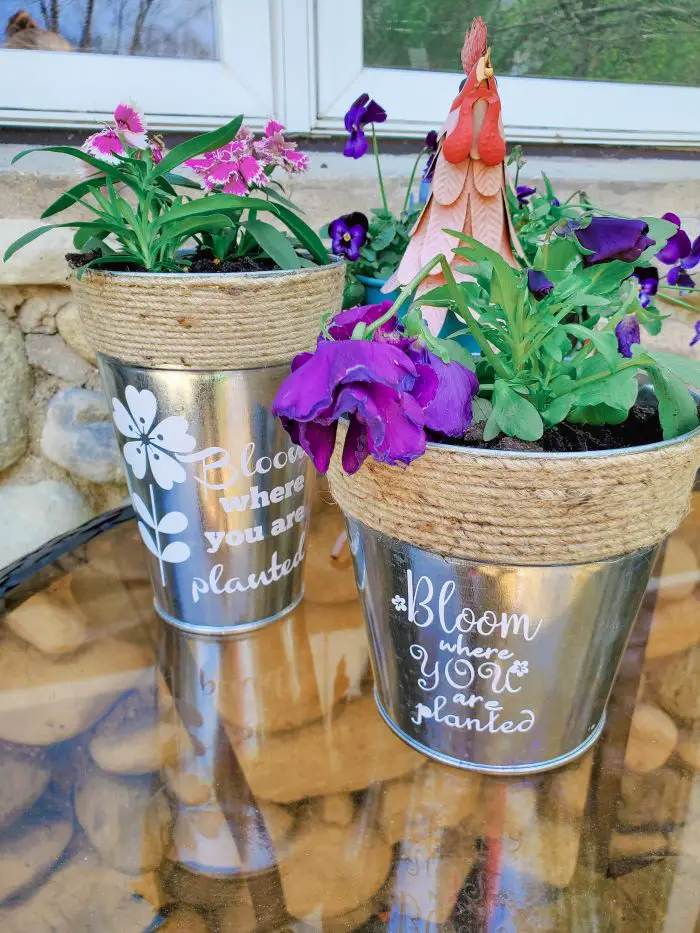
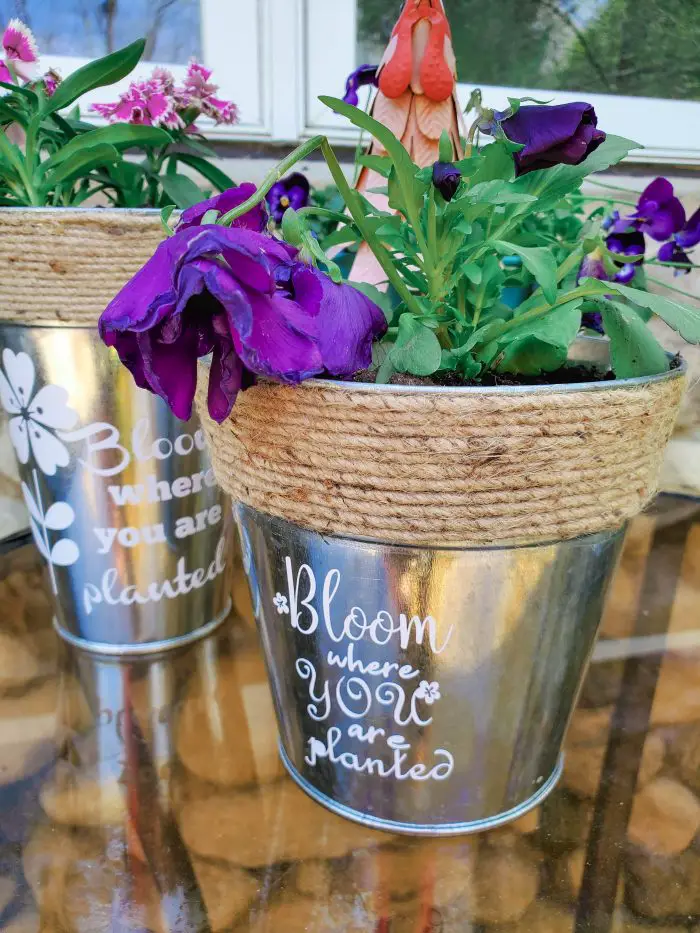
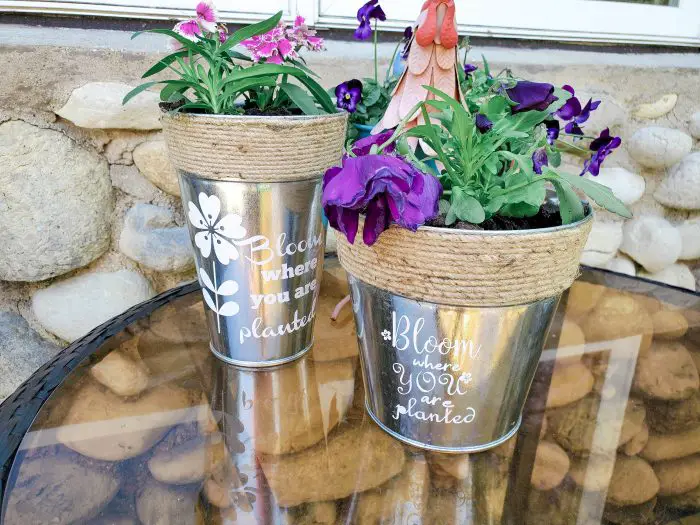
These adorable Cricut DIY flower pots are the perfect way to spruce up your front porch or indoor décor. Each flower pot says “bloom where you are planted†providing an inspirational message to welcome your guests.
Which side of vinyl goes down on Cricut?
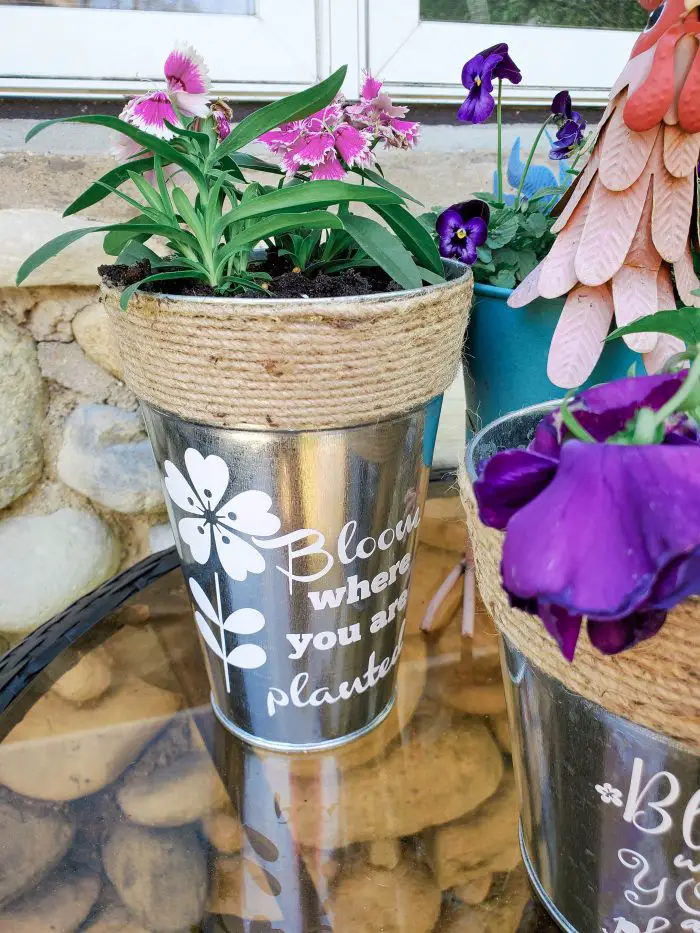
This project requires a Cricut machine that cuts vinyl and Cricut vinyl. I used white vinyl for this DIY flower pots project. When you’re putting the vinyl down on Cricut to make your decorative flower pot design, you’ll want the color side of your vinyl facing up on the Cricut Mat.
Is Cricut vinyl permanent?
If you plan to place your Cricut DIY flower pots outdoors, you’ll want to make sure you’re using Cricut premium vinyl. This is the best option for any Cricut projects that may be placed on objects that are frequently used. Mugs, outdoor signs, and flower pots that will be placed outdoors are all good Cricut DIY projects that you should use premium vinyl for. According to the package Cricut, permanent premium vinyl will last up to three years.
Can you use Cricut vinyl on metal?
Yes, you can use Cricut vinyl on metal. I used a tin flower pot for my Cricut DIY flower pots, but you’re more than welcome to use terracotta pots or any other options as Cricut vinyl will transfer easily to almost any surface. Just be sure to select the premium vinyl for any outdoor or frequent use DIY Cricut designs that you’re working on.
Making these flower pots was such an excellent decision. During the current times, we’re living in, having a craft project to keep my mind and hands busy is surely an excellent stress reliever. If you have a Cricut machine and want to spruce up the front porch, outdoor garden, or windowsill I highly suggest you continue reading to learn how you can make these Cricut DIY flower pots today.
I think that you may like these other Cricut craft projects too. Check them out!
Cricut Ceramic Coasters Easy Gift Idea
Mason Jar DIY Centerpiece for 4th of July – Cricut Craft
You Are My Anchor Sign – Cricut Craft with Free SVG File
Cricut DIY Flower Pots
Follow the directions below to make your own flower pots using your Cricut and permanent vinyl. There is also a printable tutorial at the end of this post.
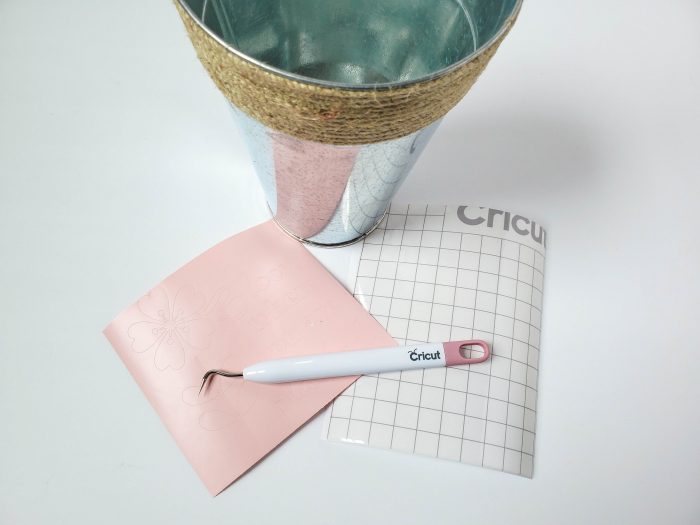
Supplies:
- Flower pot
- Bloom Where Your Are Planted SVG files
- Ruler
- Cricut vinyl
- Cricut Transfer Tape
- Cricut Weeder tool
- Cricut Spatula, or thick card
Directions:
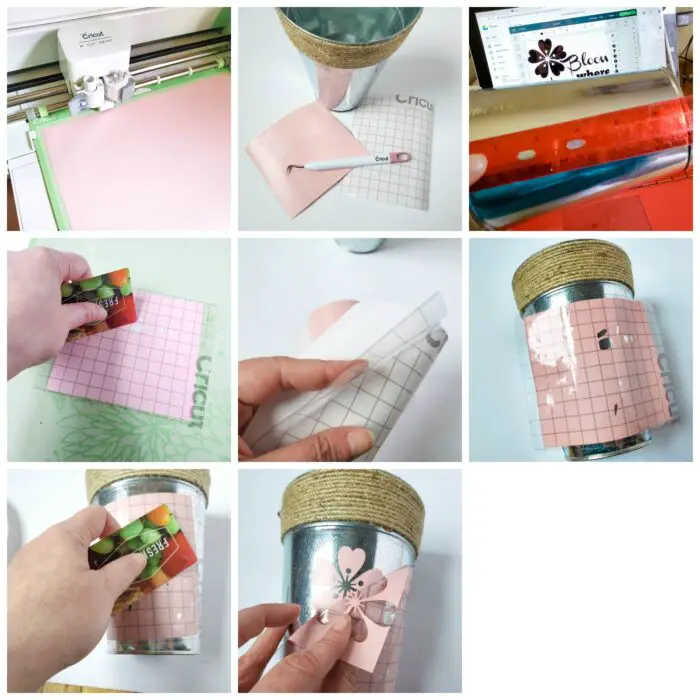
- Open Cricut Design Space
- Select “upload imageâ€,and upload the svg file.
- Once your image is uploaded, select the image, and clickâ€insert imageâ€.
- Measure your flower pot from top to bottom to determine the size of your template, allowing some space on the top and bottom.
- Resize the image to your desired height.
- Fit image into corner of canvas, and click “group†to group the image for cutting. Then hit “Attachâ€
- Click “Make Itâ€.
- Apply your vinyl sheet to the Cricut Mat.
- Switch the Cricut machine’s dial to “vinylâ€
- Follow the prompts on your screen to feed the mat into the machine, and to begin cutting.
- Once cutting is complete, feed the mat out of the machine.
- Using a scissors of paper cutter, cut vinyl template to size, and cut transfer tape to that same size.
- Apply transfer tape, using a card or spatula tool to adhere the design to the transfer tape.
- Peel the vinyl backing so just the design is on the transfer sheet.
- Using the weeder tool, remove excess vinyl from the design.
- Center design onto pot, and adhere design with a card or spatula tool.
- Remove transfer tape from the design, and use the weeder to get out any extra vinyl in between the letters.
Open Cricut Design Space Select “upload image”,and upload the svg file. Once your image is uploaded, select the image, and click”insert image”. Measure your flower pot from top to bottom to determine the size of your template, allowing some space on the top and bottom. Resize the image to your desired height. Fit image into corner of canvas, and click “group” to group the image for cutting. Then hit “Attach” Click “Make It”. Apply your vinyl sheet to the Cricut Mat. Switch the Cricut machine’s dial to “vinyl” Follow the prompts on your screen to feed the mat into the machine, and to begin cutting. Once cutting is complete, feed the mat out of the machine. Using a scissors of paper cutter, cut vinyl template to size, and cut transfer tape to that same size. Apply transfer tape, using a card or spatula tool to adhere the design to the transfer tape. Peel the vinyl backing so just the design is on the transfer sheet. Using the weeder tool, remove excess vinyl from the design. Center design onto pot, and adhere design with a card or spatula tool. Remove transfer tape from the design, and use the weeder to get out any extra vinyl in between the letters.Cricut DIY Flower Pots + Free SVG File

Materials
Instructions