This Snowman Vase Craft is a fun and simple way to turn an everyday item into festive home decor. If you love an easy vase craft that looks cute on a shelf, table, or mantel, this project is perfect for you and doesn’t require advanced crafting skills.
This full tutorial walks you through each step so you can create your own snowman vase with confidence.
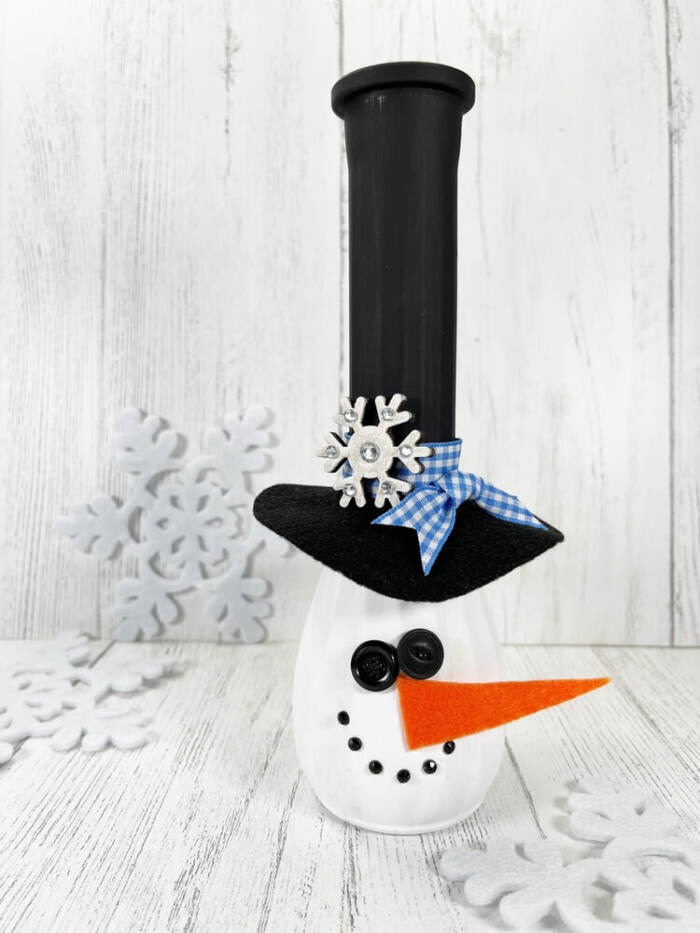
Whether you’re crafting with kids or working on a weekend project, this vase craft is a great way to add handmade charm to your winter decorations.
Yes. This project is easy to follow and doesn’t require advanced crafting skills. It’s a great choice if you’re new to DIY crafts.
Regular, acrylic craft paint works well for this vase craft.
Yes. If stored carefully, this snowman vase can be reused each winter as part of your seasonal decor.
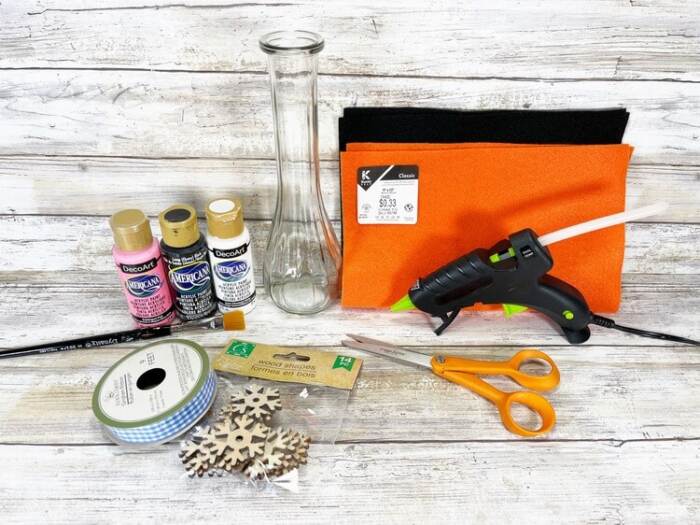
Supplies
- Glass Vase – Dollar Store
- Multi-Surface Acrylic Craft Paint – White, Black
- Craft Felt – Black and Orange
- Wooden Snowflake – Dollar Store
- Rhinestone, Clear and Black – Dollar Store
- Gingham Ribbon, Blue and White – Dollar Store
- Buttons, Black – Small
- Paintbrush
- Glue Gun and Glue Sticks
- White Pencil
- Scissors
- Ruler
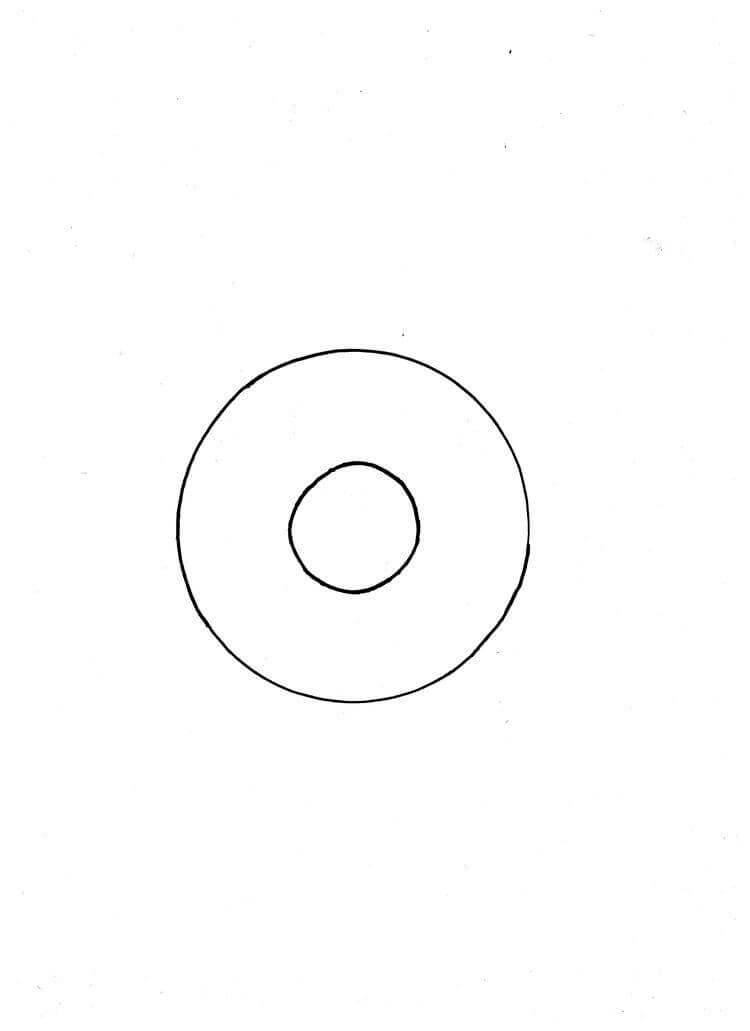
- VASE SNOWMAN PATTERNS
How to Make Snowman Vase Craft
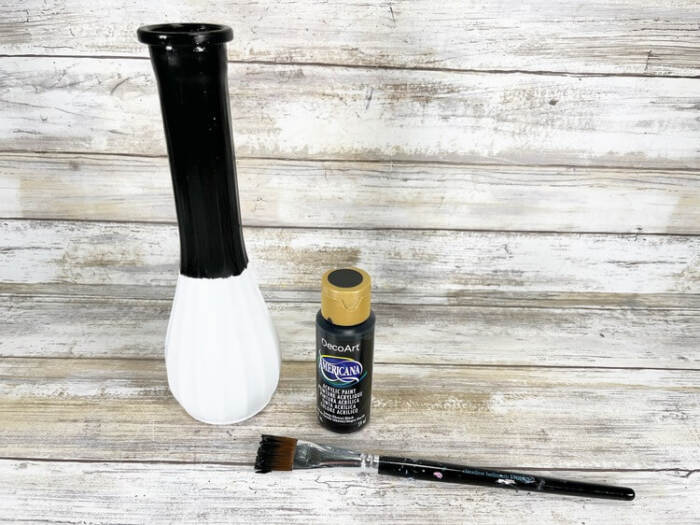
STEP ONE
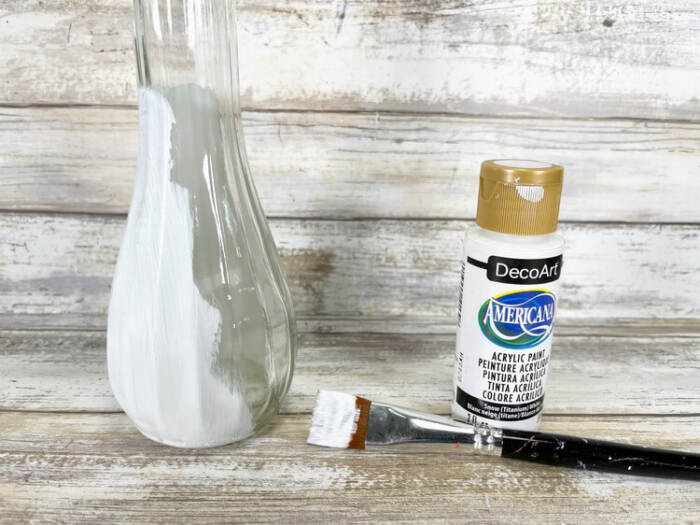
Gather all materials. Paint the bottom half of the glass vase with white multi-surface acrylic paint. Let it dry. Add a second coat if needed.
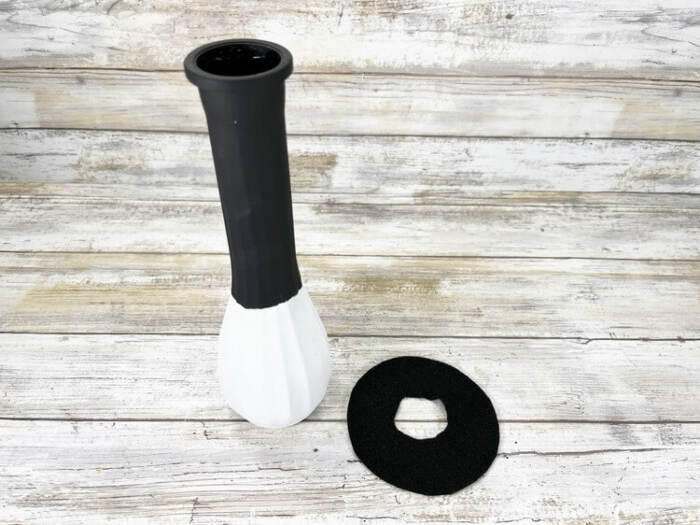
STEP TWO
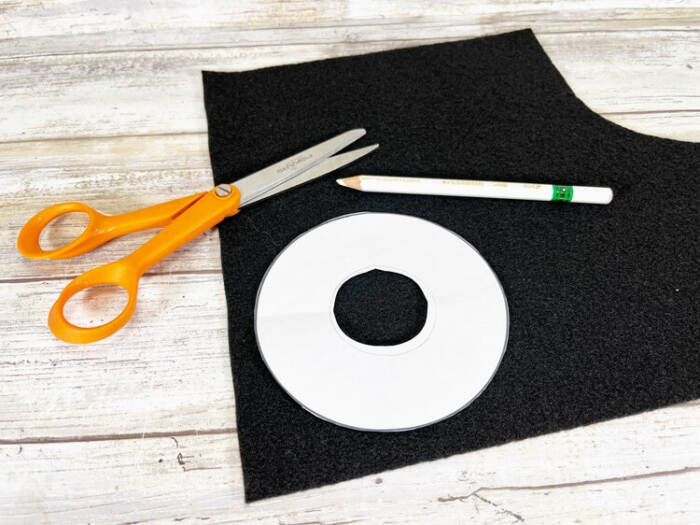
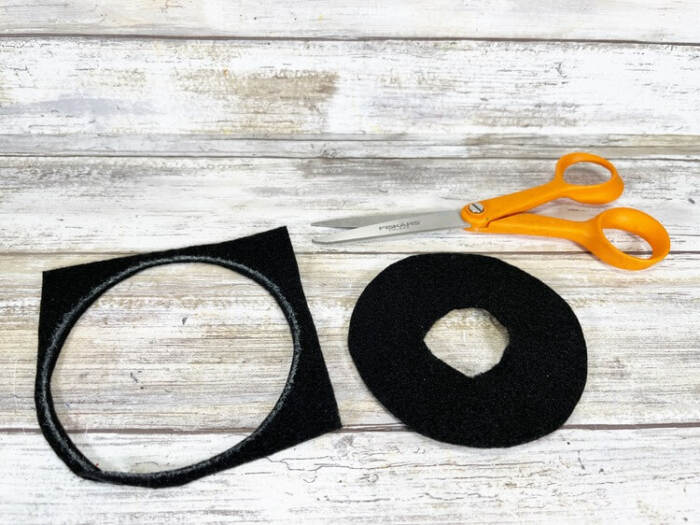
Download, print, and cut out the snowman vase pattern. Trace the hat brim onto black craft felt using a white pencil. Cut it out with scissors. Place the felt on the vase to check the fit. Draw a guideline around the vase.
STEP THREE
Paint from the guideline up to the top of the vase with black multi-surface acrylic paint. Let it dry. Apply a second coat if needed.
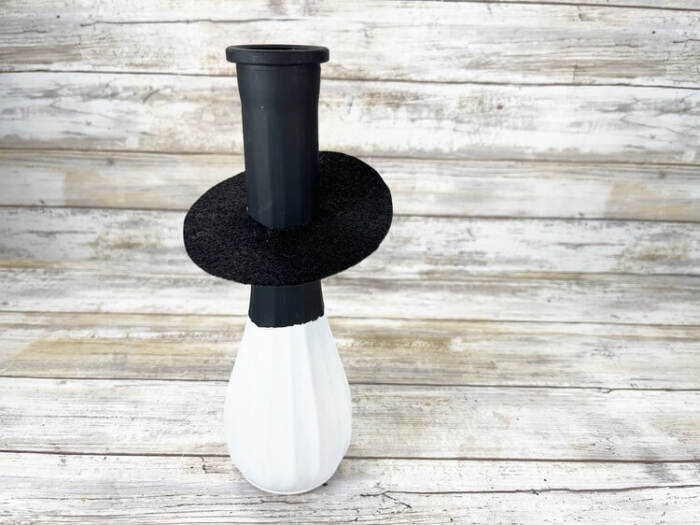
STEP FOUR
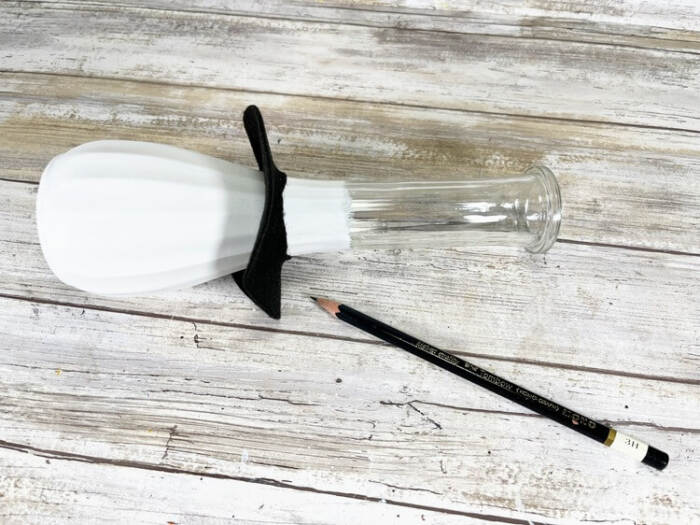
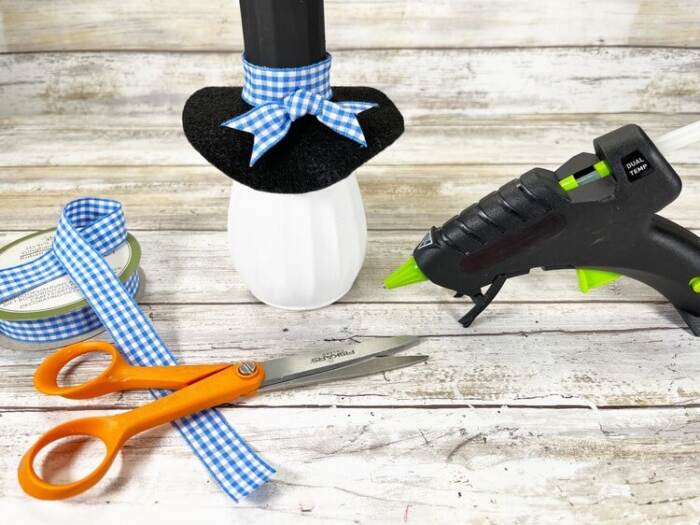
Place the black felt hat brim onto the vase. Glue it in place using a hot glue gun.
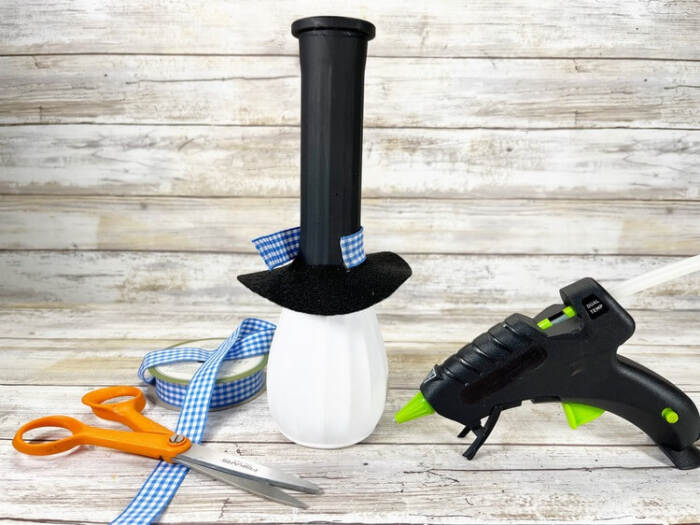
STEP FIVE
Glue the blue and white gingham ribbon around the base of the hat. Tie it into a loose knot. Trim the ends by cutting a small notch. Secure the ribbon to the hat with glue.
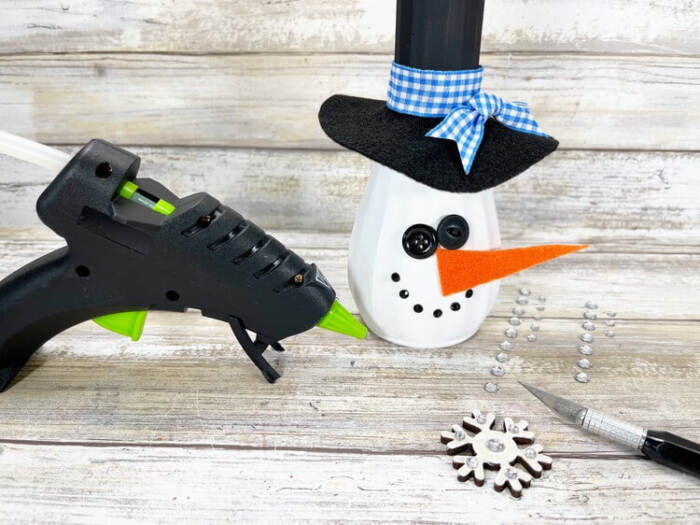
STEP SIX
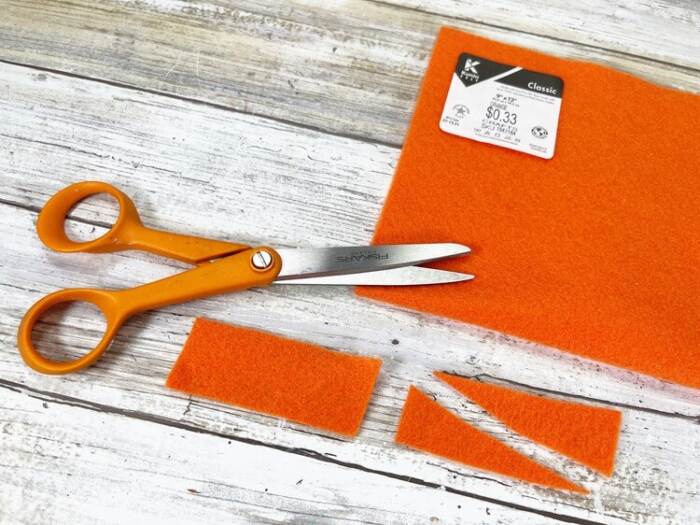
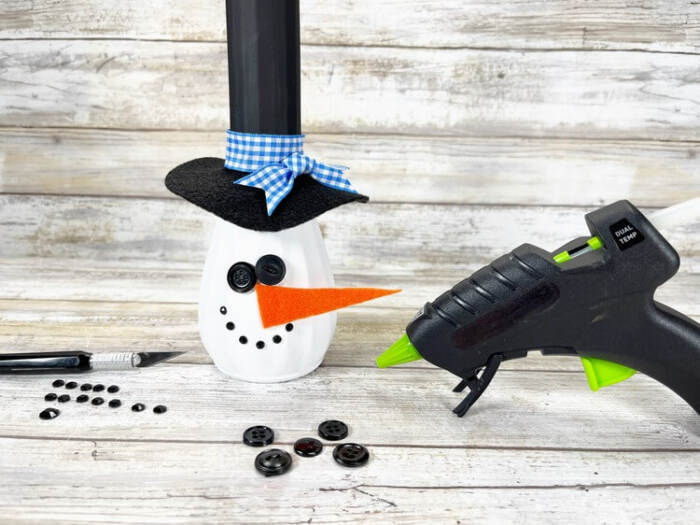
Cut a triangle from orange craft felt to make the carrot nose. Glue on two black buttons for the eyes and attach the nose. Add six self-adhesive black rhinestones to form the mouth.
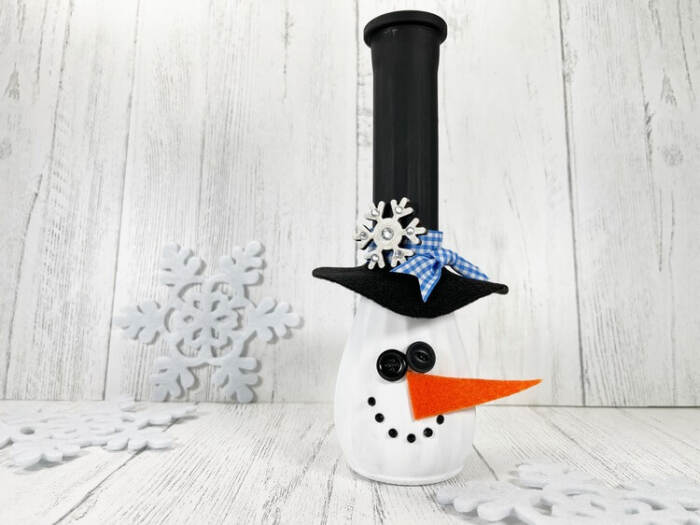
STEP SEVEN
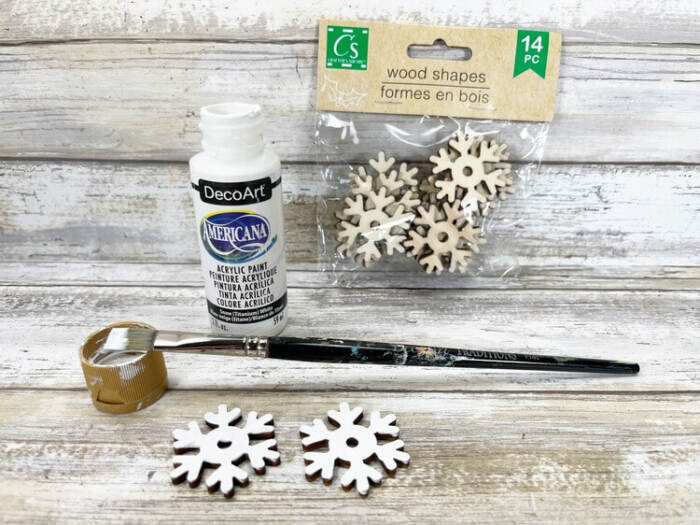
Paint a wooden snowflake with white acrylic paint and let it dry. Glue it onto the hat. Add clear self-adhesive rhinestones for extra detail.
Ready to make your own snowman vase? Grab your supplies, follow the tutorial, and create a fun vase craft you’ll be proud to display or gift. Start crafting today and turn a simple vase into something festive and handmade.
What other snowman crafts should I make?

Snowman Vase Craft
Ingredients
- Glass Vase Dollar Store
- Multi-Surface Acrylic Craft Paint White Black
- Craft Felt Black and Orange
- Wooden Snowflake Dollar Store
- Rhinestones Clear and Black Dollar Store
- Gingham Ribbon Blue and White – Dollar Store
- Black Buttons Small
- Paintbrush
- Glue Gun and Glue Sticks Dollar Store
- White Pencil
- Scissors
- Ruler
- VASE SNOWMAN PATTERNS
Instructions
STEP ONE
- Gather all supplies. Basecoat the bottom half of the glass vase with white multi-surface acrylic craft paint. Let dry and apply a second coat, if necessary.
STEP TWO
- Download, print, and cut out the Vase Snowman pattern. Trace the hat brim pattern onto black craft felt with a white pencil, and then cut out with scissors. Dry fit the felt hat brim onto the vase and draw a line around the vase.
STEP THREE
- Basecoat from the pencil line up to the top of the vase with black multi-surface acrylic craft paint. Let dry and apply a second coat, if necessary.
STEP FOUR
- Carefully fit the black felt hat brim onto the vase and secure with a glue gun and glue sticks.
STEP FIVE
- Attach the blue and white gingham ribbon around the base of the Snowman’s hat, securing with glue. Tie the ribbon into a loose knot, and then trim the ends by cutting out a notch with scissors. Attach the ribbon accent to the hat band with a glue gun and glue sticks.
STEP SIX
- To create the carrot nose, cut a triangle from orange craft felt. Attach two black buttons and the carrot nose for the snowman face. Attach six self-adhesive black rhinestones to create the snowman’s mouth.
STEP SEVEN
- Basecoat a wooden snowflake with white acrylic craft paint. Attach to the Snowman’s hat with a glue gun and glue sticks. To finish, accent the snowflake with clear self-adhesive rhinestones.