Fall is the perfect time to get creative, and this pumpkin craft activity is an easy and fun project for all ages.
Using simple materials like wood pieces, patterned paper, and a bit of hot glue, you can make adorable pumpkins that add a handmade touch to your fall décor. Whether you’re decorating your home, classroom, or planning a cozy craft day, this is a great way to welcome the season.
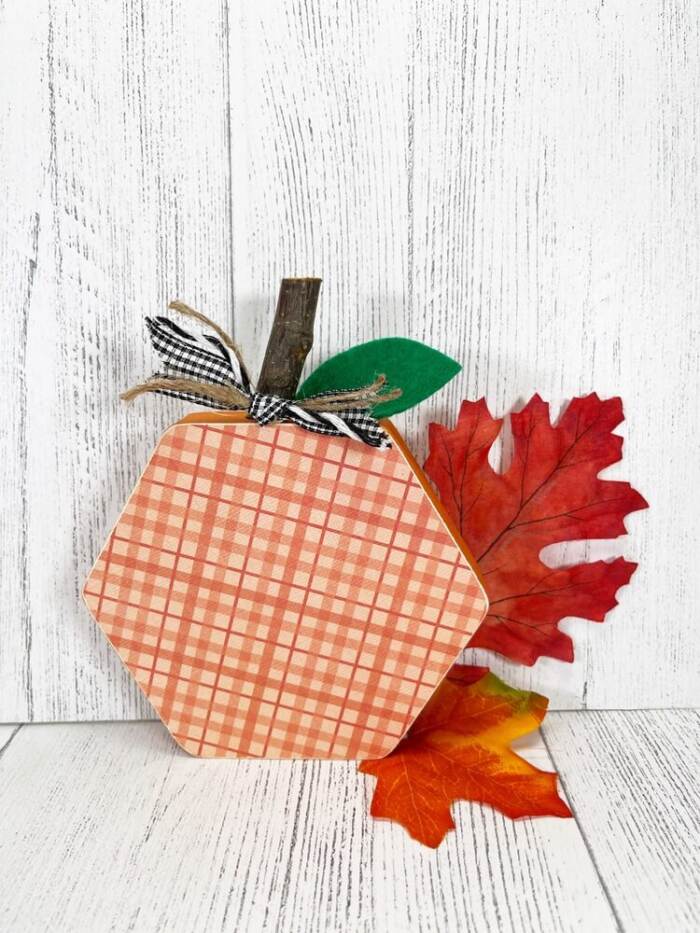
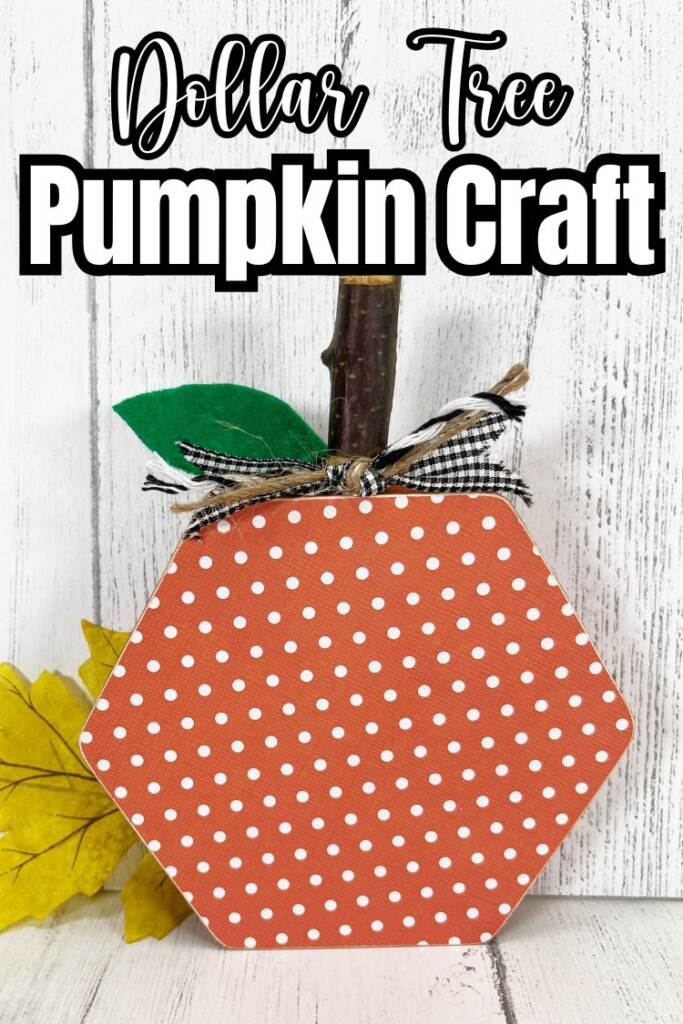
These cute wood pumpkins come together quickly and can be customized with any paper pattern or ribbon you like. Add a stick stem and felt leaf for a rustic farmhouse look, or use bright, playful colors for something more modern. It’s a simple yet satisfying craft that lets you celebrate fall with a personal, creative twist.
Yes! Kids can safely help with painting, tracing, and gluing paper, but an adult should handle the hot glue gun. It’s a fun family craft that encourages creativity and fine motor skills.
You can paint the wood in different colors, use various paper patterns, or change up the ribbons for different styles. Add glitter, twine, or even stencils to make each pumpkin unique.
These pumpkins look great on a mantel, shelf, or entryway table. You can also use them as centerpieces, teacher gifts, or cute fall decorations for your porch or kitchen.
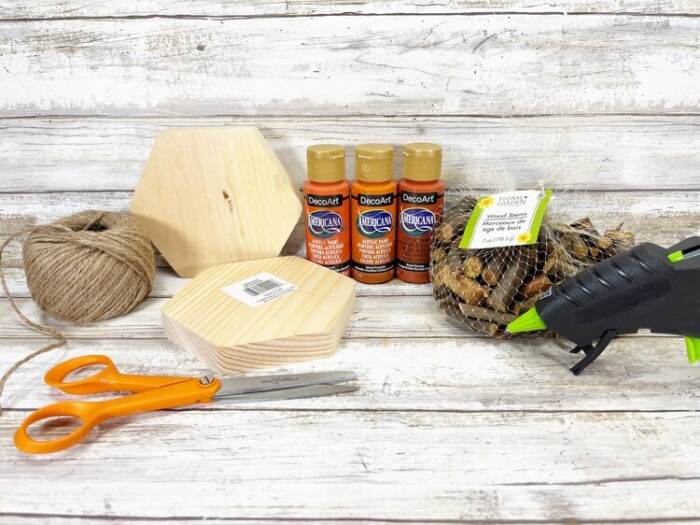
What supplies do I need for this pumpkin craft activity?
- Wooden Hexagon Plaques, 2 – Dollar Store
- Craft Paint – Light Orange, Dark Orange
- Natural Jute Twine – Dollar Store
- Wood Stems – Dollar Store
- Glue Gun and Glue Sticks
- Nail File
- Decoupage Medium – Dollar Store
- Patterned Scrapbook Paper – Shades of Orange
- Ribbons and Trims – Shades of Black
- Paintbrush
- Scissors
- Ruler
How do I make this pumpkin craft activity?
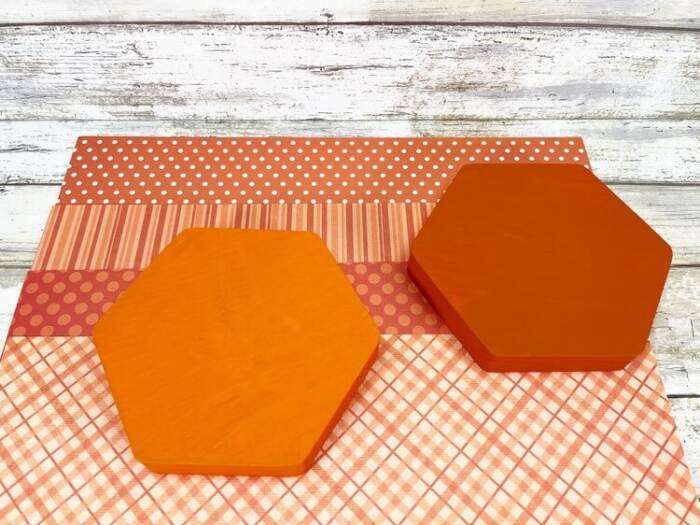
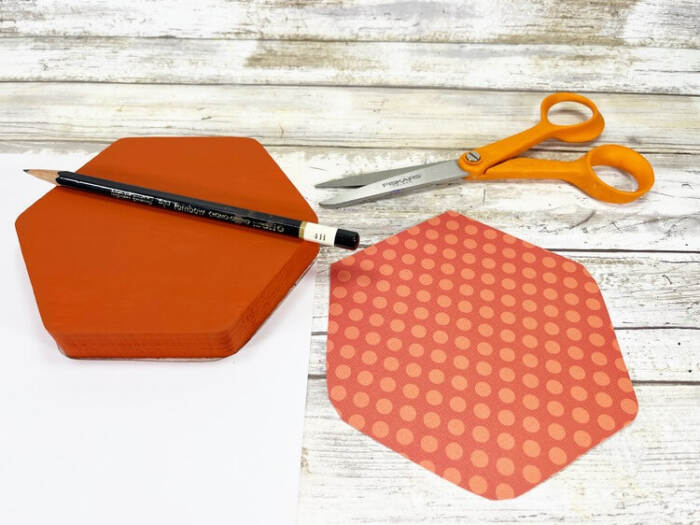
Start by gathering all your supplies. Paint one wooden hexagon with dark orange acrylic craft paint and the other with light orange. Let them dry completely and add a second coat if needed. While they dry, choose four different orange patterned scrapbook papers. Flip the paper over and trace the shape of the hexagon plaque on the back, then roughly cut out the shapes with scissors.
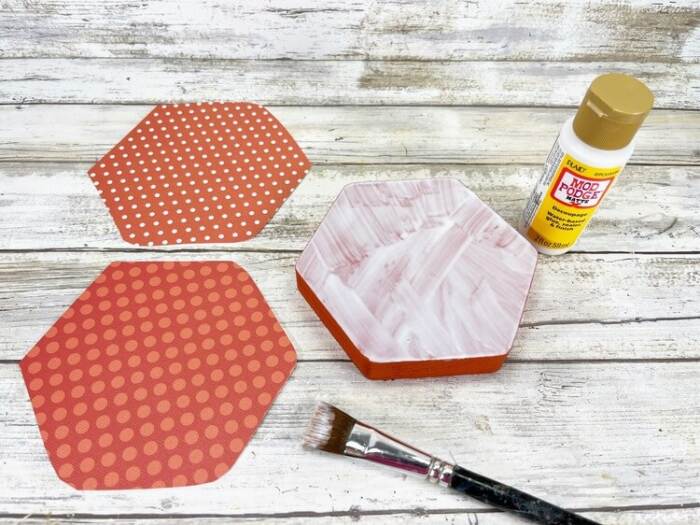
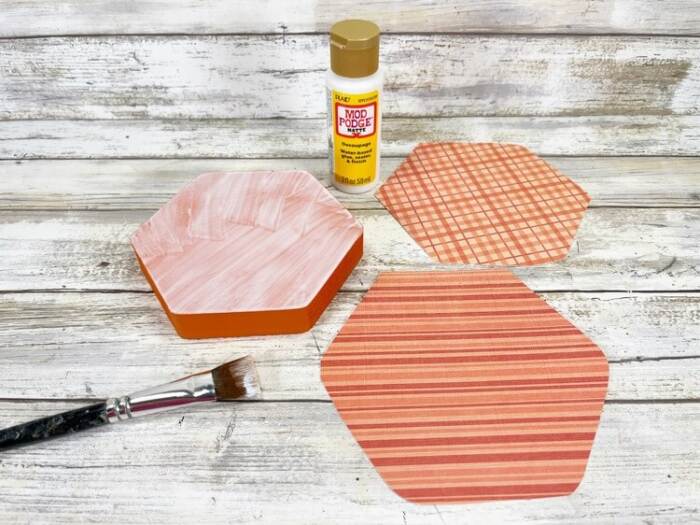
Next, brush an even layer of decoupage medium onto the surface of a hexagon plaque using an old paintbrush. Place the plaque face down on the blank side of the scrapbook paper and smooth out any bubbles or ridges with your hands. Repeat on the other side of the same hexagon, and then do the same steps with the second plaque and the remaining two patterned papers. Allow everything to dry, and be sure to rinse your brush well after using it with the decoupage medium.
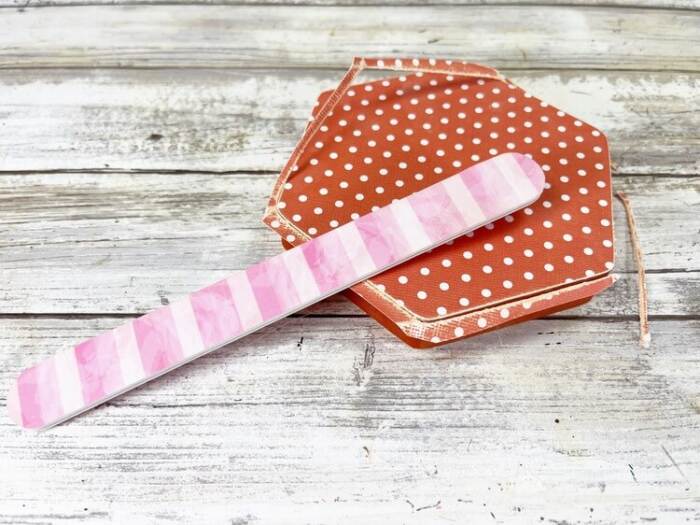
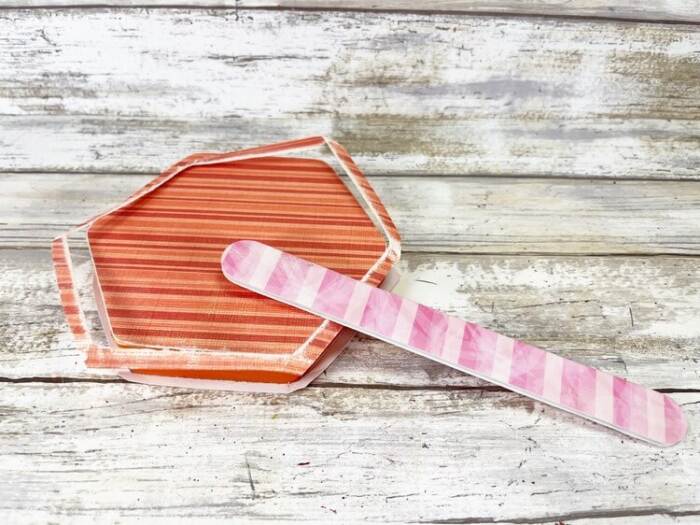
Once dry, sand the edges of the scrapbook paper with a nail file or foam sanding block until smooth.
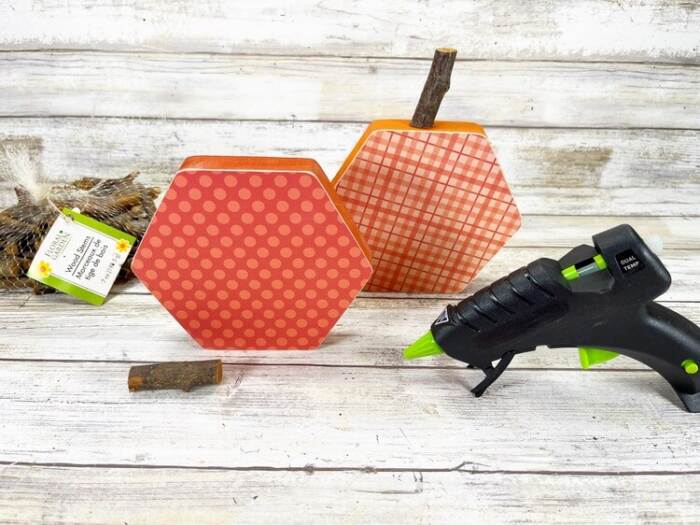
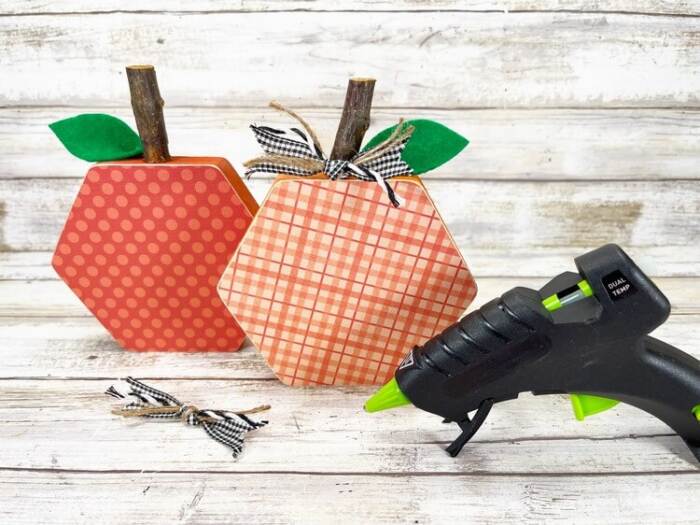
Attach wooden stems to the top center of each pumpkin shape using a hot glue gun. You can also use branch pieces from the yard or even wine corks for a creative touch. (If you use liquid craft glue instead, allow extra drying time.)
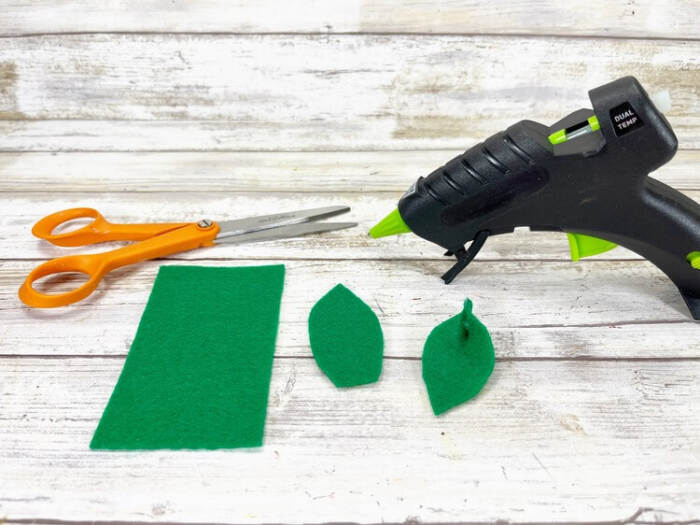
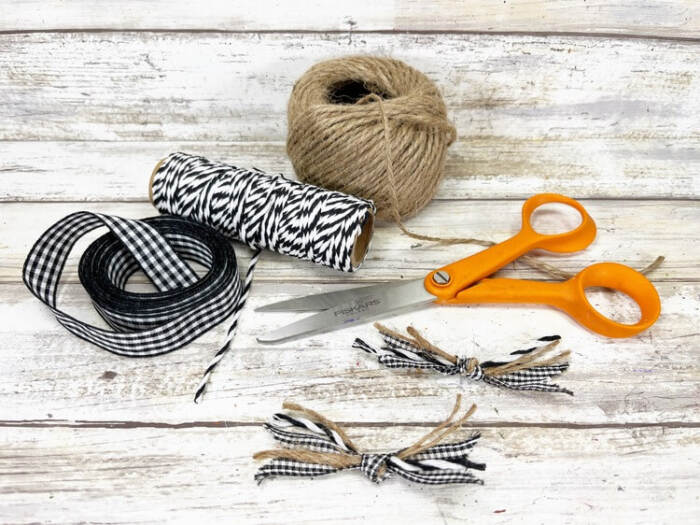
Cut out small teardrop-shaped leaves from green craft felt. Add a dot of glue at the base of each leaf, pinch it together, and hold briefly to give it a bit of dimension. For bows, cut six-inch lengths of jute twine along with a mix of black ribbons, lace, or trims. Tie them together securely in a knot and trim any long ends.
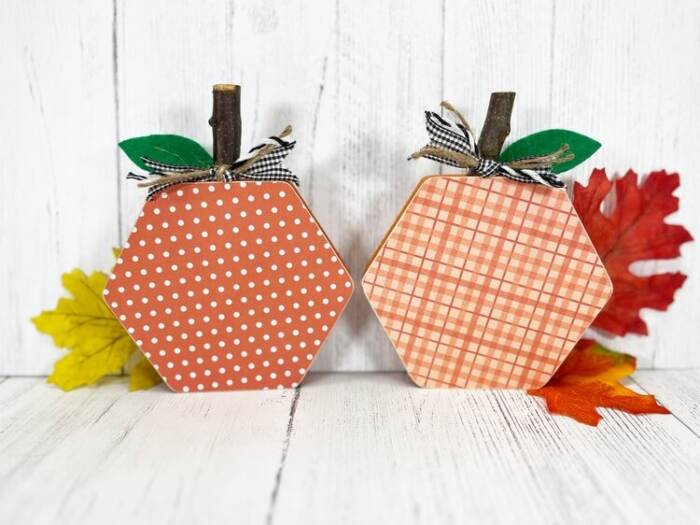
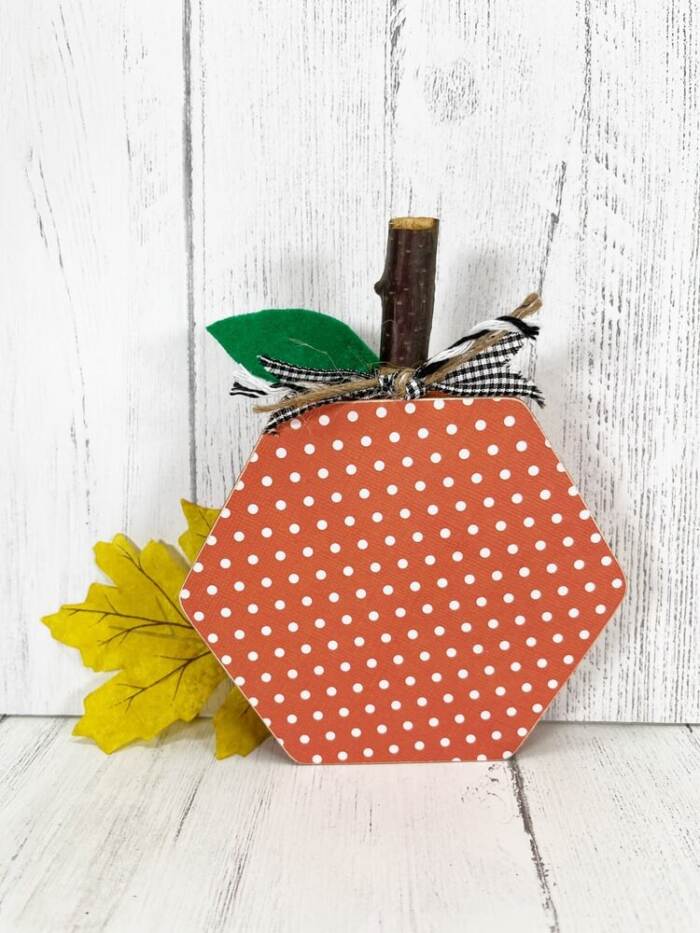
To finish, glue the felt leaves and ribbon bows to the front center of each pumpkin. For variety, try different color combinations and scrapbook paper patterns. These wooden hexagon pumpkins make charming and trendy autumn décor that’s quick, easy, and fun to create.

Give this pumpkin craft a try and see how simple it is to make your own fall décor. It’s a fun, hands-on project that adds a cozy seasonal touch to any space. Gather your materials, follow the steps, and enjoy creating something you’ll be proud to display.
What other craft projects should I make?
Hexagon Pumpkin Craft Activity
Materials
- Wooden Hexagon Plaques 2 – Dollar Store
- Craft Paint – Light Orange, Dark Orange
- Natural Jute Twine – Dollar Store
- Wood Stems – Dollar Store
- Glue Gun and Glue Sticks – Dollar Store
- Nail File – Dollar Store
- Decoupage Medium – Dollar Store
- Patterned Scrapbook Paper – Shades of Orange
- Ribbons and Trims
- Paintbrush – Shades of Black
- Scissors
- Ruler
Instructions
STEP ONE
- Gather all supplies. Basecoat first hexagon with dark orange acrylic craft paint, and the second with light orange acrylic craft paint. Set aside to dry and apply a second coat, if necessary.
STEP TWO
- Select the four different orange patterned scrapbook paper of your choice. Flip over the paper and trace the hexagon plaque shape with a pencil. Roughly cut out the hexagon shapes with scissors.
STEP THREE
- Apply decoupage medium to the hexagon plaque. Spread the medium out evenly with an old paintbrush. Lift up the hexagon plaque and place it onto the blank side of the patterned scrapbook paper. Smooth out any bubbles or ridges in the paper with your hands. Duplicate on the second side of the first hexagon plaque. Set aside to dry.
STEP FOUR
- Repeat the above steps with the second hexagon plaque and the two remaining patterned scrapbook papers. Set aside to dry. Rinse and clean paintbrush well after using it with the decoupage medium.
STEP FIVE
- Once dry, sand off the edges of the scrapbook paper with a nail file. A foam sanding block would work for this step as well.
STEP SIX
- Secure the wooden stems to the top center of each pumpkin with a glue gun and glue sticks. You could also use wooden stems cut from tree branches found in the yard, or even wine corks. Get creative!
- NOTE: Liquid craft glue can be used for this project, but you would have to wait for it to dry.
STEP SEVEN
- Using scissors, cut teardrop shaped leaves from green craft felt. Apply a small dot of glue at the base of the leaf and pinch to create dimension.
STEP EIGHT
- Measure and cut 6” lengths of natural jute twine and a variety of black ribbons, lace, and trims. Gather and tie securely in a knot. Trim any long ends with scissors. This is a great way to use up scraps.
STEP NINE
- To finish, attach the felt leaves and scrappy ribbon bows to the front center of each pumpkin with a glue gun and glue sticks.