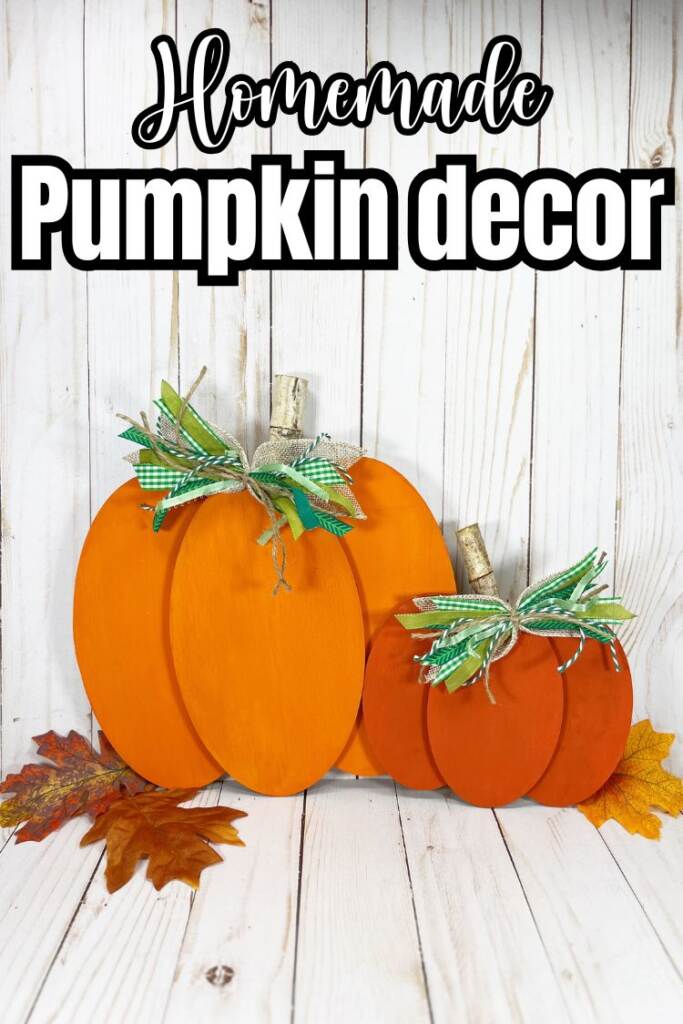
Pumpkins aren’t just for carving – they make the perfect fall decor too! These DIY wood pumpkins are a fun and easy project that will add a cozy, rustic touch to your home.
With just a few supplies from the dollar store and a little creativity, you can make a set that looks great on your mantle, or table all season long.
The best part is that these pumpkins can be customized to match your style. Paint them in classic orange, keep them neutral with white or gray, or even add patterns for a farmhouse look. They’re durable, reusable, and a budget-friendly way to decorate year after year.
Not at all! The beauty of this project is that you need just a few basic supplies, and this doesn’t require any tools. Dollar Tree has the plaques pre-made for all of your crafting needs!
Absolutely! That’s one of the best parts – they’ll last for years, and can be incorporated into your seasonal fall decor year after year.
This specific project tutorial is for indoor use. But, you could add a sealant and place them outside. However, they may only last a season or two depending on your area’s fall weather conditions.
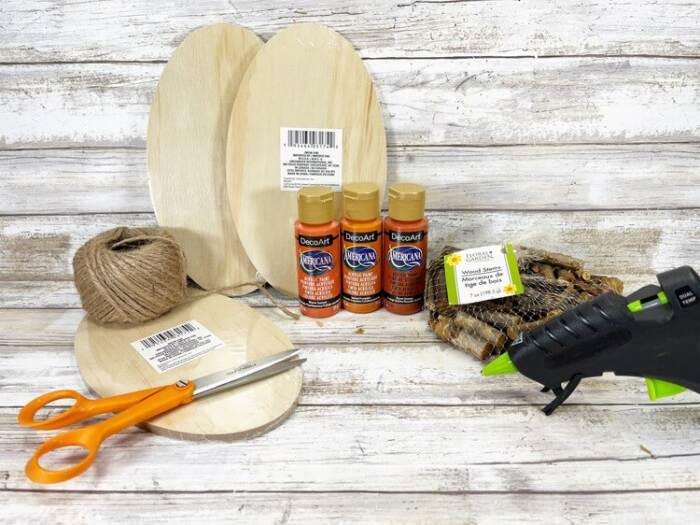
Supplies
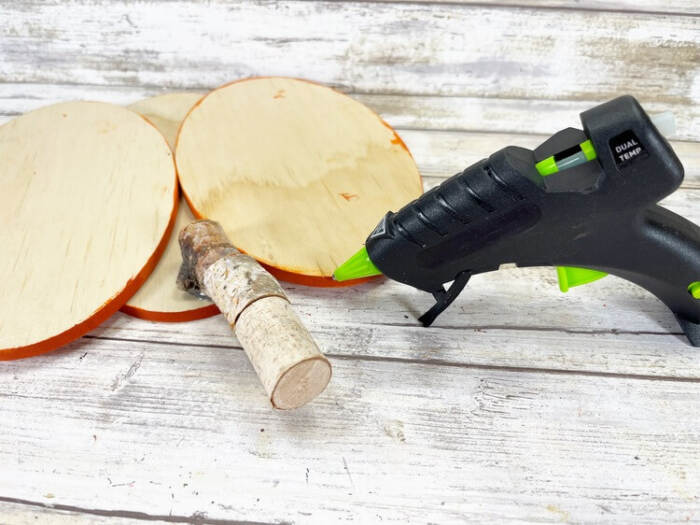
- Wooden Oval Plaques, 3 large and 3 small – Dollar Store
- Craft Paint – Light Orange, Dark Orange
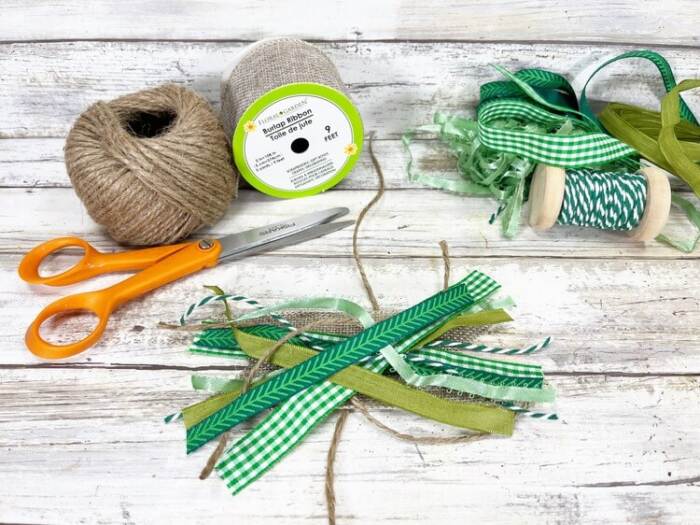
- Natural Jute Twine – Dollar Store
- Wood Stems – Dollar Store
- Glue Gun and Glue Sticks – Dollar Store
- Ribbons and Trims – Shades of Green
- Paintbrush
- Scissors
- Ruler
How to Make DIY Wooden Pumpkins
Step One
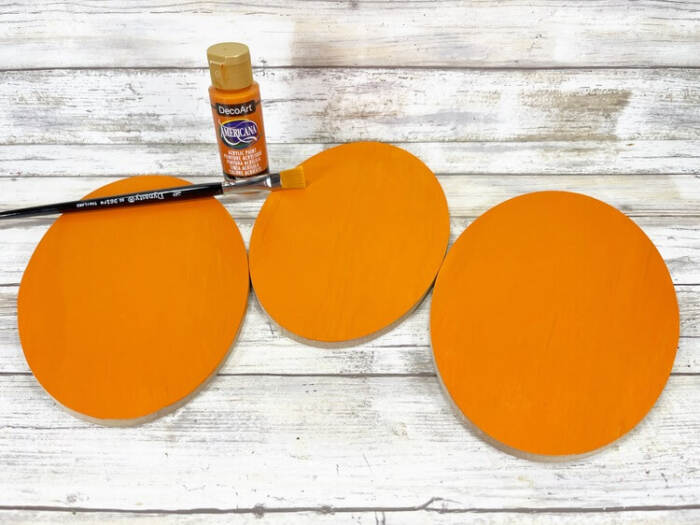
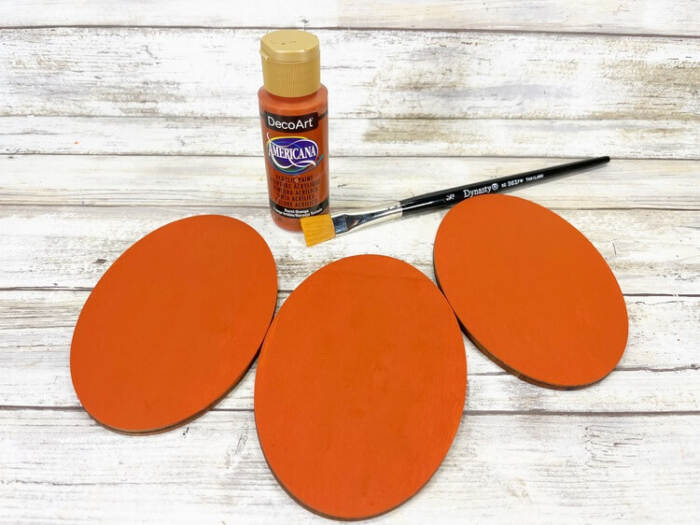
Gather all your materials. Paint the three small wooden ovals with dark orange acrylic craft paint and the three large wooden ovals with light orange acrylic craft paint. Let them dry, then add a second coat if needed.
Step Two
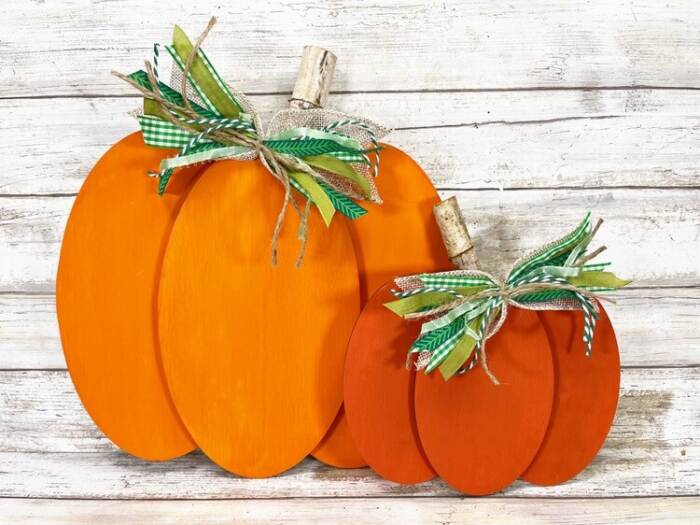
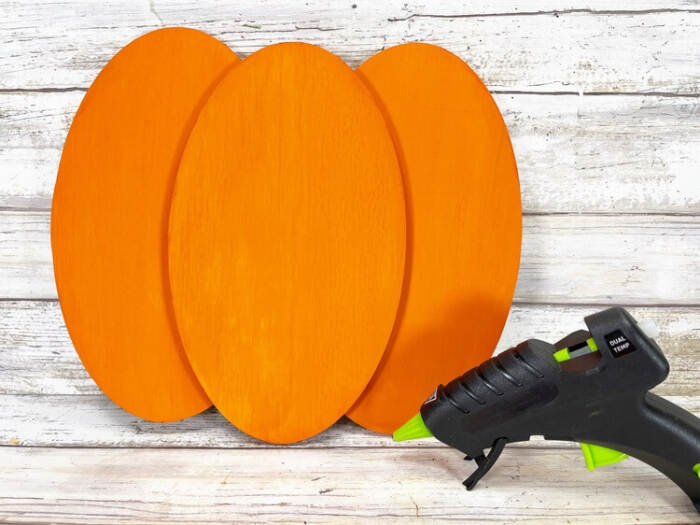
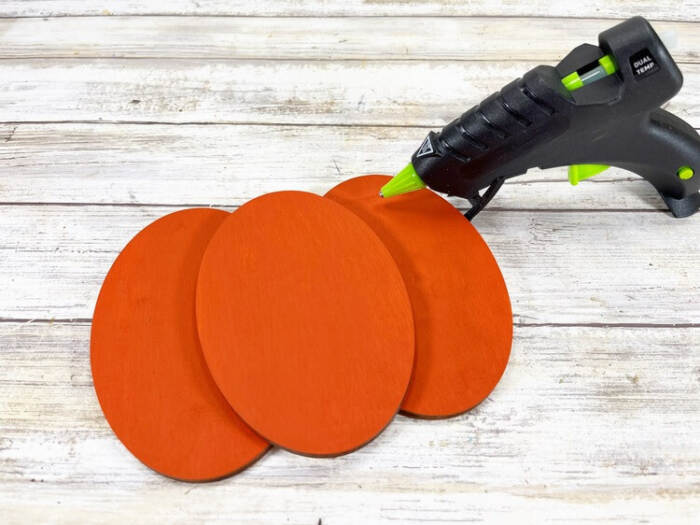
Arrange two small ovals at the bottom and one on top until you like the look. Remove the top oval, then glue all three together using a glue gun. Repeat the same process with the large ovals.
Tip: You can use liquid craft glue instead, but be aware that it requires extra drying time.
Step Three
Glue two or three wood stems together to make a larger stem for each pumpkin.
Step Four
Attach the stems to the top center of each pumpkin with hot glue. You can also use branch pieces from your yard or even wine corks as stems.
Step Five
Cut two pieces of natural jute twine, each 12 inches long. Lay them flat, then layer green ribbons, lace, and trims on top. Gather the twine together and tie in a double knot. Trim any excess ends. This is a great way to use leftover scraps.
Step Six
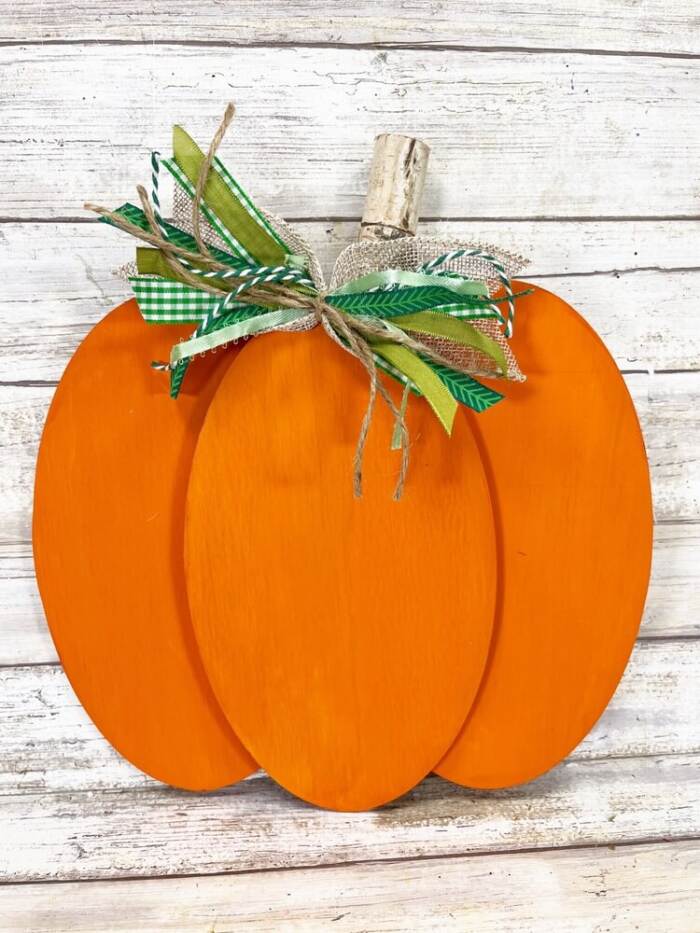
Glue the ribbon bows to the front center of each pumpkin.
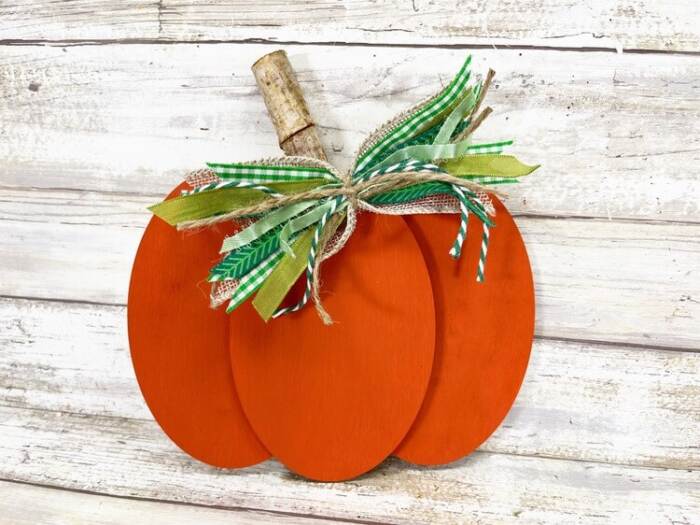
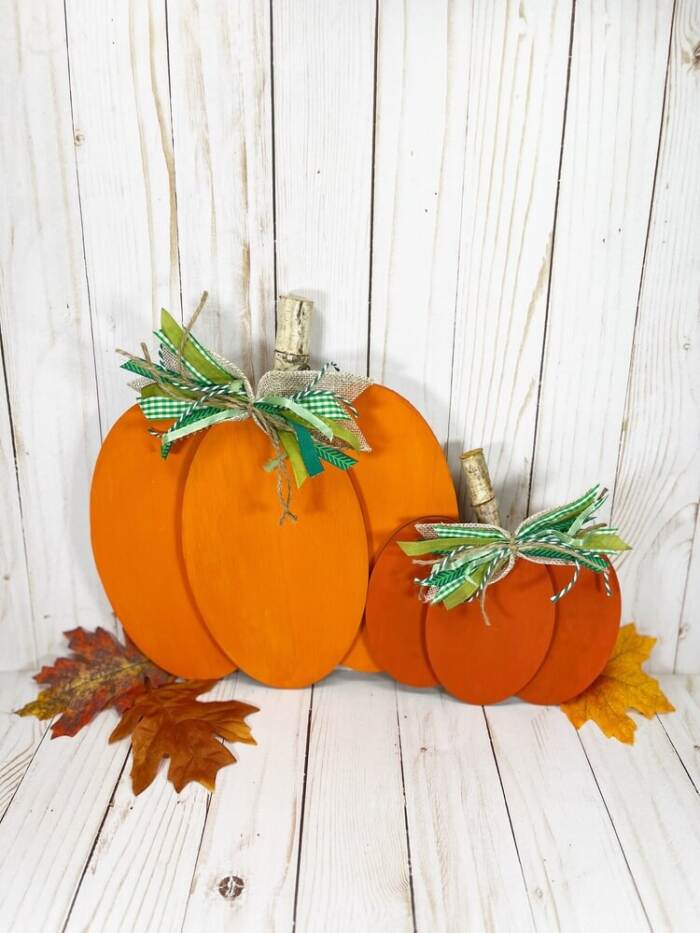
For variety, make pumpkins in different sizes. Your guests will be impressed by how quick and simple this fall craft really is!
what other fall craft projects should I make?
Ready to try this project yourself? Gather your supplies, get creative, and make a set of wood pumpkins you’ll be proud to display year after year. Share your finished pumpkins with us – I’d love to see how yours turn out!

DIY Wood Pumpkins
Materials
- Wooden Oval Plaques 3 large and 3 small – Dollar Store
- Craft Paint – Light Orange, Dark Orange
- Natural Jute Twine – Dollar Store
- Wood Stems – Dollar Store
- Glue Gun and Glue Sticks – Dollar Store
- Ribbons and Trims – Shades of Green
- Paintbrush
- Scissors
- Ruler
Instructions
STEP ONE
- Gather all supplies. Basecoat the three small wooden ovals with dark orange acrylic craft paint, and the three large wooden ovals with light orange acrylic craft paint. Set aside to dry and apply a second coat, if necessary.
STEP TWO
- Dry fit two of the small wooden ovals on the bottom and the third on the top until you are pleased with the composition. Remove the top oval and secure all three together with a glue gun and glue sticks. Repeat with the three large wooden ovals.
- NOTE: Liquid craft glue can be used for this project, but you would have to wait for it to dry.
STEP THREE
- Attach two to three wood stems together with a glue gun and glue sticks to create two large wooden stems, one for each pumpkin.
STEP FOUR
- Secure the wooden stems to the top center of each pumpkin with a glue gun and glue sticks. You could also use wooden stems cut from tree branches found in the yard, or even wine corks!
STEP FIVE
- Measure and cut two 12” lengths of natural jute twine. Lay twine out on work surface, then stack a variety of green ribbons, lace, and trims. Gather the twine and tie securely in a double knot. Trim any long ends with scissors. This is a great way to use up scraps.
STEP SIX
- To finish, attach the scrappy ribbon bows to the front center of each pumpkin with a glue gun and glue sticks.
- Change things up by creating a variety of sizes of Wooden Plaque Pumpkins. Your family and friends will never know how quick and easy this trendy Autumn decor was to create!