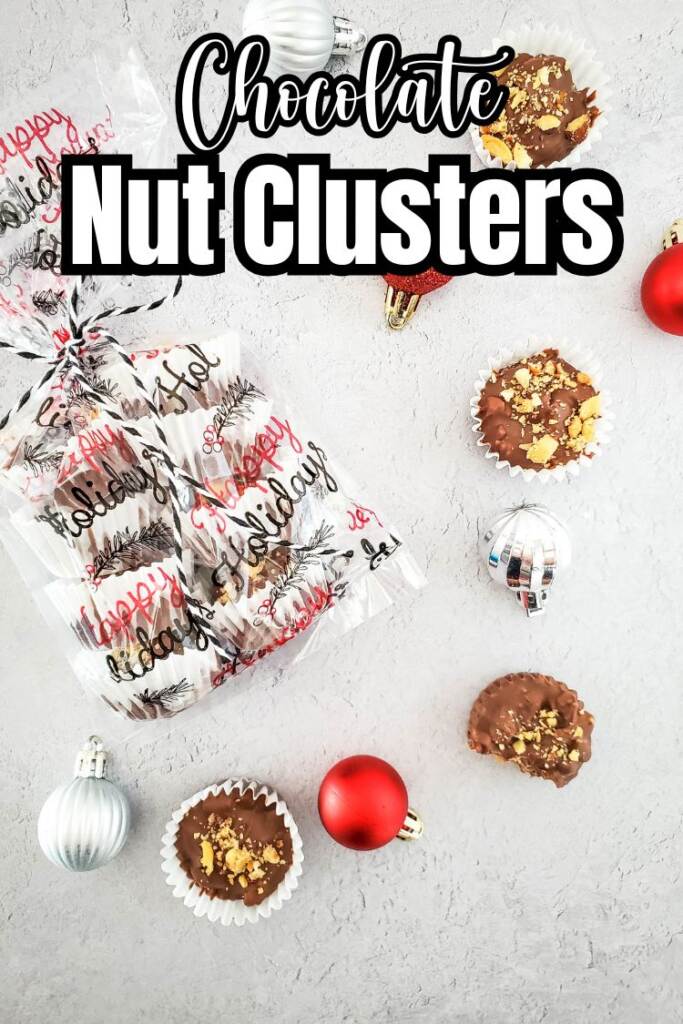
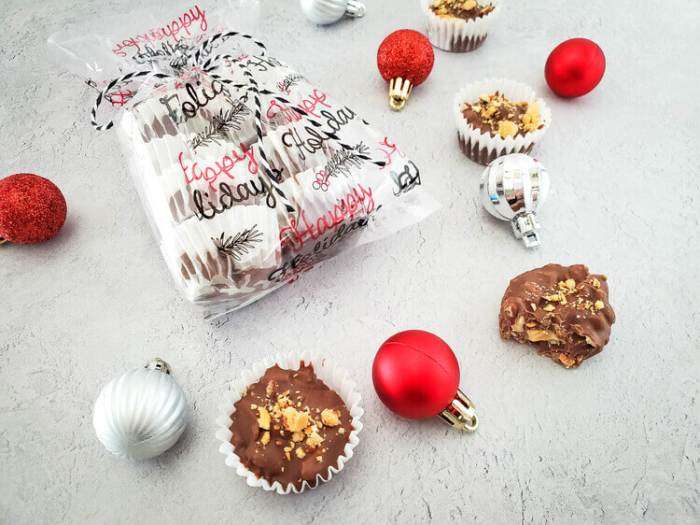
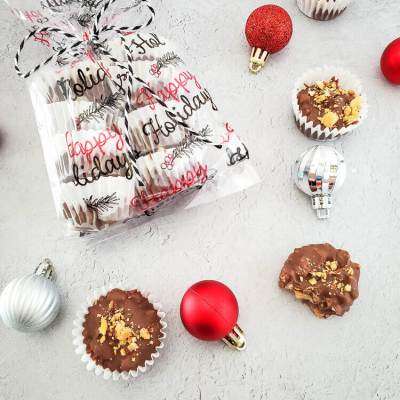
Chocolate nut clusters bring together the perfect balance of sweet and salty, making them a crowd-pleaser for any gathering. With just a handful of ingredients and minimal effort, you can whip up a treat that tastes like it took hours to create.
Whether you’re craving something indulgent or looking for an easy holiday gift, these nut clusters deliver on flavor and simplicity.
What are Chocolate Nut Clusters?
Chocolate nut clusters are a delightful treat combining rich, creamy chocolate with the crunch of nuts. Their simplicity and versatility make them a favorite for busy households, holidays, or even everyday snacking. These bite-sized goodies not only satisfy a sweet tooth but also pack in some nutritional benefits, especially from the nuts.
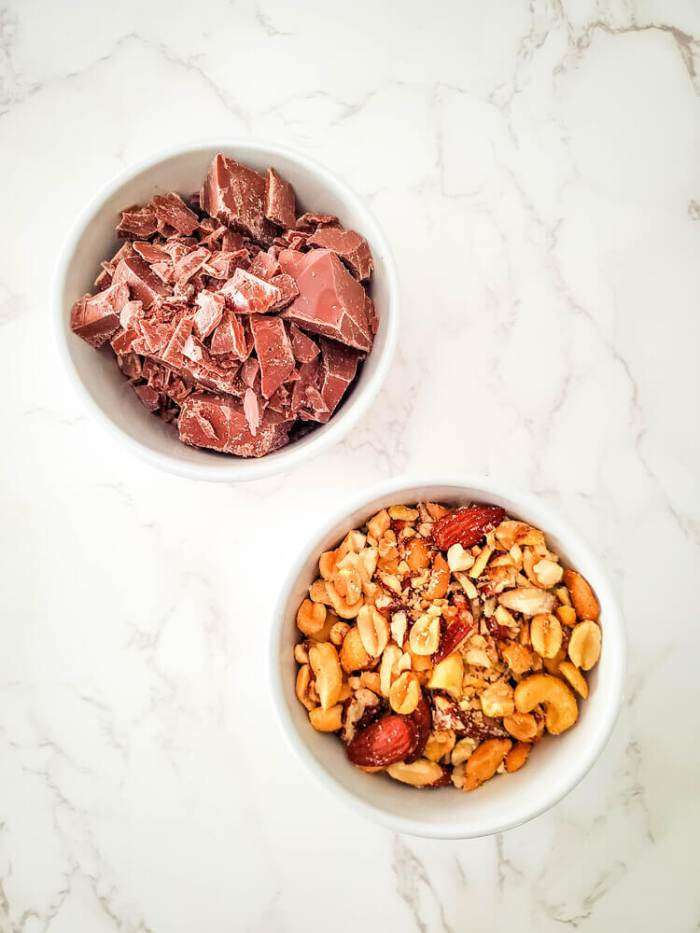
Ingredients
- Baking chocolate chunks
- Chopped mixed nuts
How to Make Chocolate Nut Clusters
Place paper liners in a mini cupcake pan.
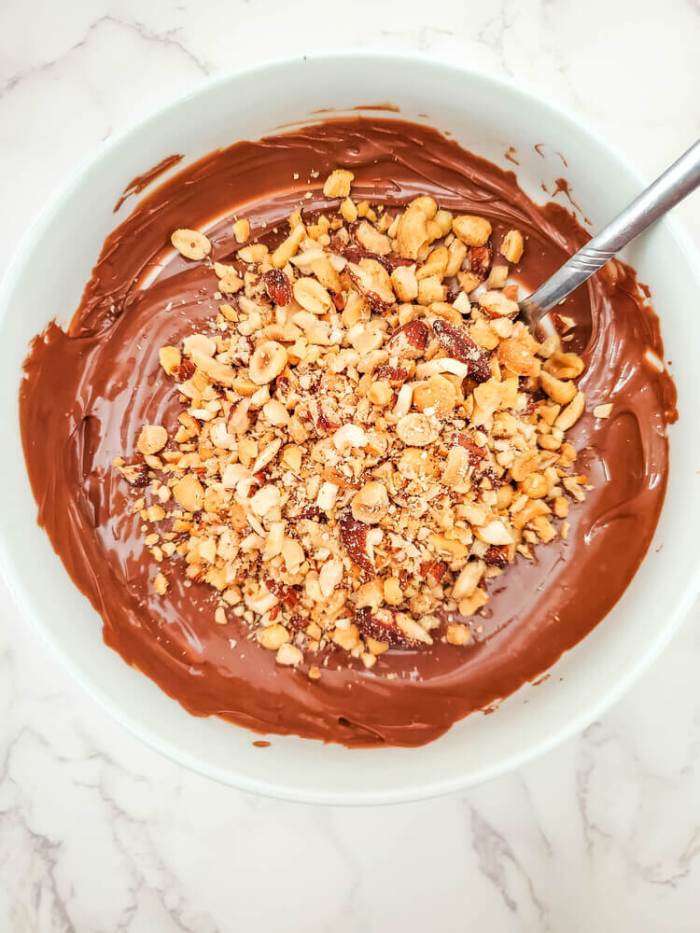
Put chopped chocolate in a microwave-safe bowl. Heat for 30 seconds and stir. Repeat until melted.
Mix in all but 1 tablespoon of the chopped nuts.
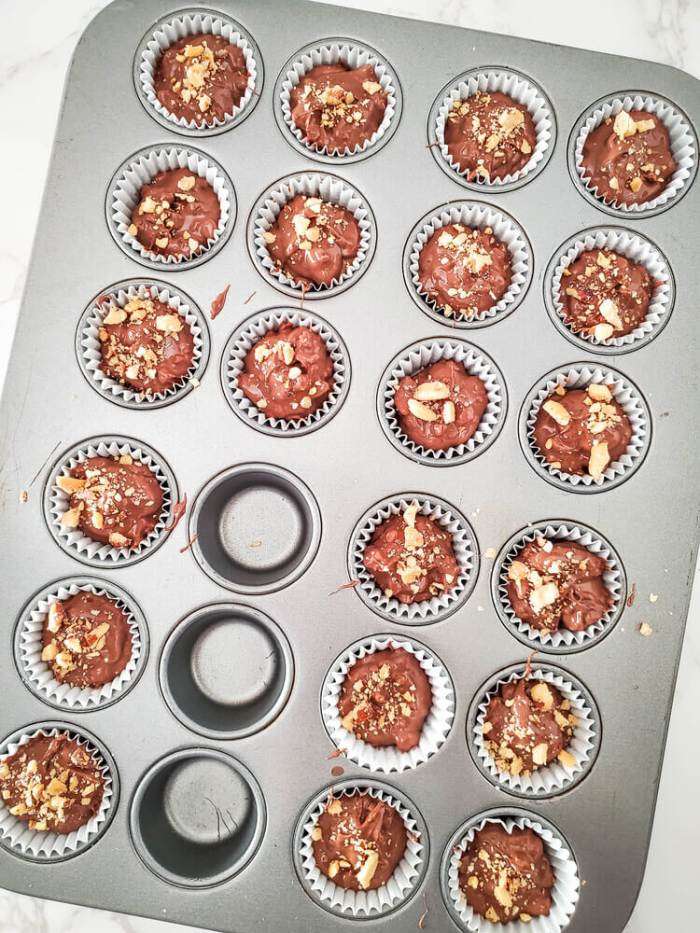
Spoon the nut and chocolate mixture into the liners, filling them about 3/4 full. Tap gently to settle.
Sprinkle remaining nuts on top. Chill in the fridge for 1-2 hours.
Variations and Additions
When it comes to nut clusters, there’s no one-size-fits-all—it’s all about customizing them to match your taste. From a variety of nuts to experimenting with different chocolates, the possibilities are endless.
Nut Options
The type of nuts you choose makes all the difference in flavor and texture.
- Almonds: Crunchy with a mild sweetness, almonds are a classic addition.
- Pecans: These buttery nuts lend a softer texture and rich flavor.
- Cashews: Creamy and slightly sweet, cashews are perfect for a smoother bite.
- Walnuts: A bit earthier, walnuts add a wonderful depth to your clusters.
Chocolate Types
The chocolate base you use defines the overall taste, and luckily, there are several delicious options:
- Dark Chocolate: Rich and slightly bitter, it balances well with sweet and salty nuts. Plus, dark chocolate has its health perks!
- Milk Chocolate: The quintessential choice for a smooth, creamy sweetness.
- White Chocolate: Sweet and decadent, white chocolate pairs especially well with dried fruits and sweeter nuts like cashews.
For a layered look, you can even drizzle white chocolate over dark chocolate clusters or vice versa.
If you’re in the mood to explore a unique chocolate recipe, you might like this White Chocolate Pretzels Recipe, which offers a fun, easy-to-make treat.
Add-ins and Twists
Why stop at just nuts and chocolate? Adding a few extra ingredients can make your nut clusters even more special.
- Dried Fruits: Chopped apricots, dried cherries, or raisins add a chewy and tart contrast.
- Seeds: Sprinkle in sunflower or pumpkin seeds for an extra crunch and earthy flavor.
- Spices: A hint of cinnamon or even cayenne pepper can bring an unexpected kick.
- Texture Toppings: Finish your clusters with shredded coconut or a sprinkle of flaky sea salt for that gourmet touch.
For more inspiration, check out White Chocolate Cherry Fudge, a recipe that plays with fruity flavors to create something truly unique.
Tips and Tricks for Making Perfect Clusters
Creating the perfect nut clusters requires a blend of smart techniques and a little patience—but don’t worry, it’s easier than you think.
Melting Chocolate Techniques
Getting that silky, smooth chocolate texture is key to perfect nut clusters. But chocolate can be a little temperamental if you’re not careful. To avoid burning or seizing, here are some go-to methods:
- Double Boiler: Place a heatproof bowl over a pot of simmering water. Stir the chocolate constantly to ensure even melting. This method gives you the most control over the temperature.
- Microwave: For a faster option, break chocolate into small pieces and microwave in 30-second intervals, stirring well each time. Stop as soon as the chocolate is smooth, as overheating can cause it to scorch.
- Low Heat: If you’re using a stovetop, opt for the lowest heat setting and stir continuously. Direct heat can be risky, so proceed with caution.
For more tips, you might like this guide on making Chocolate Covered Wafer Cookies, which offers insights into melting techniques.
Forming the Clusters
- Spoon It Out: Use small spoons or a cookie scoop to drop the chocolate-nut mixture onto parchment paper or in mini cupcake liners. This keeps the clusters uniform and easy to handle.
- Work Quickly: Chocolate tends to harden fast, so form your clusters immediately after mixing nuts into the melted chocolate. Keeping all your tools ready beforehand helps.
- Layering for Texture: For extra crunch, sprinkle a few chopped nuts on top of each cluster before the chocolate sets.
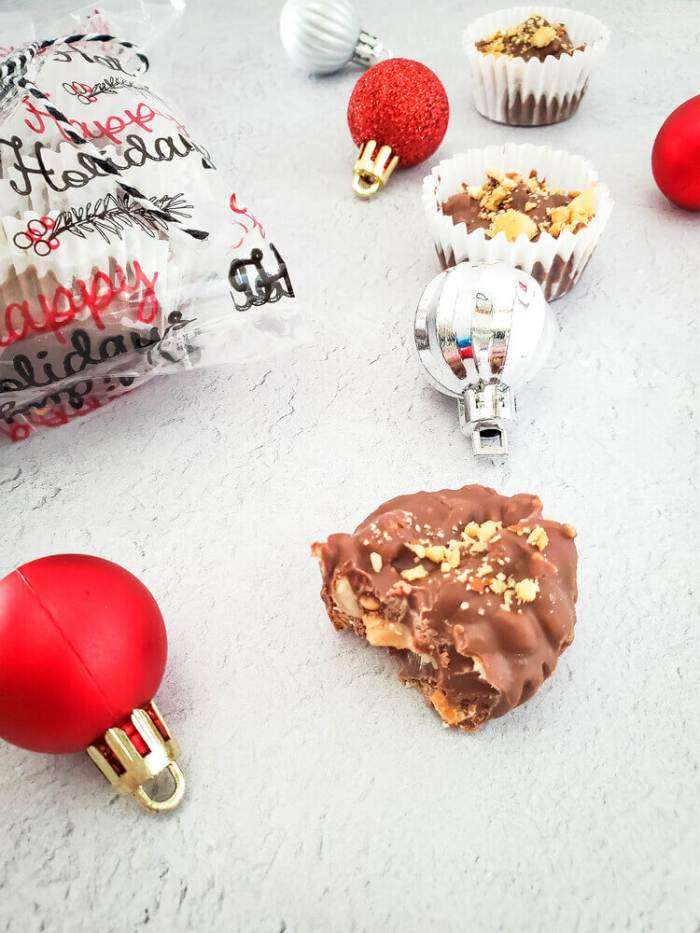
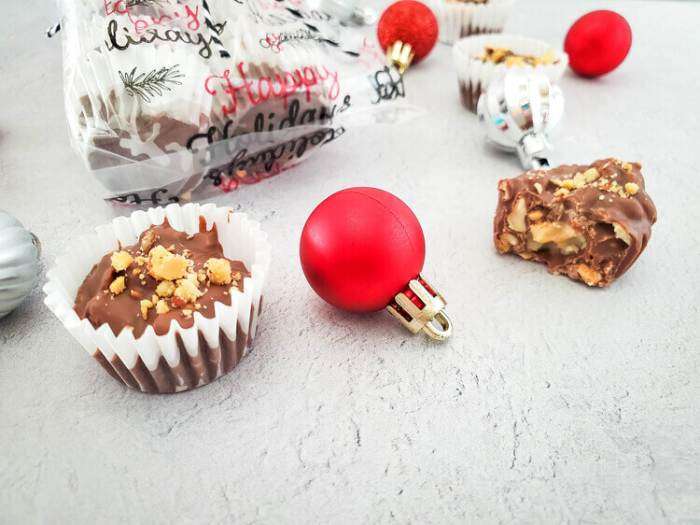
Serving Suggestions
Chocolate nut clusters are versatile enough for any occasion, from casual snacking to elegant dessert spreads.
- Pair with Beverages: These sweet treats go wonderfully with coffee, tea, or even a glass of red wine. The combination elevates the flavors and makes for an indulgent experience.
- Mix and Match Desserts: Arrange clusters alongside other bite-sized desserts like truffles or cookies for a stunning dessert platter.
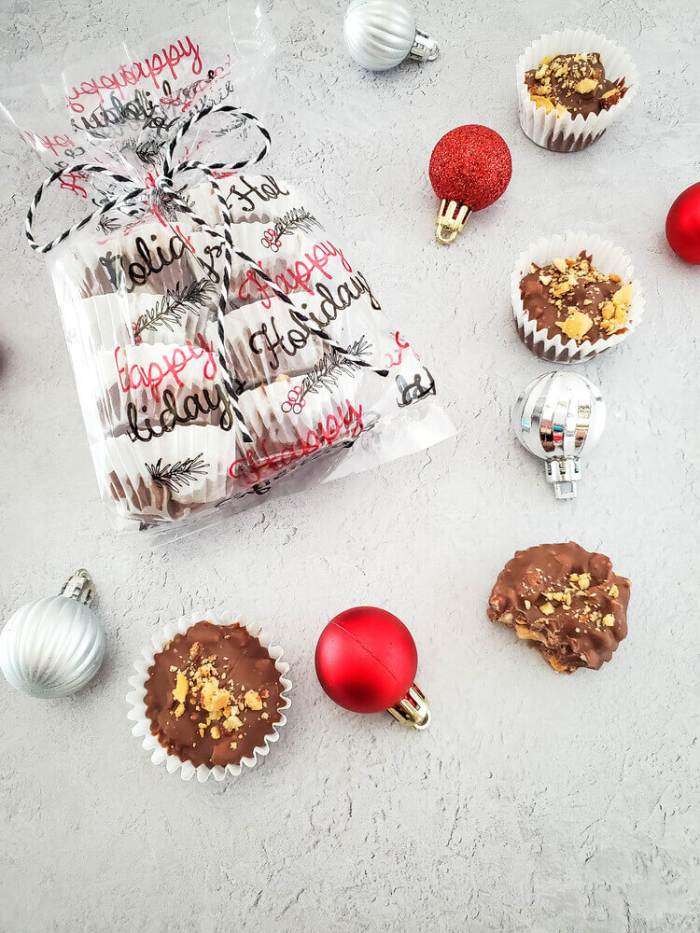
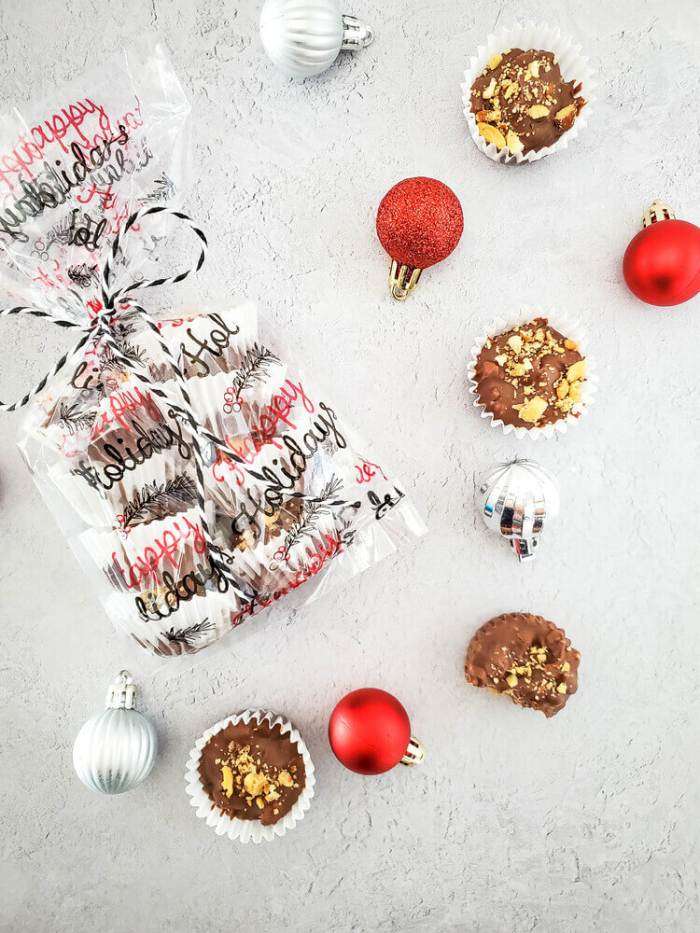
- Gift-Worthy Presentation: Wrap them in cellophane or arrange them in a decorative tin for a thoughtful homemade gift.
For more pairing ideas, check out this recipe for Fried Ice Cream with Cinnamon-Chocolate Sauce, which is a fun dessert option to complement your clusters.
How to Store Chocolate Nut Clusters
Properly storing your chocolate nut clusters is key to keeping them fresh and delicious, whether you’re saving them for yourself or sharing with others.
Room Temperature Storage
For short-term storage, keeping your clusters at room temperature works best.
- Use an Airtight Container: Place your nut clusters in an airtight container to keep them protected from air, which can make the chocolate lose its shine and flavor.
- Avoid Direct Sunlight: Store the container in a cool, dry place away from direct sunlight or heat sources, as chocolate melts easily.
- Layering for Protection: To prevent the clusters from sticking together, layer them with wax or parchment paper between each level.
Refrigeration Tips
Sometimes, refrigeration is necessary, especially in warmer climates or if you’re preparing clusters ahead of time. But you don’t want them to pick up any unwanted moisture or odors from the fridge.
- Seal Them Well: Use a tightly sealed container or even plastic wrap to protect the clusters from fridge humidity.
- Add Paper Towels: Placing a layer of paper towel at the bottom of the container can help absorb any excess moisture.
- Avoid Prolonged Storage: Refrigerated clusters are best enjoyed within two weeks to ensure they stay flavorful and don’t develop a sticky texture.
Freezing for Later Use
Want to prepare chocolate nut clusters in advance or save them for a special occasion? Freezing is your friend, but it requires a little extra care to keep them at their best.
- Pre-Freeze the Clusters: Arrange the clusters on a baking sheet lined with parchment paper and freeze them for about an hour. This prevents them from sticking together.
- Store in Freezer Bags: Once pre-frozen, transfer the clusters to a freezer-safe bag or container. Remove as much air as possible before sealing.
- Mark the Date: Always label your bag with the date so you know how long they’ve been stored. Properly frozen clusters can last up to three months.
- Thawing Tips: To enjoy, let the clusters thaw at room temperature for about 30 minutes. Avoid microwaving to prevent ruining the texture of the chocolate.
More Recipes You’ll Enjoy
- Chocolate Chip Muffins
- White Chocolate Pretzels Recipe
- Pretzel Caramel Chocolate Bars
- White Chocolate Cherry Fudge
Chocolate Nut Clusters
Ingredients
- 1 1/4 cup baking chocolate chunks chopped
- 1 cup chopped mixed nuts divided
Instructions
- Line a mini cupcake pan with paper liners.
- Add the chopped chocolate to a microwave safe bowl, and heat on high in 30 second intervals, stirring well between each heating session, until fully melted.
- Add all but 1 tablespoon of the chopped nuts, and stir well to combine.
- Use the small spoons to collect nut mixture, then drop into each of the paper liners, filling about 3/4 of the way, then gently tap down.
- Sprinkle the remainder of the nuts on top, then transfer the pan to the refrigerator to chill for 1-2 hours.