
Easter is such a fun holiday for crafting. The things that you can do with items in the shape of an egg are practically endless, and today I’m sharing a super cute project for Easter DIY Painted Egg Wood Slices. They’re simple to make and are a beautiful decoration for around your home during Easter.

In fact, these Easter DIY Painted Egg Wood Slices would make wonderful gifts for Easter too, and are a great addition to Easter baskets. You could even make a dozen or two to hang in one of your trees outside.

Easter DIY Painted Egg Wood Slices
Watch this video to see how simple these Easter DIY Painted Egg Wood Slices are to make, or follow the step by step written tutorial below.

Materials Needed (for 3 ornaments):
- 3 oblong wood slices cut at an angle, about 2” wide and 3” long
- DecoArt Americana Chalky Finish paint in Everlasting (white), Serene (blue), New Life (green), Rejuvinate (yellow) and Romance (red)
- Assortment of paint brushes

- 3 small hoop eye pins
- Decorative ribbon of your choice, ⅛” wide


Instructions:
Step 1. Lighten each of the four colored paints by mixing them with the white paint (one-to-one)
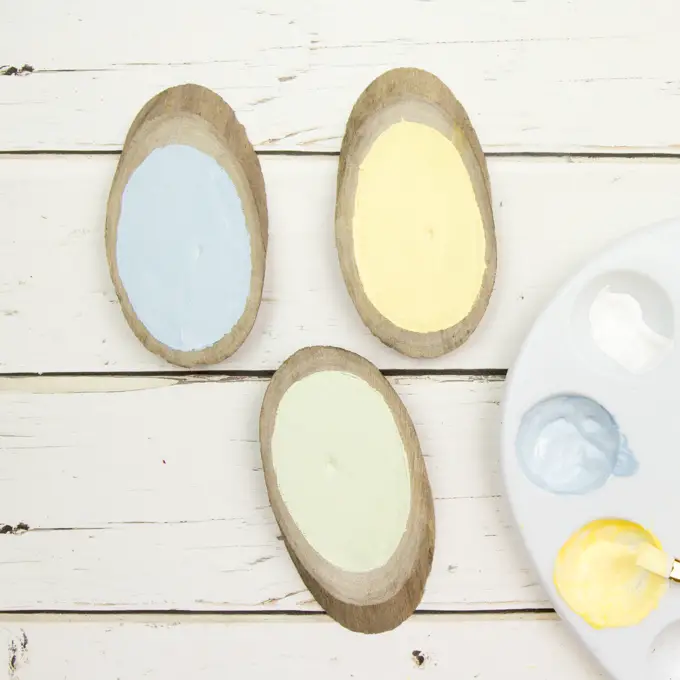
Step 2. Paint an oval egg on to the surface of each wood slice with a different color of lightened paint. Leave a small border of unpainted wood on the outer edge. Let dry and then repeat on the other side if desired.

Step 3. Starting with the yellow egg, add embellishments with the other colors of paints. Add different colors and thicknesses of lines and different colored dots.

Step 4. Next, paint the green egg with different colors of zig zags, lines and dots.

Step 5. For the blue egg, add different colors of wavy lines and yellow dots.
Step 6. Let the paint dry completely then screw in a small hoop eye pin to the top of each wood slice.
Step 7. Add ribbon for hanging.