Thanksgiving is quickly approaching and I have been thinking about everything that I am thankful for. ?I am so grateful to say that I have been extremely blessed -As you well know I love repurposing what I find around my house. ?I love all the wood slice ideas that I have seen and thought this would be a great opportunity for me to try them out for my fall decor. These wood slices have been sitting around my studio for awhile while I have been trying to decide what I would make with them. ?It’s so simple anyone can make a DIY Wood Slice Pumpkin!
Materials:
- Wood slice of your choice
- Orange acrylic paint or chalk paint
- Sandless grout or chalk paint
- Paint brush
- Chalk Ink color of your choice
- Small wood block for stem
- Optional: fall garland

Step 1:
Cut your wood slices to the thickness you want.

Step 2:
If you choose to make your own chalk paint all you need is a cup of acrylic paint and a tablespoon of sandless grout. You mix it to where there are no clumps and begin painting. If you choose to purchase chalk paint just paint your wood slice. ?You may need to paint your wood slice twice.
Step 3:
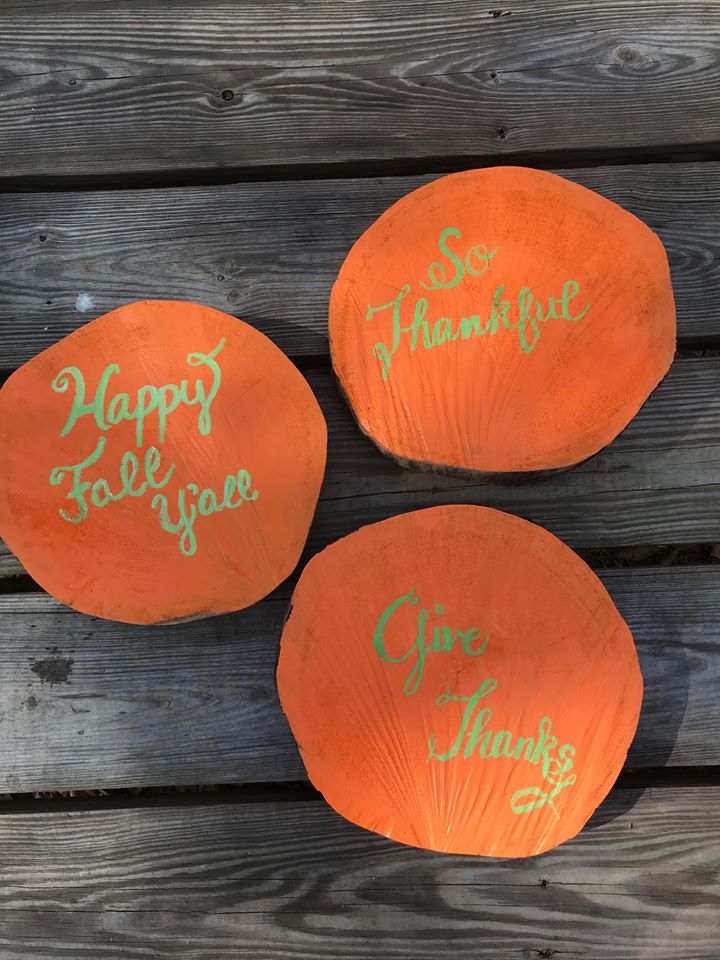
Once your wood slices dry you can write whatever your heart desires in your Chalk Ink of choice.

Step 4:
I added the stem after I had completed all the above steps just because I couldn’t decide if I wanted to use a wood block or a cut branch for my stem.

Step 5:
This step is optional I decided to use some fall garland to dress mine up. ?I have this draped on my China Cabinet.

I hope you and your family are as blessed as I am this Thanksgiving Day –HAPPY FALL Y’ALL!