
These paper leaves for autumn are such fun to make. There are so many different ways that you can make the leaves. You can start with colored construction paper if you want, but I think regular white copy or printer paper takes the colors so much better so that’s what we used.
Paper Leaves For Autumn
What you?ll need:
- Paper
- Leaf Templates from FamilyFun.com?
- Your choice of medium: can use acrylic or tempera paint, watercolors, chalk, crayons, markers or colored pencils
- Paint brushes, sponges, cotton balls, or paper towels<
- Scissors
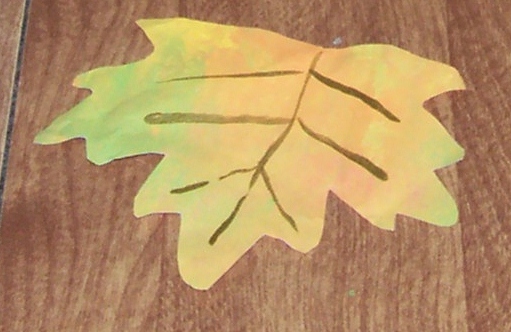
Use your chosen medium in fall colors to cover your paper, blend and smudge and really make a mess. The more you blend the better your leaves look. My preferred method and what I did for these was to make a puddle of yellow, green, orange and red acrylic paint in a square pattern close together. I used a Mr. Clean Magic eraser (my favorite painting sponge) and just dipped and smudged all over my paper till it was totally covered. You don?t want to leave any white showing. Let dry. (After mine dry I crinkle the paper a bit to make it look more like fallen leaves.) Just remember, if you use colored chalk, spray with aerosol hair spray when you?re done to set it.
Print out your template, or if you have leaf stencils or cookie cutters you can use them instead. Cut out the two leaves and trace on the back of your leaf paper. Cut out your leaves. I used gold metallic paint to paint veins on them after I cut them out.
There are so many cool things you can do with these for Fall decorating, here are just a few:

- Pumpkin Patch Centerpiece (see pic)
- Hang from a branch in a vase
- Use double sided tape to stick to doors or windows
- Glue on cardboard circle or even a paper plate to make a wreath