This shop has been compensated by Collective Bias, Inc. and its advertiser. All opinions are mine alone. #RoofedItMyself #CollectiveBias -?With the warm weather, most of us are spending more time outdoors so it’s only natural that outdoor projects are taking center stage. We recently built a chicken coop and it turned out pretty awesome. You can find plans online, or if you (or someone you know) is pretty handy, you could build one from your own plans, like my husband did. Today I’m sharing Roofing 101: Building a Chicken Coop.

Now I’m lucky I suppose because my husband is actually a roofer and he’s pretty great at building things. But, a chicken coop is a pretty simple job for the basic DIY project as long as you’ve got the right tools and supplies. You can grab everything that you’ll need right at Lowe’s and they’ve even got a great shingle display so that you can choose your perfect shade with ease. My husband likes shopping there because they carry Timberline shingles, which are his favorite to use on the job and are also the best selling shingle in North America. They not only look good, but they’re extremely durable too and come with a great warranty. Though GAF is a professional product, the average DIYer can easily use them too.

Roofing 101: Building a Chicken Coop
You’ll need the following items to complete the roof of your chicken coop:
- FeltBuster? High-Traction Synthetic Roofing Felt
- Starter Strip: Pro-Start? Starter Strip Shingles
*Recommended but optional - Timberline? Natural Shadow? shingles (other kinds also available)
- Seal-A-Ridge? Protective Ridge Cap Shingle
- Nails: 1 ?? galvanized steel roofing nails
- Nails: 1? ? 1 ?? round plastic cap roofing nail
Optional - Roofing Spade / Roof Rake ? For removing old shingles
- Drip Edge: Aluminum or Metal 8? ? 10? piece
- Gutter apron
You’ll also want a hammer, tape measure, gloves, razor knife and tin snips handy as you’ll need them to complete this project.

FeltBuster? is recommended because it’s more durable than that cheap tar paper and is more like an actual tarp, so it will help protect your roof for years to come. It’s easy to install, using the?round plastic cap roofing nails – just roll it out across the roof, cut at the edge and pound a nail into each corner, and then the middle. You will see the round spots where your nails should go.
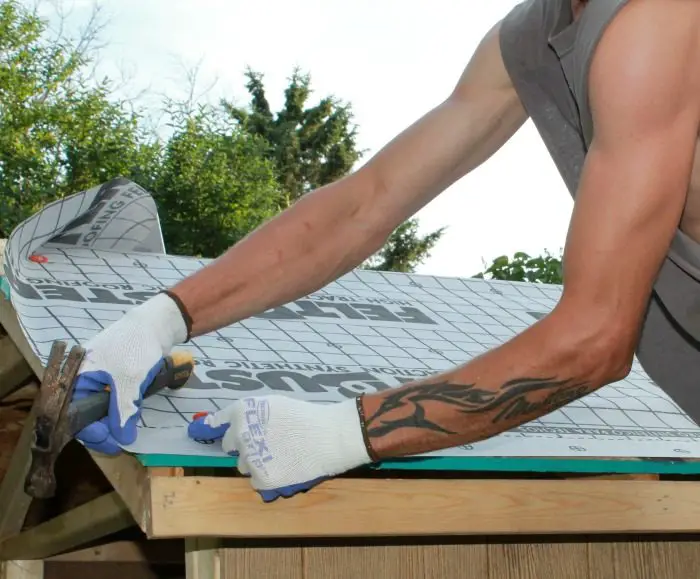
Once you’ve secured the corners and middle, continue pounding nails into all of the circles. It should look like the image below when you’re finished. Repeat these steps across the entire roof.

Next, you’ll apply the drip edge and gutter apron, which are optional but my husband highly recommends. Just trim to size with the tin snips and apply to the edges. Gutter apron goes in the front and back, while drip edge goes along the sides.

Now it’s time to start shingling!
Across the bottom edge, you will start applying thePro-Start? Starter Strip Shingles. Start in the bottom left corner, secure with the steel roofing nails.?Line the next?Pro-Start? Starter Strip Shingles right next to the other, nail and continue the process across the roof, trimming the last piece at the edge of the roof, using a razor knife.
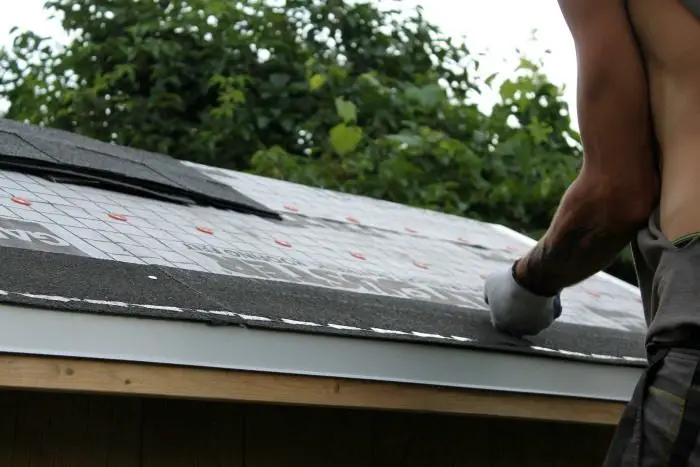
Once you’ve applied the starter strips, it’s time to apply theTimberline shingles. Line the first one up, covering your starter strip and nail into place.


Now, you will need to cut some of the edge off one shingle, then apply it over the other so that it is staggered. You will repeat this once more. You can see what I mean in the image below and this helps to ensure no leaks since there won’t be one straight line of shingles down the roof.

At the bottom again, butt a shingle up right next to the other and nail into place. Repeat this across the bottom of the roof and them continue upwards, repeating the process as you go.
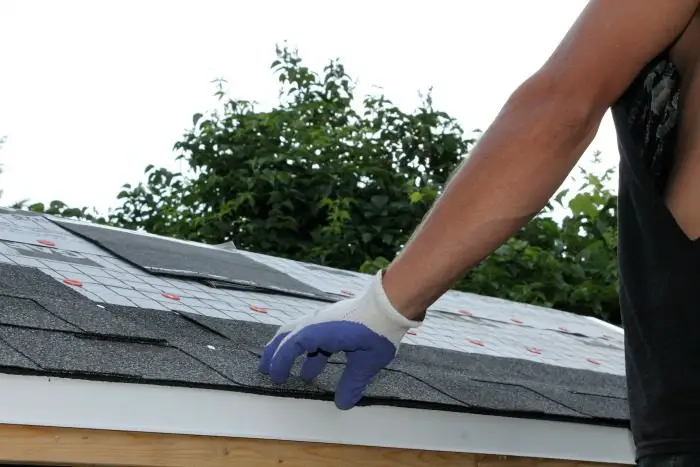
Continue until the roof is finished.

Use?Seal-A-Ridge? across the ridge to finish the roof. Simply break them apart at the seem and nail them to the peak of the roof, where everything meets. You’ll see the nails in the last one that you nail down, but you will just use caulk that matches your shingles and you’ll never know it was there!

Now the roofing project is complete and you can can enjoy your new chicken coop! We’ve still got to paint ours and make the run for the chickens but I anticipate having little chicks running around the yard in just a few short weeks! You can find more fun projects at the GAF Hub and also connect with GAF on Facebook.

What kind of project would you use GAF Roofing on?