I love playing in my gardens. It’s a wonderful way to relax and flowers just make the house look pretty. But lately I’ve been seeing Fairy Gardens all over the place and I thought it would be awesome o combine two of my favorites – fairies and gardens – to make my own beautiful little piece of art.
Since I’m a total DIY girl and like to keep things cost effective, I did a lot of it myself. I’ll share with you exactly how to make a Fairy Garden in the next few weeks, but for now I’m going to show you how to make your own fairy garden stepping stones. They’re super easy to make and the best part is, the bigger kids can help!
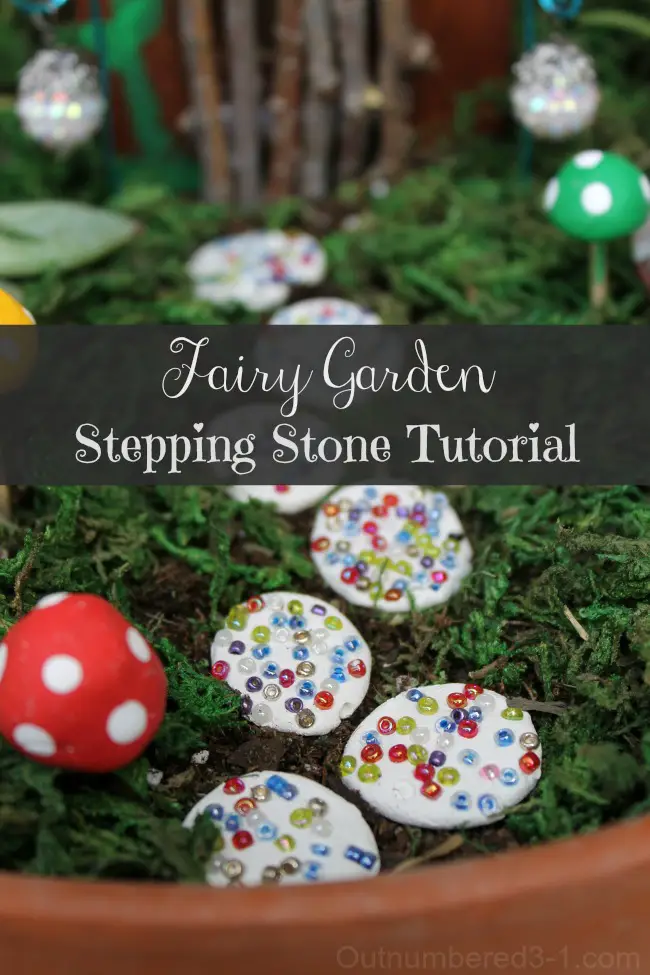
Fairy Garden Stepping Stone Tutorial
Making your own fairy garden stepping stones is very easy to do and requires just a couple of supplies. You might already have them on hand at your house! You should try these Fairy Garden Flower Pots too!
These are the supplies that I used:
- Fast drying clay
- Seed beads in a variety of colors
Here are some other items that you’ll need to fill your fairy garden with, or even a complete fairy garden kit! These are affiliate links so I may make a very small percentage through your purchase, but it won’t cost you any extra.
Step 1. Pinch a little chunk of clay from the container and form into a ball, about the diameter of a dime.

Step 2. Flatten the ball a bit, using the tip of your finger. This is your stepping stone.


Step 3. Place one side of your stepping stone into a small container filled with seed beads.


Step 4. Place the stepping stone onto a flat surface and very gently, press the beads into the clay, using just enough force to make them stick into the clay nicely.


Step 5. Let dry for a few hours. I let mine dry overnight, just to be safe.
Step 6. Place stepping stones however you’d like in your fairy garden! Enjoy your beautiful little miniature garden!

Be sure to stop by throughout the summer because I’ve got more fun, cheap and easy DIY projects to share for your fairy garden. I’ll update this post as I publish the other tutorials. Happy gardening!