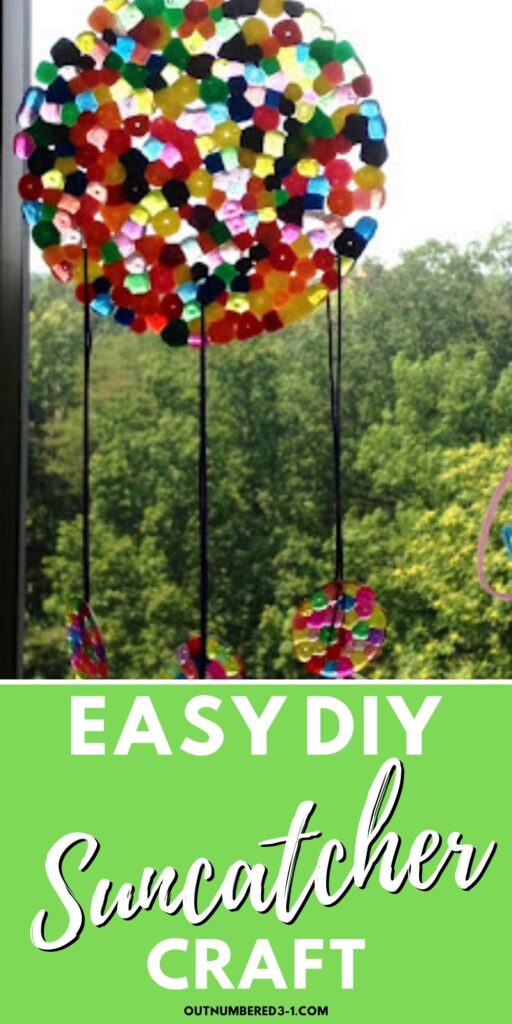
Crafting with beads is such fun for the little ones, and you can use any assortment of plastic beads to make these easy diy suncatchers.
How can I make Suncatcher at home?
There are many ways that you can make your own suncatchers. You can use transparent contact paper (also called sticky-back plastic), colored tissue paper, colored feathers, crayons, or translucent plastic pony beads. For this project, we’re using beads.
How do you display Suncatchers?
You will want to hang ypur suncatcher in the window, so that it can reflect the light and shine bright.

We are going to Kenya for the month of August to visit my inlaws. My daugher, Simone (3), wanted to make something for her grandma there. She found a bag of cheap craft beads that I brought home from school and wanted to use those. At this point I am envisioning a tacky bead necklace (Yeah, I know. It is the thought that counts), and I really wanted to make something a little prettier!

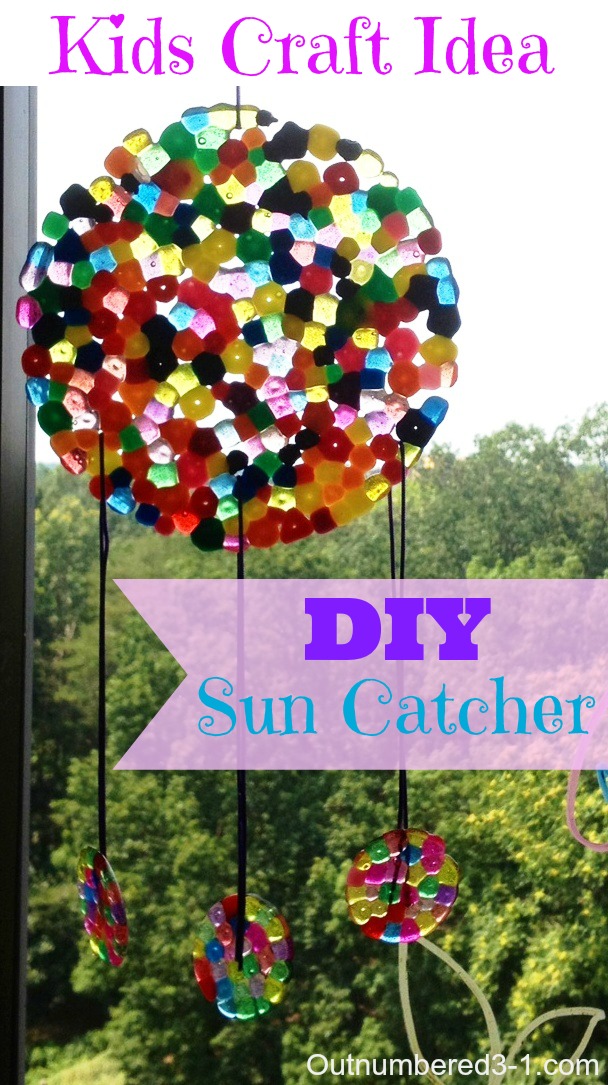
I remembered I had seen a picture online of a really pretty sun catcher made from cheap plastic beads, so I gave it a try!
What do I need to make diy suncacthers?
- Plastic beads (the pretty clear ones work best)
- metal cake pan / muffin tin / pie pan
- glue gun
- string of some sort
- oven
Here are the steps to make these diy suncatchers!
Step 1: Preheat your oven to 400 degrees. Sort your beads so that you pick out the pretty ones. Or buy a bag of all pretty beads and save yourself the hassle! I am anal and sorted mine by color.

Step 2: Arrange your beads in your METAL cake pan / pie pan / muffin tin. The beads will melt but won’t really spread, so you want to cover the entire space so you get a good circle. I used a pie pan and a muffin tin. You want to make sure to use a METAL pan, I wouldn’t guarantee that a silicone or glass pan wouldn’t stick. Use your imagination in how you organize the beads. I left a few holes (ok, it was an accident!) and that actually gave me a hole to string the circles.

Step 3: Bake in the oven for 20 minutes. Let cool completely. The circles will literally pop right out with a little assistance.

Step 4: Use a hot glue gun (or poke holes if you can – I tried and failed) to attach a string to hang the main circle. Then attach the smaller circles at varying heights with string as well.