I’m not much for using patterns when I sew. I’d rather find something that works for me already like selecting a favorite bag and using it as a template to sew my own bag of choice. This is the first diaper bag I have ever made actually it’s the first bag I’ve ever sewn. I started this diaper bag years ago and finally finished it this May for a dear friend of mine whom is due any day now.

Supplies:
- Fabric of choice
- Scissors
- Sewing machine
- Thread to match fabric
- Elastic
- Contrasting fabric
- Iron
- Pins
Step 1: First you need to cut out your pattern or measurements that you plan to use. Just remember the inside is about an inch less for the inside fabric. The only thing I would have done differently was to have the inside pockets just slightly shorter the the height of the inside fabric lengths. For instance if your sides are twelve inches in length then subtract three inches to allow for enough space for a bottle top.

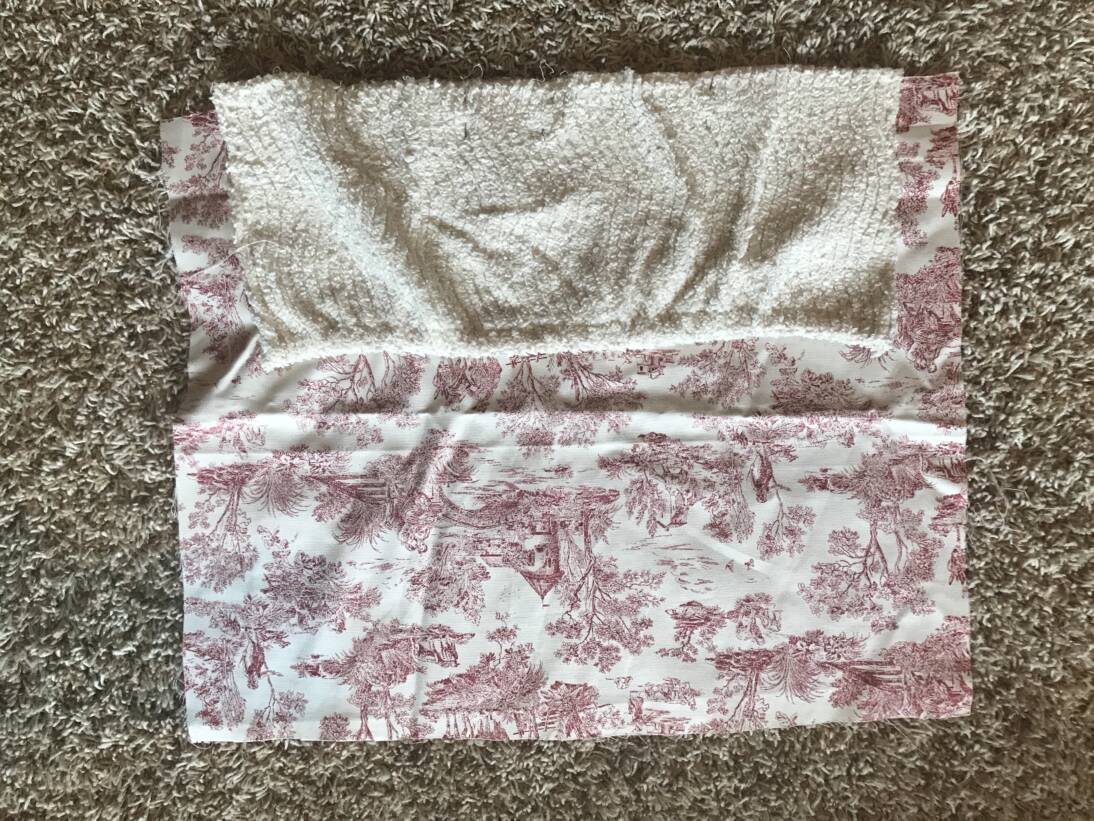
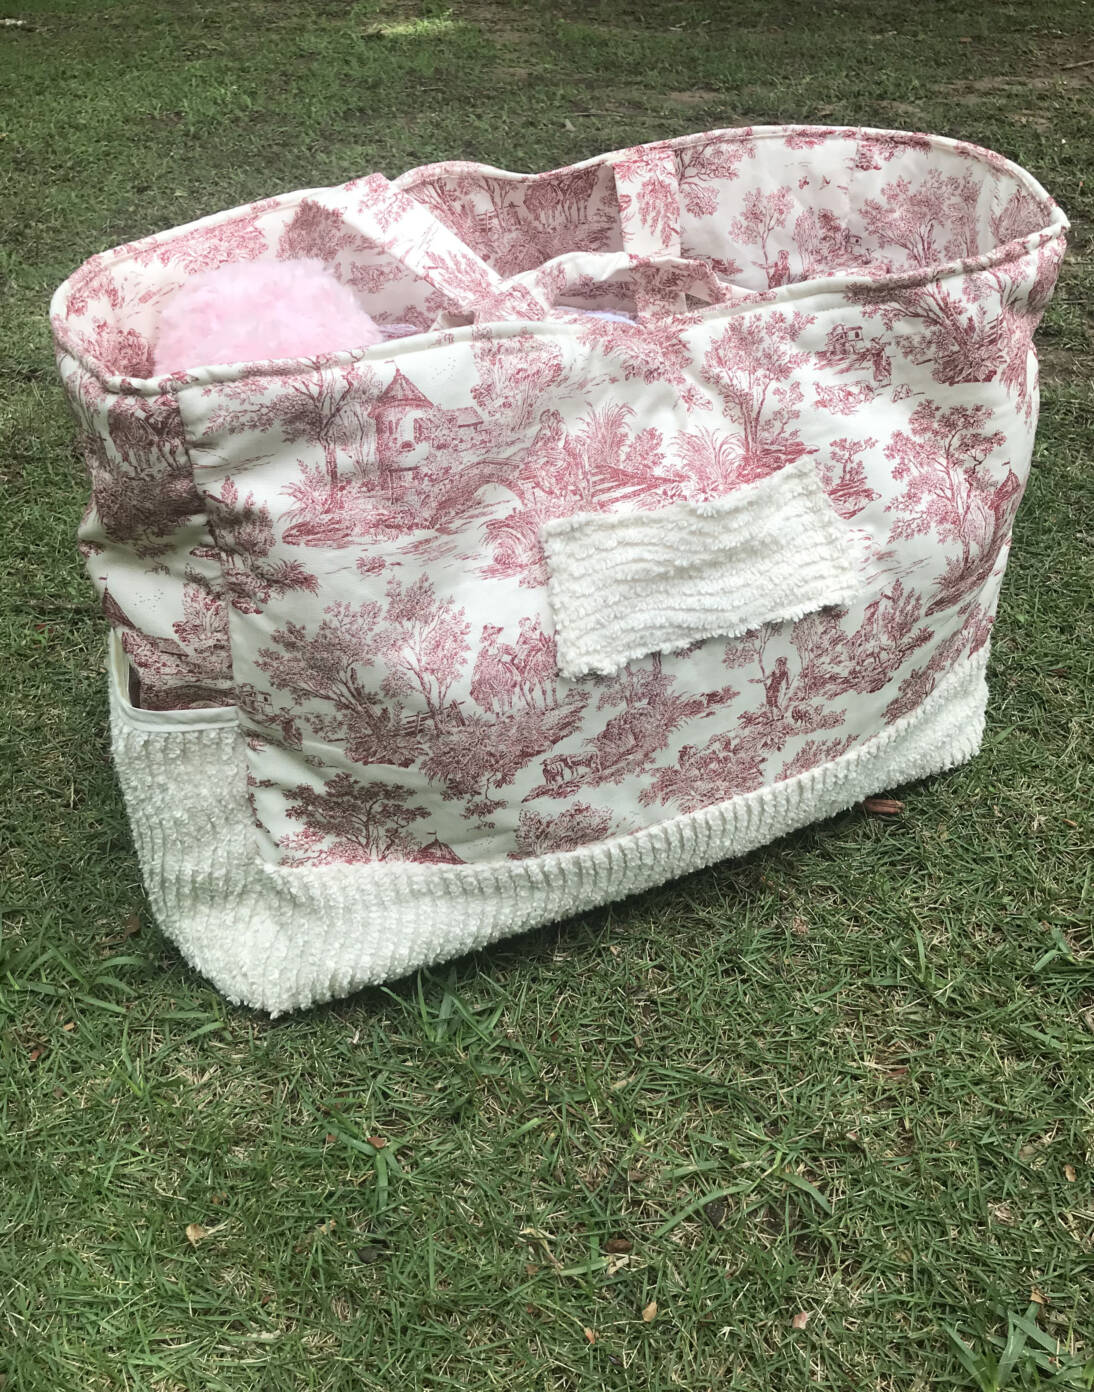
Step 2: Iron everything before you begin sewing. Sew the outside of the bag. I used a chenille fabric to add contrast and texture. When sewing the outside of your bag all the fabric faces inward. The outside pockets ended up being a great size in width and height! They were large enough to carry a Yeti. If you choose you can skip adding a contrasting fabric at the bottom of your diaper bag. My exterior ended up being approximately 20″ x 18″ x 6″ and the base was 20″ x 6″.

Step 3: The inside was where it got interesting. I had to visually image how it would look when I completed it. That’s how I kept from turning the fabric the wrong way. When sewing the inside all the fabric faces outward. For the inside pockets I added 1/2″ band of elastic to keep the pockets tight. I made the pockets wide enough to hold baby wipes, antibacterial wipes and diapers.
Step 4: When you have your outside and inside finished put them together and turn the end down to the inside of each other. The backs of your fabrics will be together.? As for your straps decide which is your favorite bag and model them.? I love a short fat strap so it will stay on my shoulder when I carry it.? My straps were approximately four inches wide before I folded them into a two inch wide strap.? When working with straps your iron is your best friend.? Make sure to iron your straps EXACTLY like you want them and pin them in place.? In the bottom picture you can see the detailed line I had when I finished sewing the two sides together.? Just make sure to place your straps EXACTLY where you want them to be before you begin sewing.
Would you like to see more baby tutorials?? Check out my other baby turorials:
DIY Infant Taggie Blanket
DIY Boutique Style Burp Cloth
DIY Boo Nursing Coverlet?
Happy sewing!!